
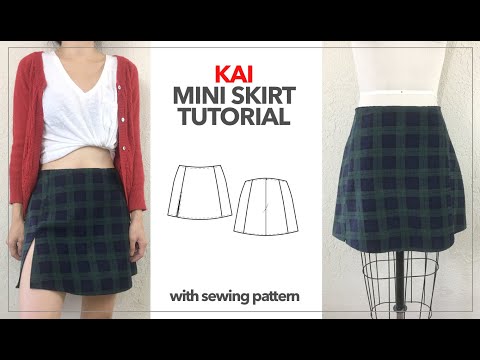
Are you looking for a cute bottom to add to your DIY wardrobe? If you are mad about plaid, this Kai notched mini skirt is perfect for you.
The high-waisted design offers a slim fit with a notched front hem and invisible zipper in the back. Here is a Kai mini skirt sewing pattern you can sew in a couple of hours to pair with a turtleneck tee or casual graphic tee to complete a street style back-to-school friendly outfit.
The printable pdf is available for immediate download on my Etsy shop. If you have heavy cotton or corduroy fabric with mini to large sized plaid or gingham print pattern, it’s absolutely perfect material to make the Kai mini skirt without a lining!
With Kai mini skirt sewing pattern, you may easily go more shorter or adjust the length into midi skirt length with flirty high slit. The skirt has slight A-line flare toward the hemline and if you wish to make it more fitted around your hip and below, simply take it in couple of inches or centimeters on both sides.
Every Fashion Wanderer sewing pattern is easily customizable and adjustable as you desire. So, be creative and have fun sewing the trendy designs.


Kai Notched Mini Skirt Sewing Pattern


You will love this DIY Kai notched mini skirt with sewing pattern because…
- Kai mini skirt comes in from size 2 to 12 that you can choose from.
- Sewing pattern is simple to assemble with clear tape and comes with easy to follow steps.
- Practice to sew heavy material such as corduroy or cotton material.
- Get comfortable using overlock machine to secure the inner seam.
- Learn how to sew invisible zipper on a skirt with zipper foot.
- Clean finish the waist opening without making waist band.
- Learn a quick way to add binding.
- Perfect for beginner level with quality finishing details.
For this Kai mini skirt tutorial, it is made with printed plaid pattern on medium weight corduroy fabric. This pattern also works well with lightweight denim for a year round look.
If you have solid corduroy or print denim, it will work well because it holds the slight A-line silhouette and the princess seam along the front and back of skirt to keep the streamline silhouette.
However, don’t limit yourself with heavier fabrication. Also, you can use rayon or poly satin to make more lightweight skirt in both shorter or longer lengths.
Simply adjust the Fashion Wanderer sewing pattern by adding or subtracting a couple of inches or centimeters along the hemline to create your own style!


How do you make Kai mini skirt?
To make Kai mini skirt from any fabric using a sewing pattern is super easy. First, plan your sewing time and choose a fabric that you are in love with.
So you will be ready, review how to assemble pdf pattern to set yourself up for success. Don’t forget to wash, dry, and iron your fabric before pinning the pattern and cut the fabric.
DIY Kai Mini Skirt Materials:
- Mini Skirt Sewing Pattern
- ½ to ¾ yards of medium cotton denim or corduroy fabric based on the width.
- Sewing Machine
- Matching Color Thread
- Heavy Duty Sewing Needle
- 7”-9” Long Invisible Zipper
- ¼” Width Binding Tape
To make a Kai notched mini skirt, start by assembling the pattern pieces.
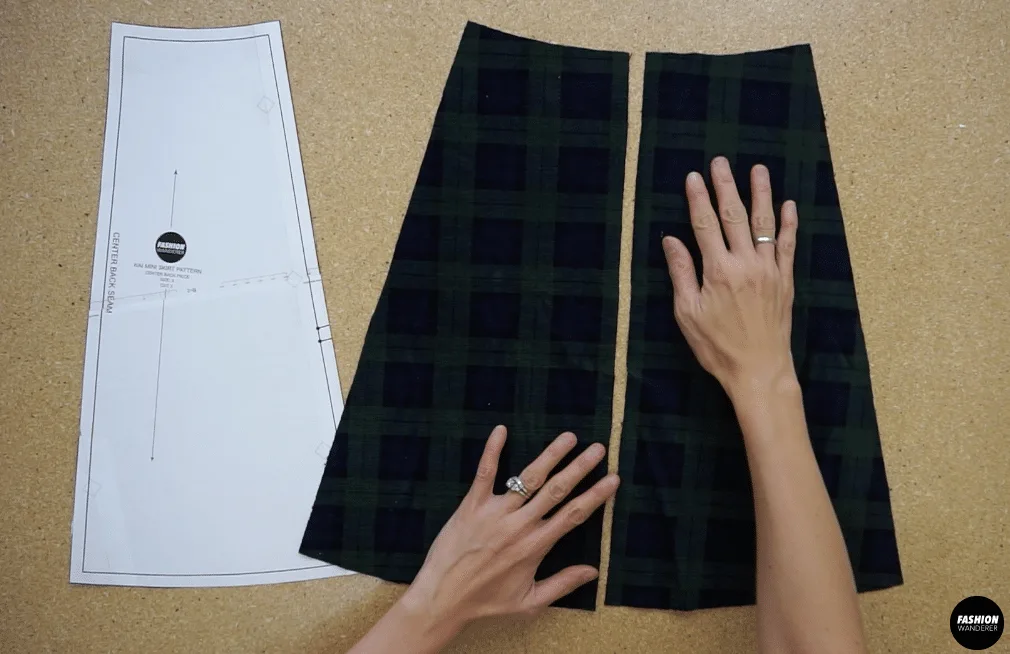
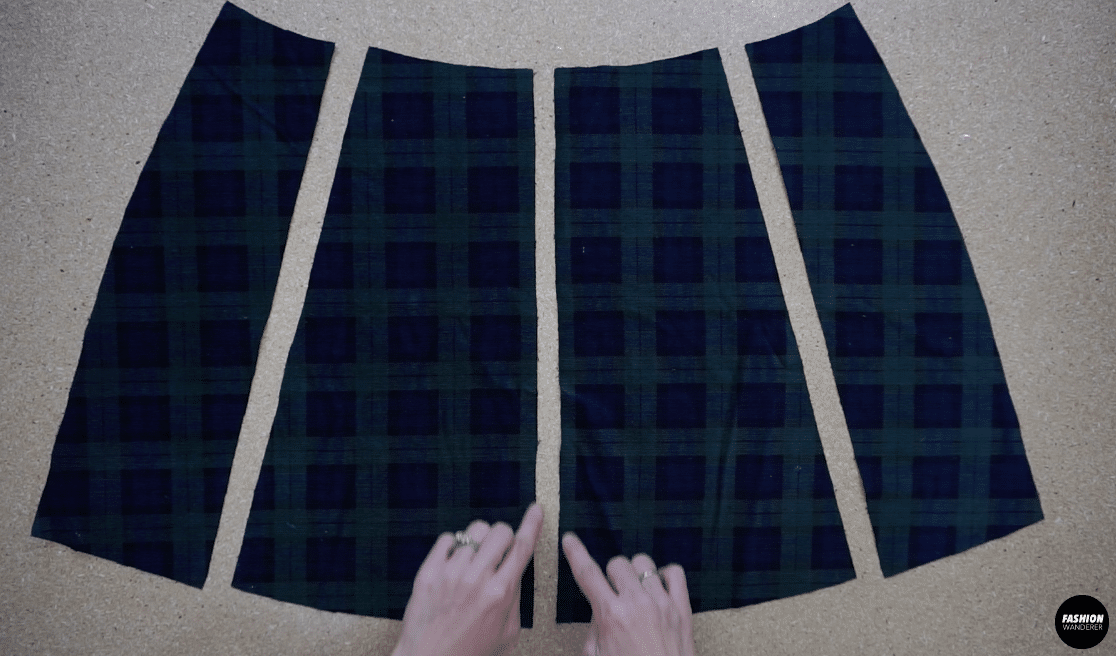
Copy the front center skirt piece along the folded edge.
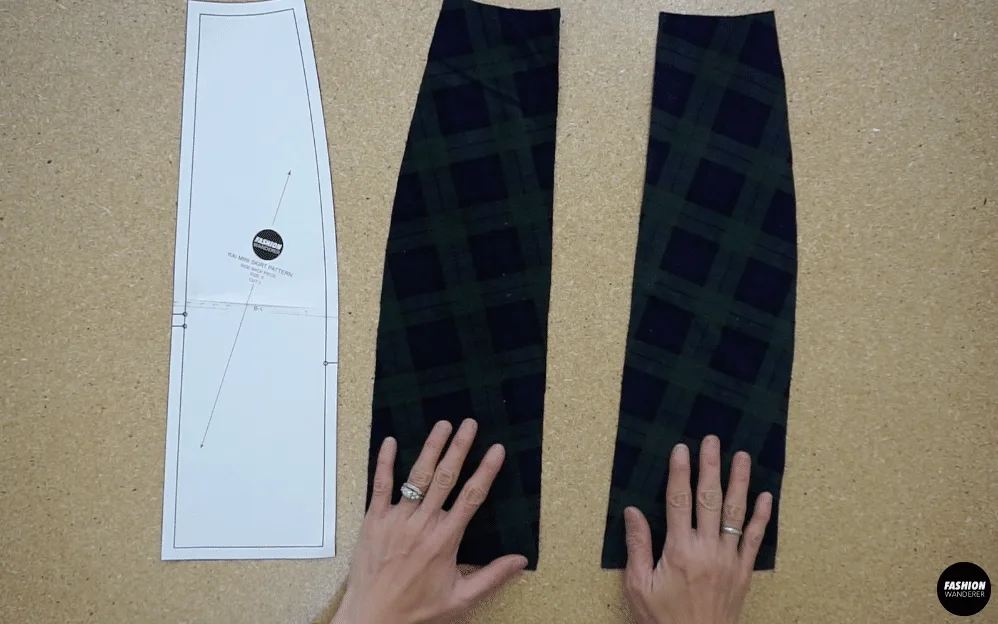
Copy the front side skirt pieces, back center skirt pieces and also the back side skirt pieces.
For the front skirt piece, overlock stitch both sides of the front center piece, and only along the front side pieces that attach to the front center piece
For the back skirt piece, overlock stitch the back center pieces, and only along the back side pieces that attach to the back center pieces.
Placethe front pieces on top of the right side pieces with the right side facing together.
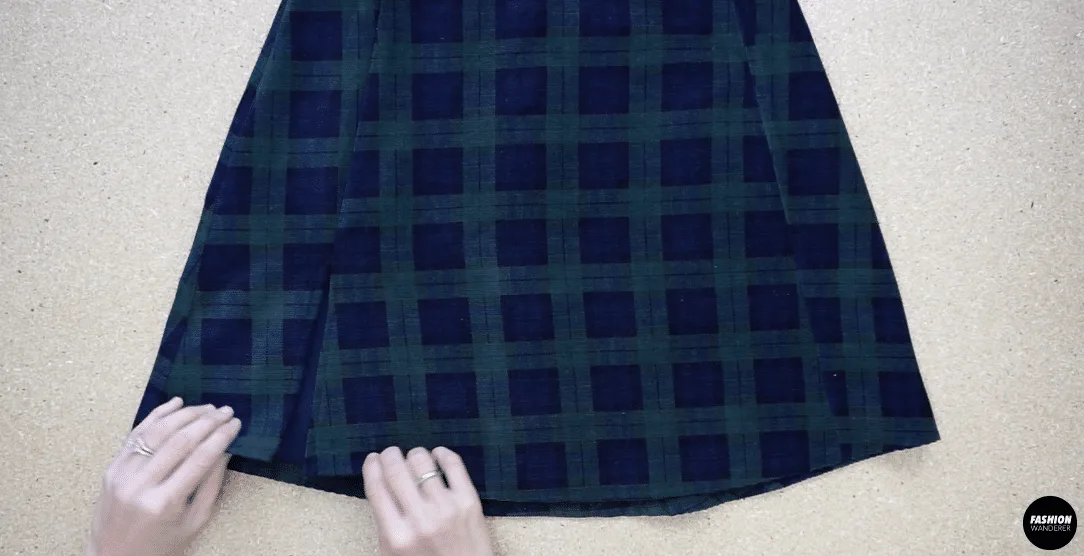
Measure 6” up from the hemline and to mark the side slit opening.
Attach the front side pieces to the front center piece, be sure to leave the side slit opening.
¼” fold around the side slit opening and topstitch the edge for a clean finish.
Join one back center piece to one back side piece with the right sides facing together.
Copy on the opposite side.
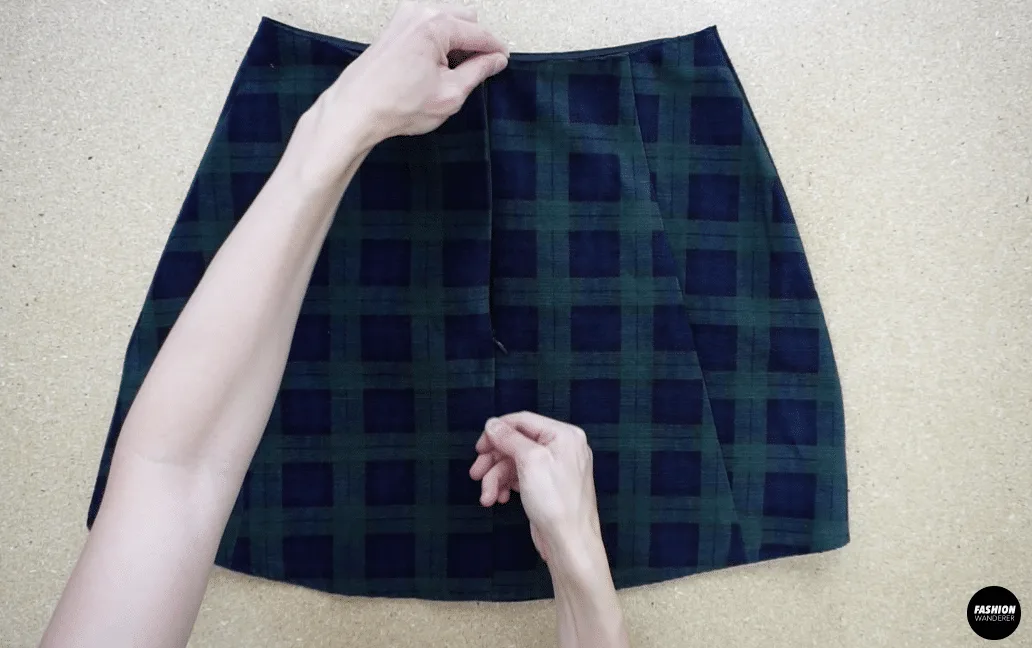
Attach the zipper to the center back opening, and close the bottom of the center back opening.
Join the front skirt piece to the back skirt piece, sew the side seams with the right sides facing together.
Use ¼” biased binding strip to finish the waistline.
Hem the mini skirt to finish this Kai notched mini skirt.

DIY Kai Mini Skirt Sewing Tips:


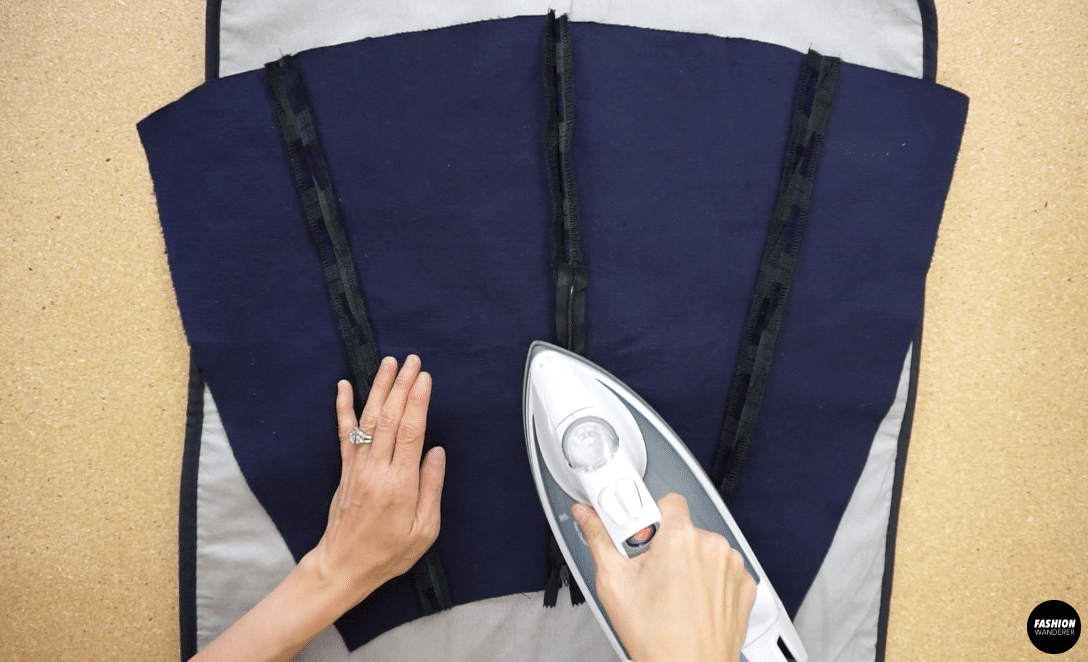
In this DIY Kai mini skirt, you will learn how to sew princess seam, iron to open the seam to make smooth and flat seams instead of bulky seam allowances when using thick materials like corduroy or denim.
If you haven’t work with corduroy or heavy cotton denim material, here are essential sewing tips that will help you sew through this skirt without making mistakes.
- Sewing Machine: Always test your sewing machine when sewing corduroy or heavier material. Loosen the upper tension and lightening the pressure from the pressure foot is good starting point for an easier sew.
- Needle & Thread: When sewing corduroy, make sure to change needle and thread accordingly. For thread, if you are working with 100% cotton corduroy, go for a cotton thread. But if you are using a Corduroy blend, select a polyester thread. Don’t forget to switch your sewing needle to heavyweight or denim sewing needle.
- Stitches: Depending on the thickness and weight of your corduroy fabric for any light-weight corduroy, use a #2 stitch length and for anything heavier use a 3.5 length.
- Binding: Instead of adding a waistband along the high waist silhouette, I chose to use bias cut strips to finish the waist opening. Use already made bias binding or you can make your own with a lightweight fabric of ¼” finished width. With right sides together, stitch the binding to the edge of the seam allowance with a ¼” seam. Wrap the binding around the edge and fold over to the wrong side of the skirt. Edge topstitch to secure the binding in place.
- Invisible Zipper: Use a zipper foot or invisible zipper foot and place the zipper face down on the fabric about ¼” down from the waist opening. Open the zipper and pin one side of tape in place or hand baste to secure. Stitch to the bottom of the zipper and backstitch twice. Next, close the zipper and sew the other side of the zipper tape to the skirt. Iron to give a nice press.


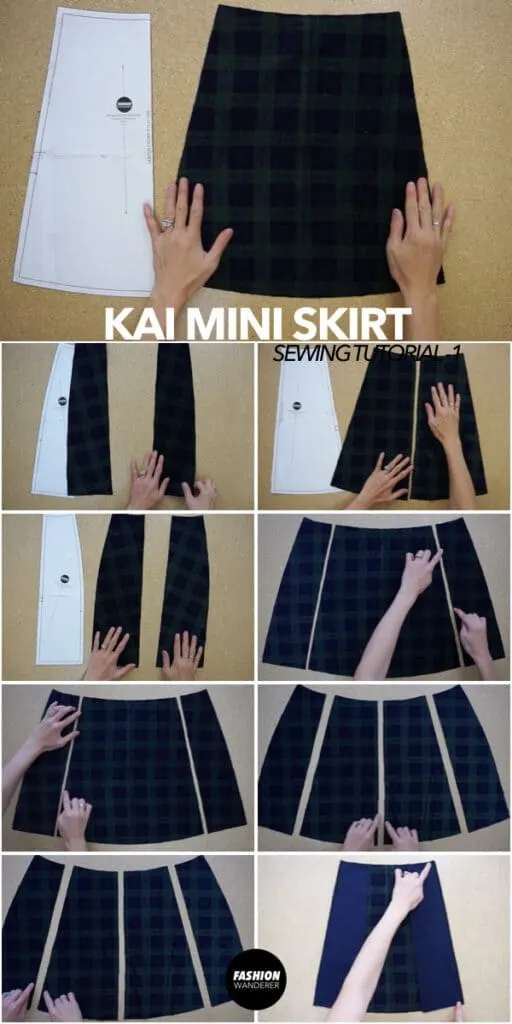
How To Make Kai Mini Skirt With Sewing Pattern
Are you new to sewing and looking to add more classic pieces to your closet? Simply follow the video tutorial and in addition to the step-by-step picture instructions so that you can successfully complete the Kai mini skirt.
Materials
- Kai Mini Skirt Sewing Pattern
- ½ to ¾ yards of medium cotton denim or corduroy fabric based on the width.
- 7”-9” Long Invisible Zipper
- ¼” Width Binding Tape
Tools
- Sewing Machine
- Heavy Duty Sewing Needle
Instructions
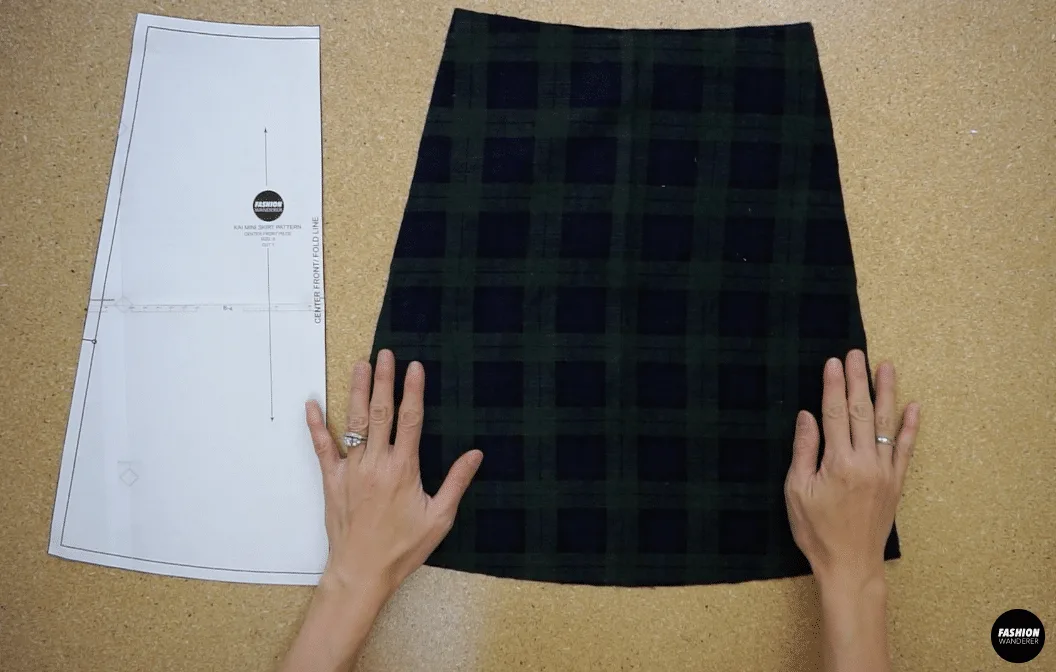
- For this Kai notched mini skirt tutorial, start by assembling the pattern pieces.
Fold a piece of fabric in half, and pin the paper pattern to the fabric.
Also pin around the edges so that the two layers of fabric remain taught. - Copy the front center skirt piece along the folded edge.

- Also, copy the front side skirt pieces.

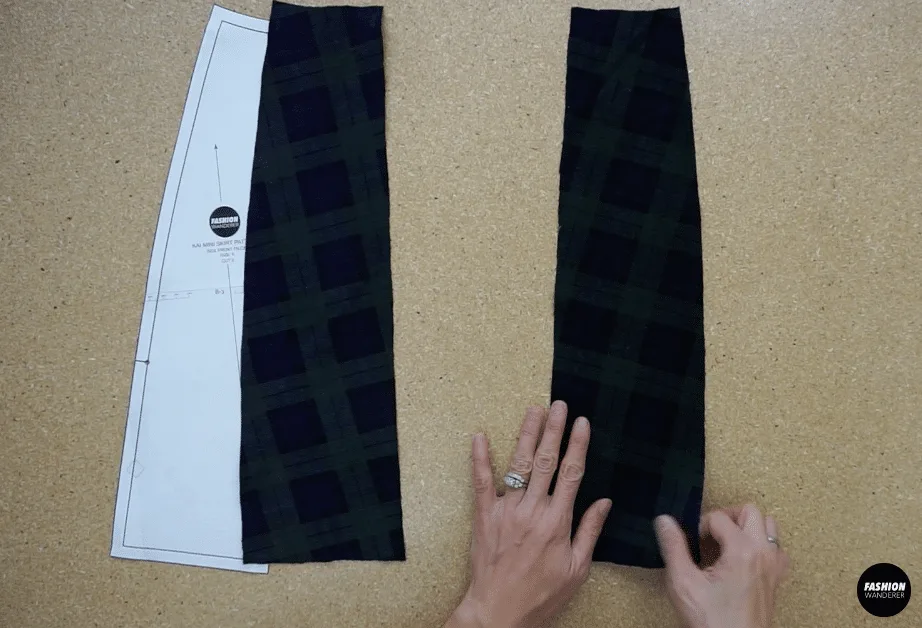
- Fold another piece of fabric in half, pin to secure and copy the back center skirt pieces,

and back side skirt pieces.
- You will also need a piece of ¼” wide biased binding strip for the waistband.
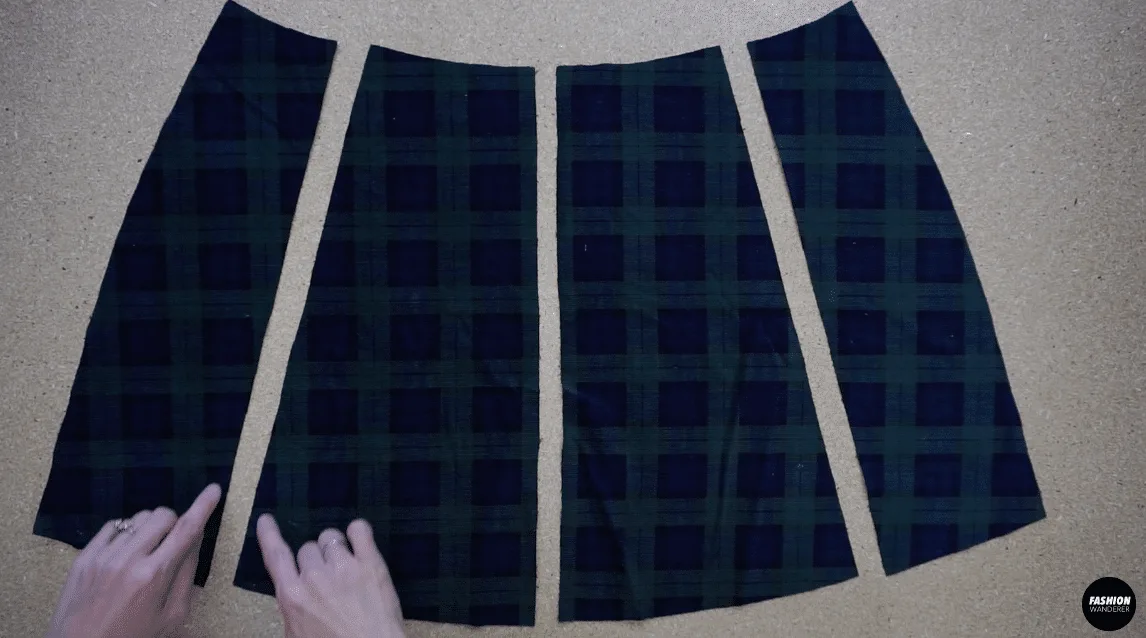
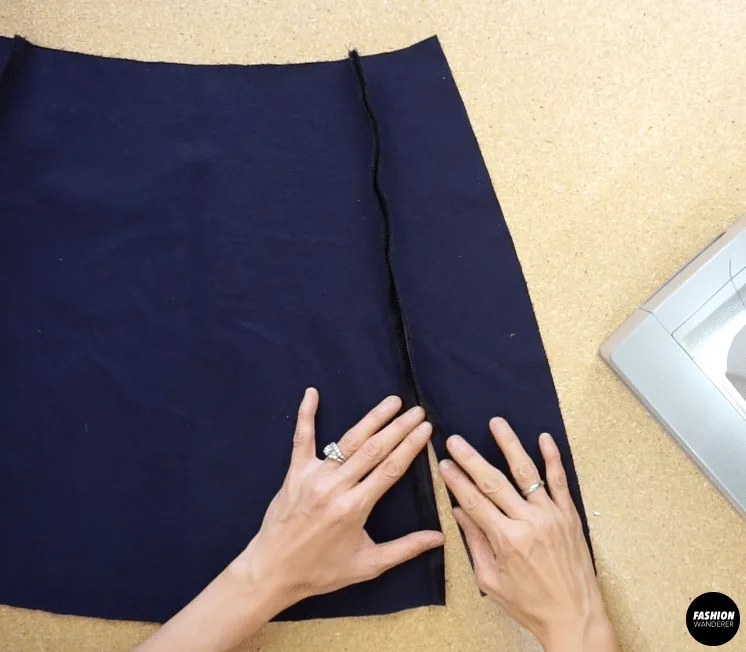
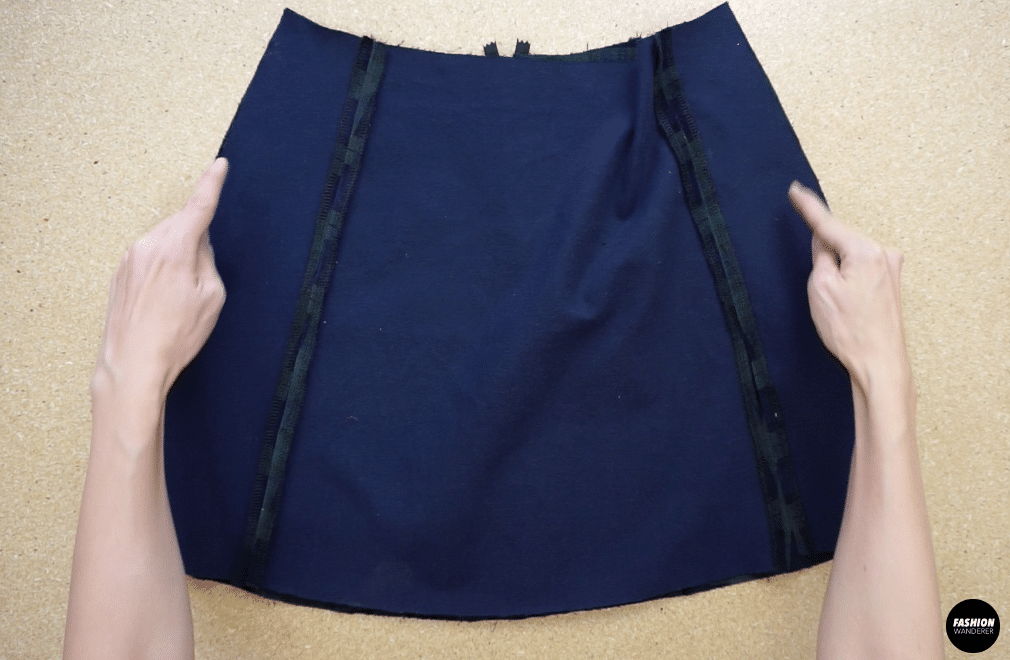
- To prevent fraying on the front of the skirt, overlock stitch the edges along the princess seams.

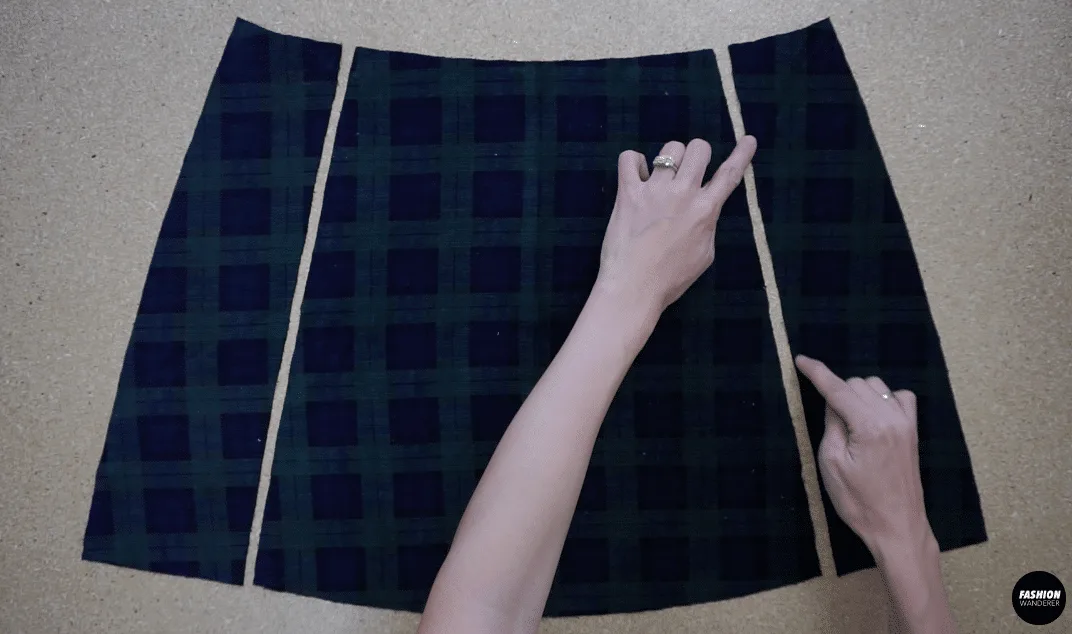
Stitch both sides of the front center piece, and only along the front side pieces that attach to the front center piece.
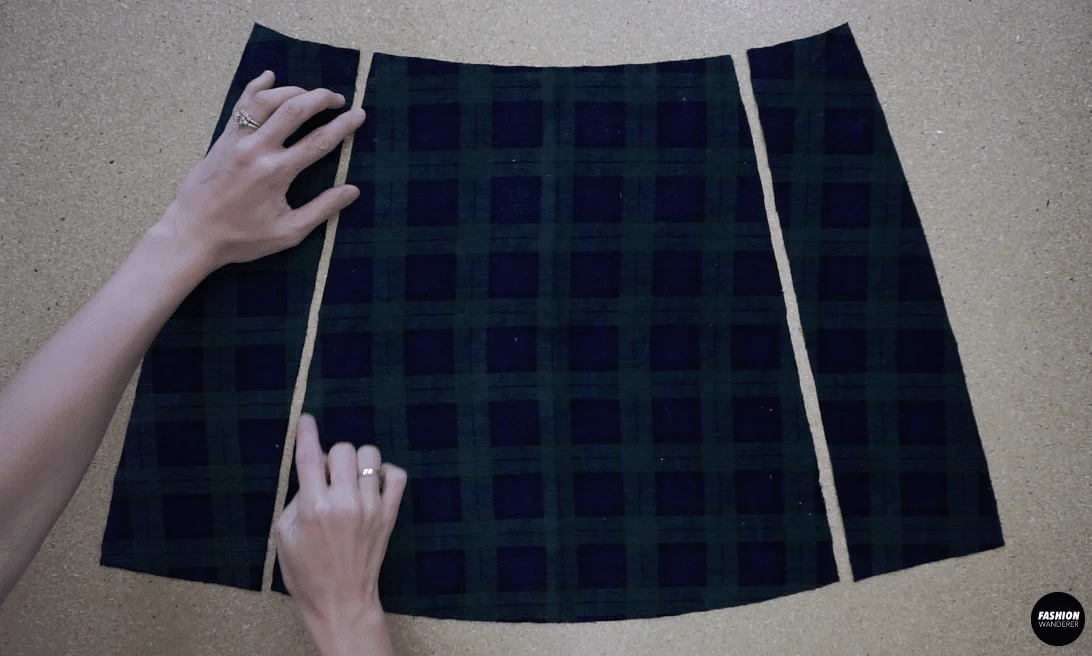
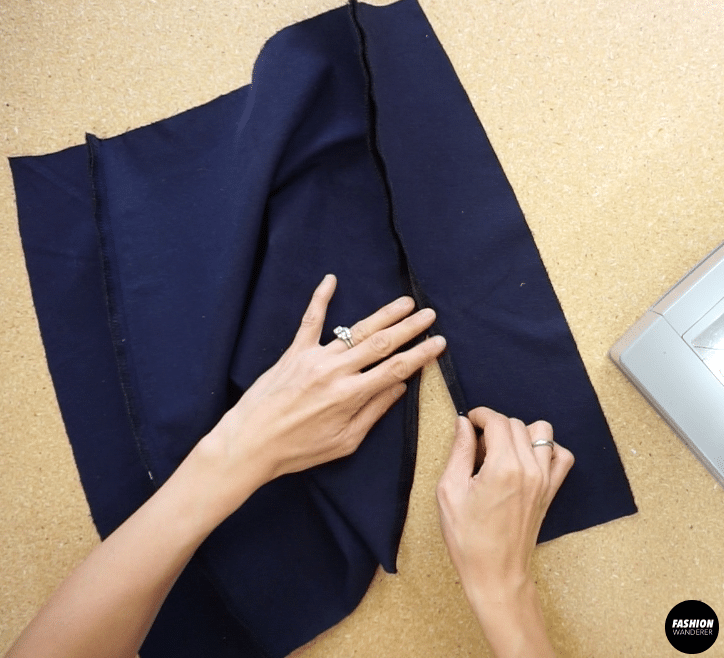
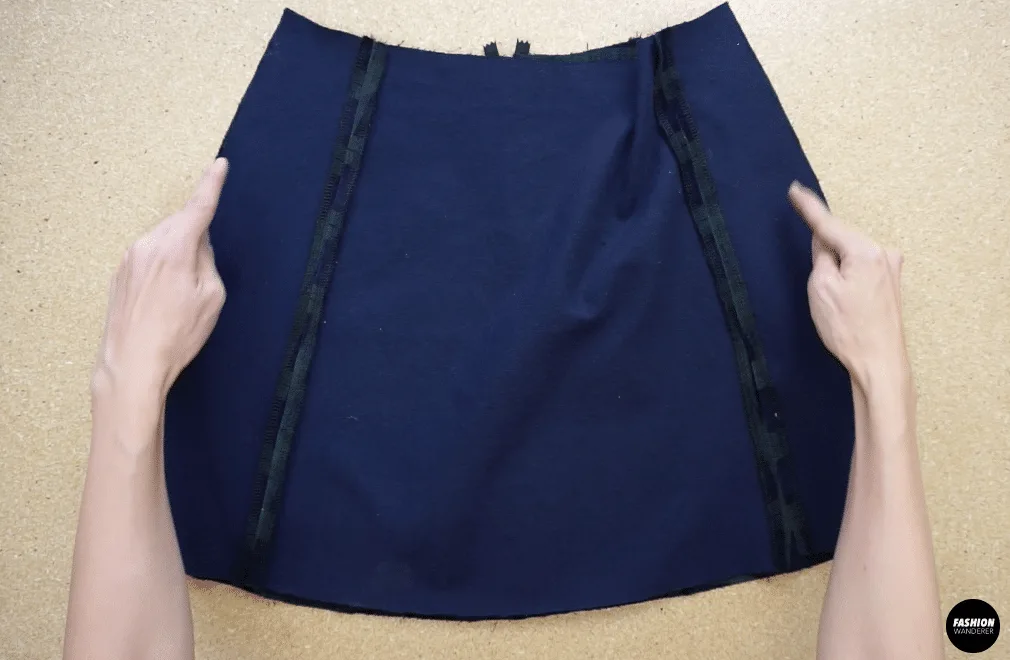
- To prevent fraying on the back of the skirt, overlock stitch the edges along the princess seams.

Stitch both sides of the back center pieces, and only along the back side pieces that attach to the back center pieces.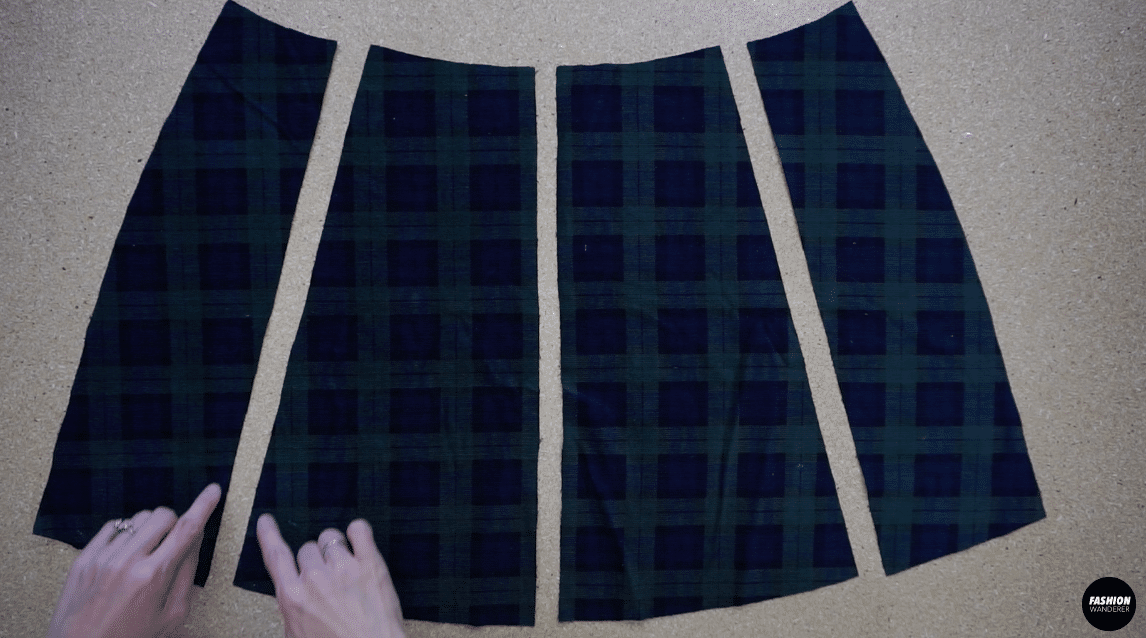
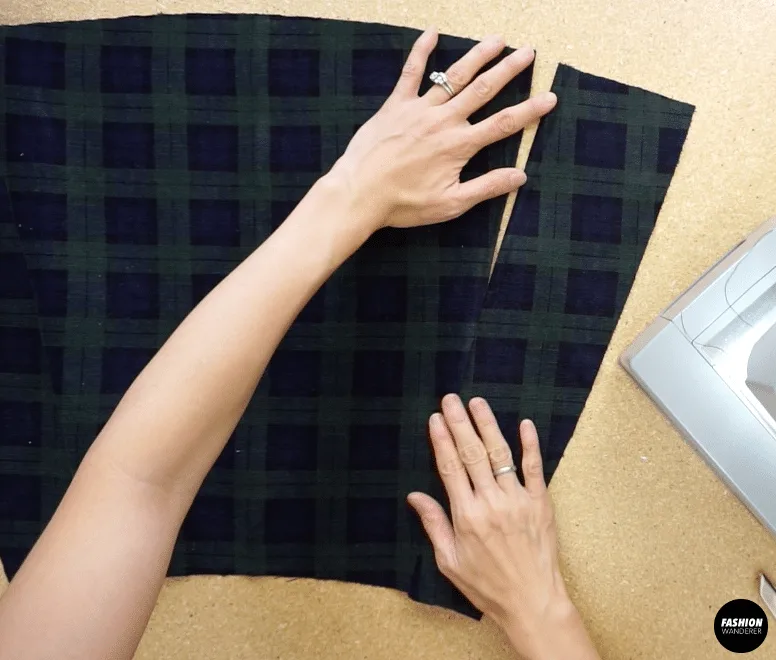
Pro tip: The side seams will be overlocked when attaching the front of the skirt to the back of the skirt. - To attach the front skirt pieces, place the front side pieces on top of the front center piece with the right sides facing together.

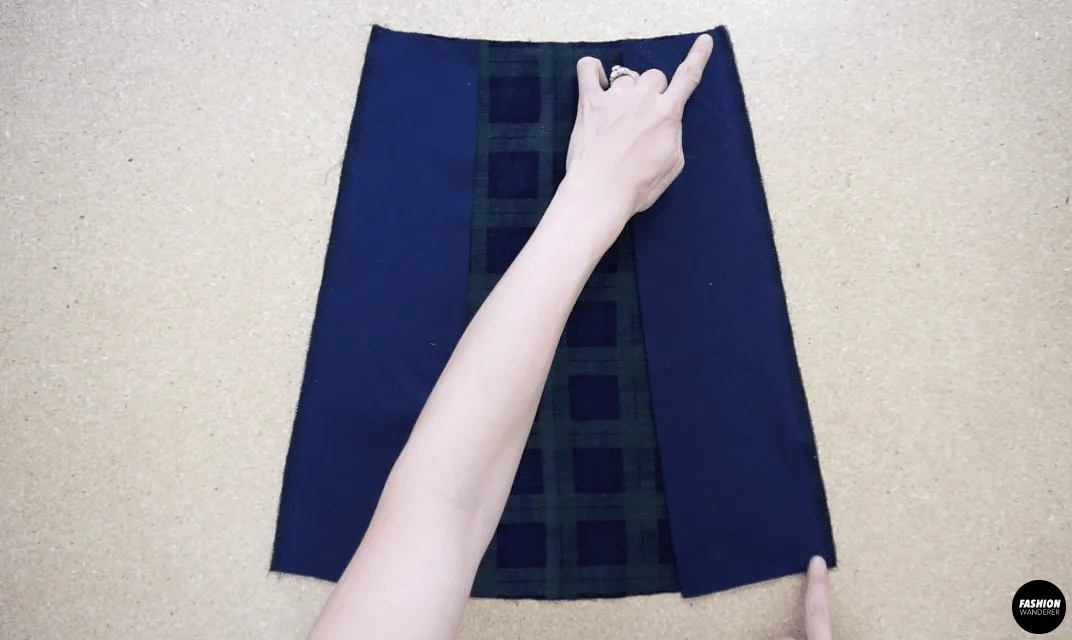
- To make a side slit in the mini skirt, measure 6” up from the hemline and mark.


Join the front side piece to the front center piece and stop at the marking for the side slit.
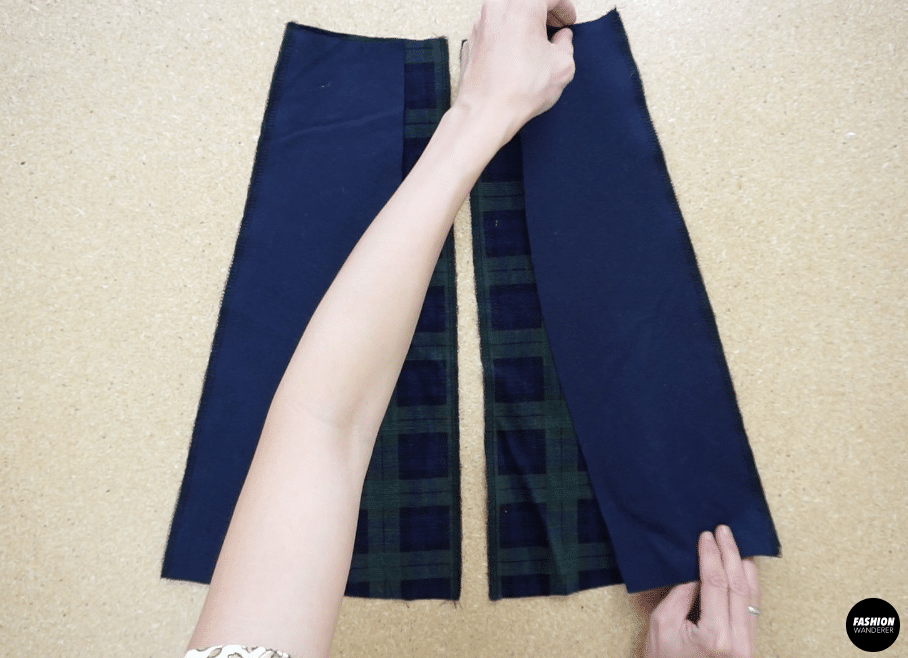
- To complete the front of the mini skirt, ¼” fold the edge and topstitch around the side slit opening.

This will give a clean finish and prevent the edge from bunching and flipping.
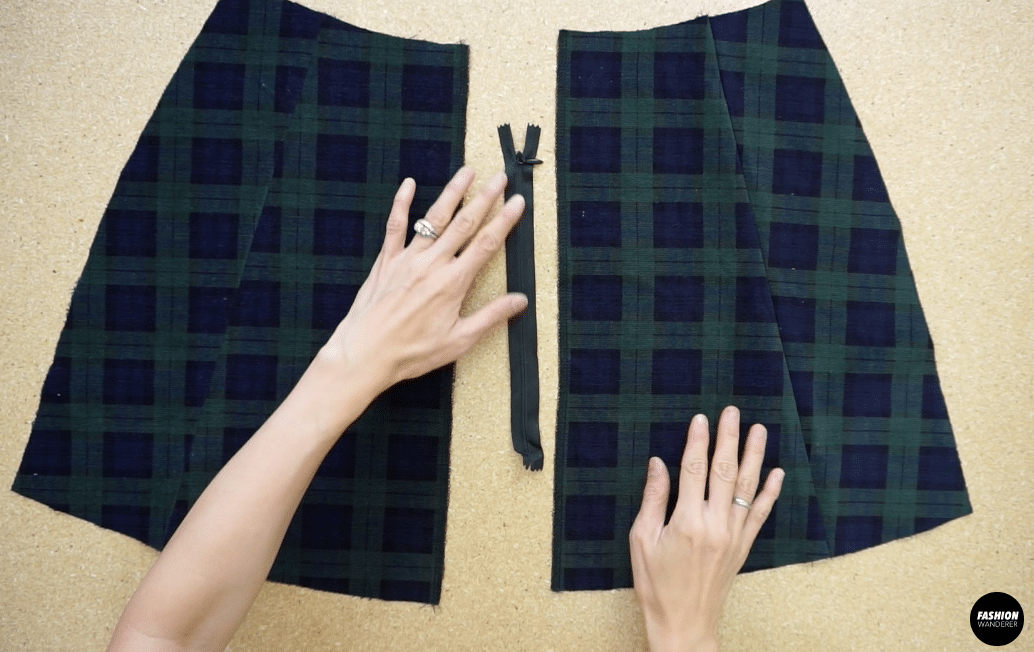
- To attach the back skirt pieces, join one back center piece to one back side piece with the right sides facing together.

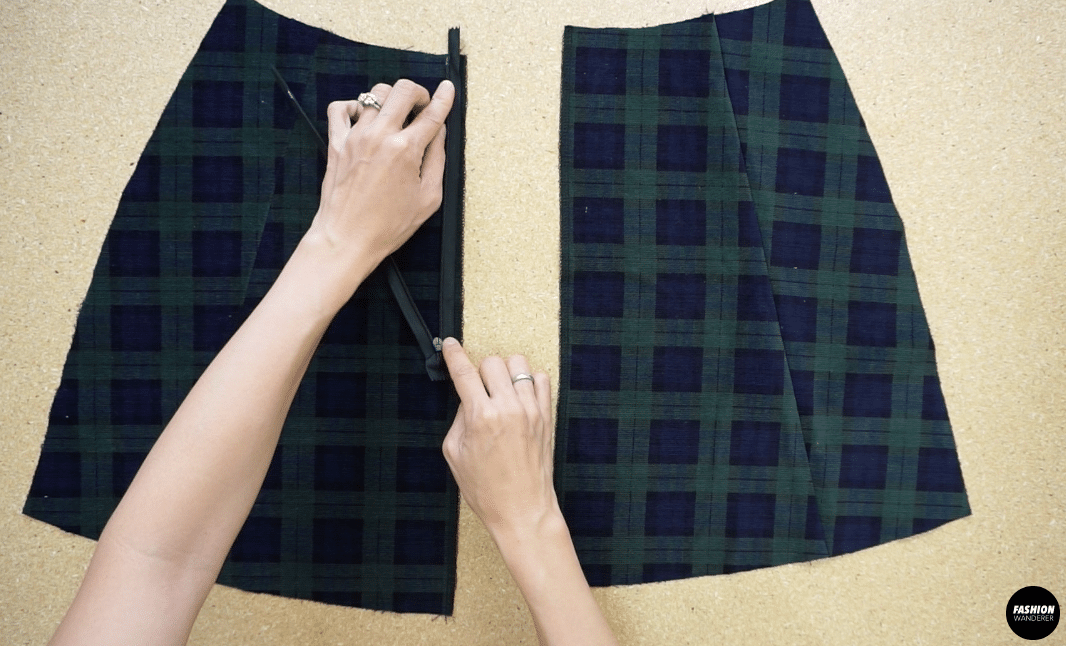
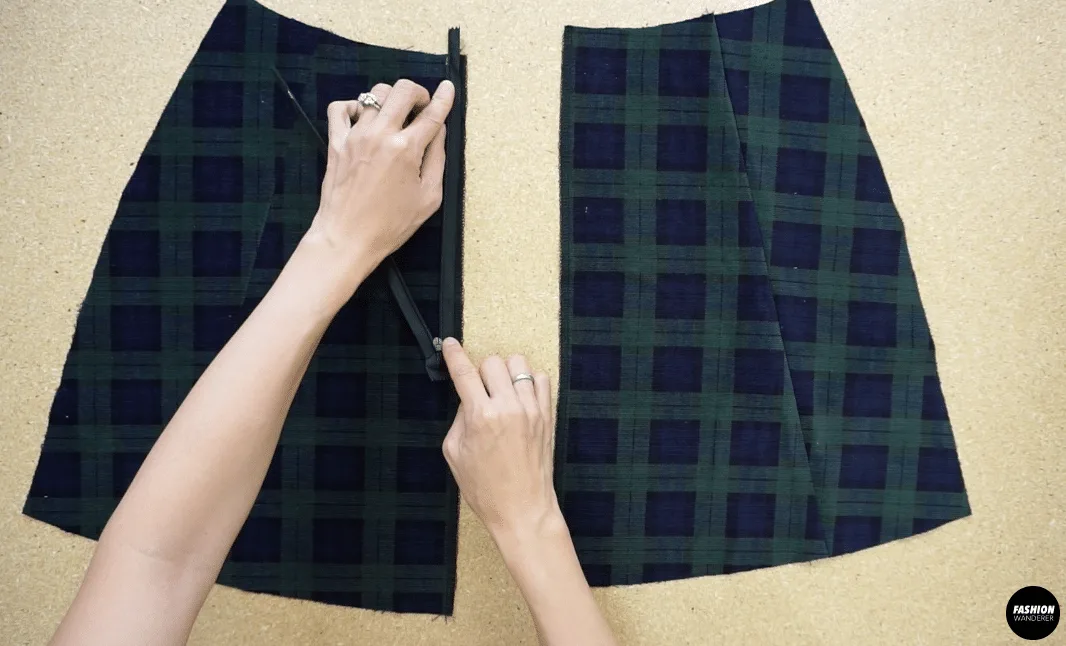
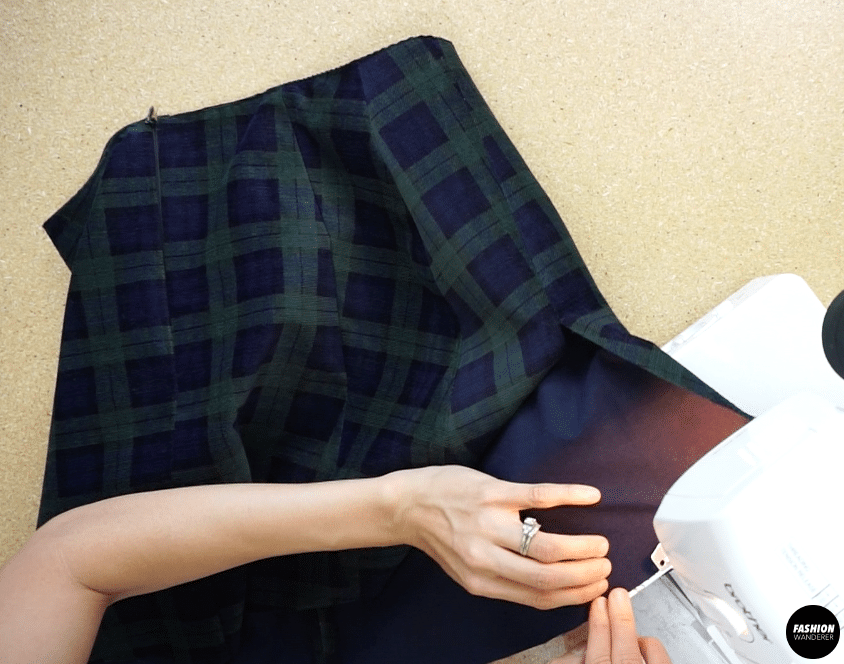
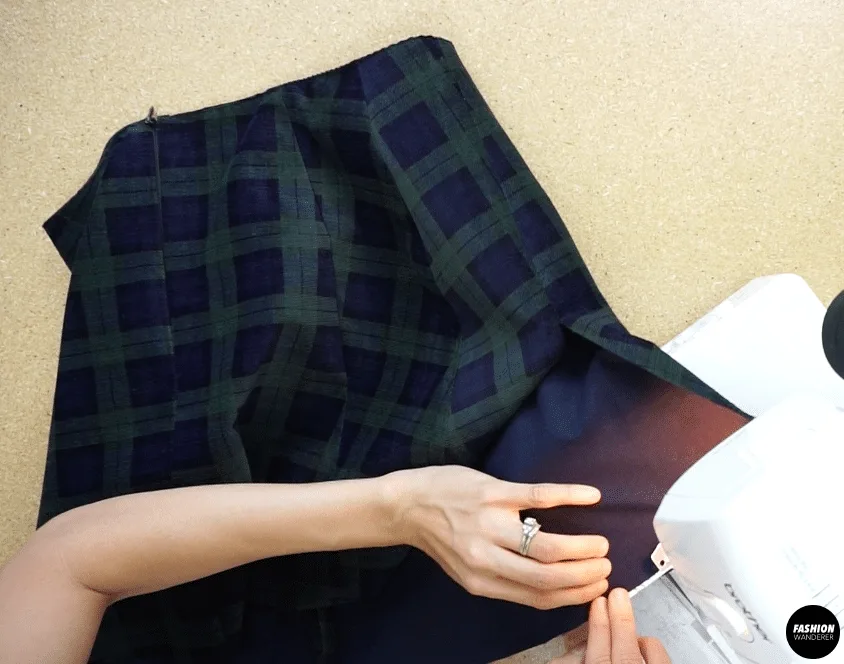
Do the same for the opposite side. - To attach the zipper to the mini skirt, open the zipper and join the placket tape to the center back opening starting at the waistline on both sides.

- To complete the back of the mini skirt, close the bottom of the center back opening.
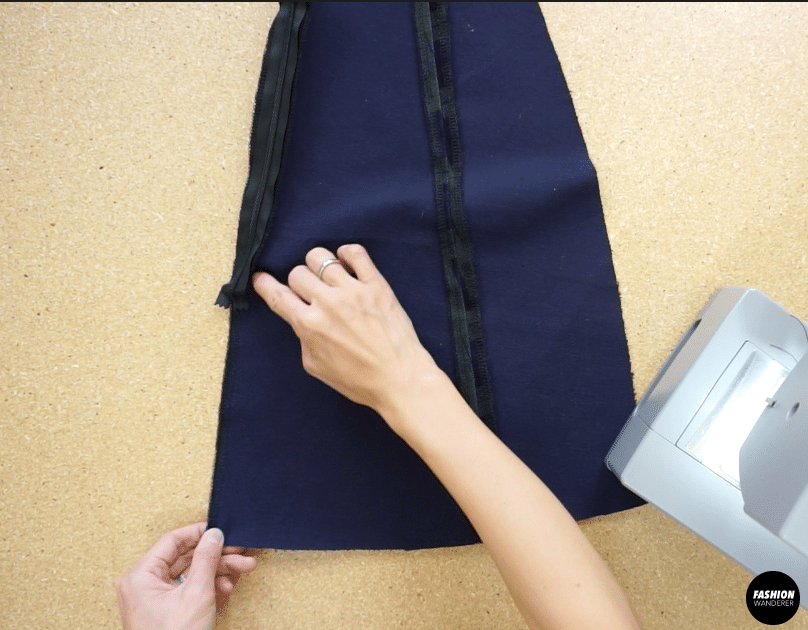

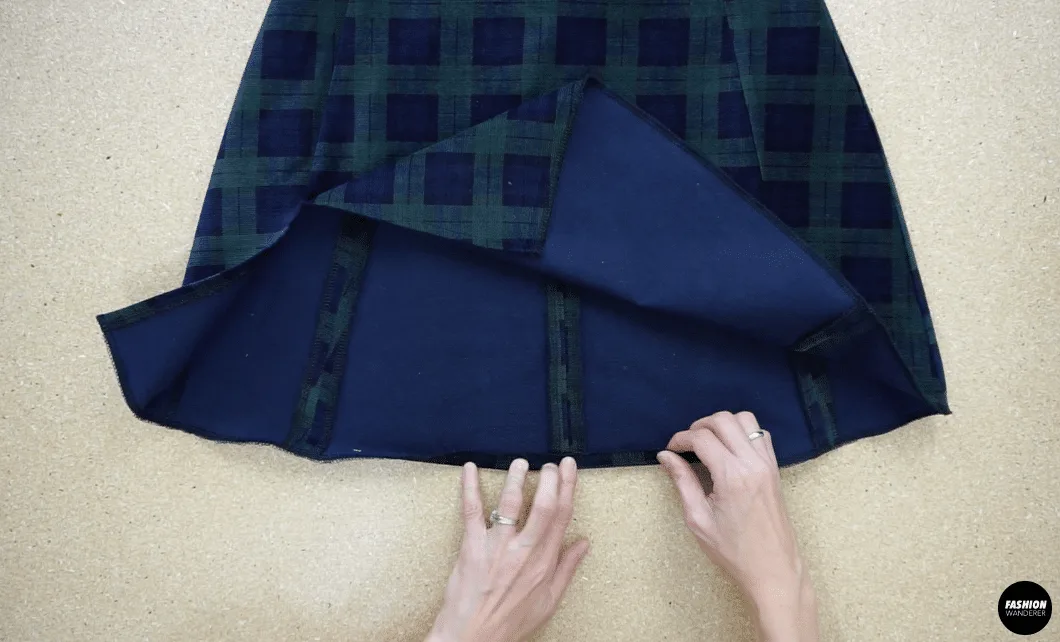
- Iron the skirt pieces to create smooth and even seam lines.

- To attach the front skirt piece to the back skirt piece, overlock stitch the side seams with the right sides facing together.
- To add a waistband to the mini skirt, start at one side of the zipper opening and pin the ¼” biased binding strip around the waistline.
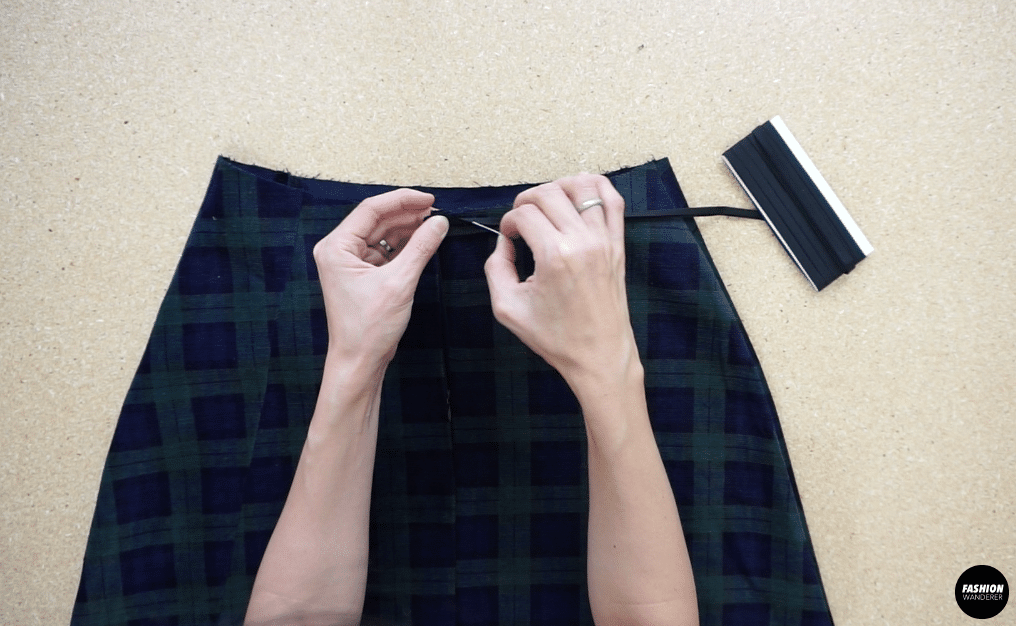

Sew along the biased strip.
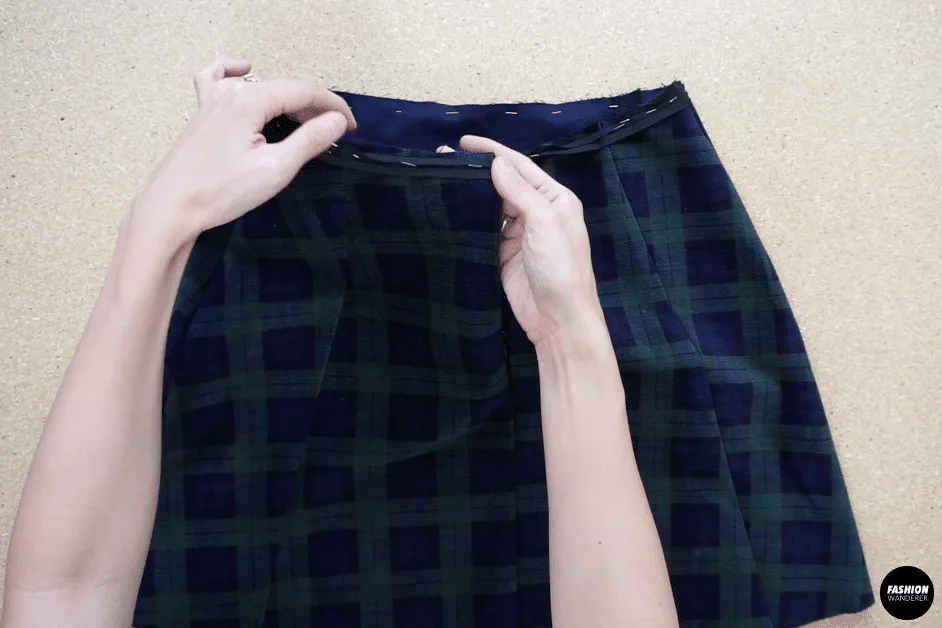
Fold the binding inside the waistline, and then topstitch to finish the waistband.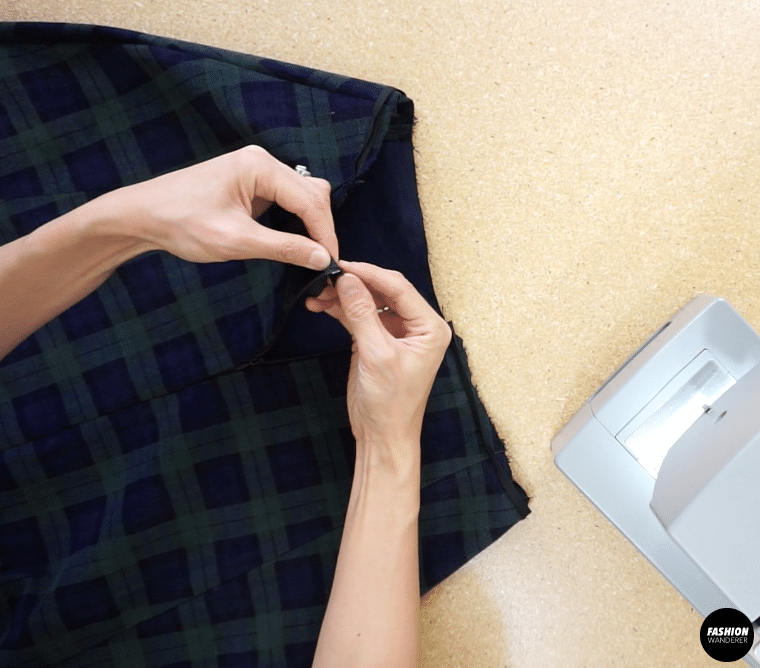

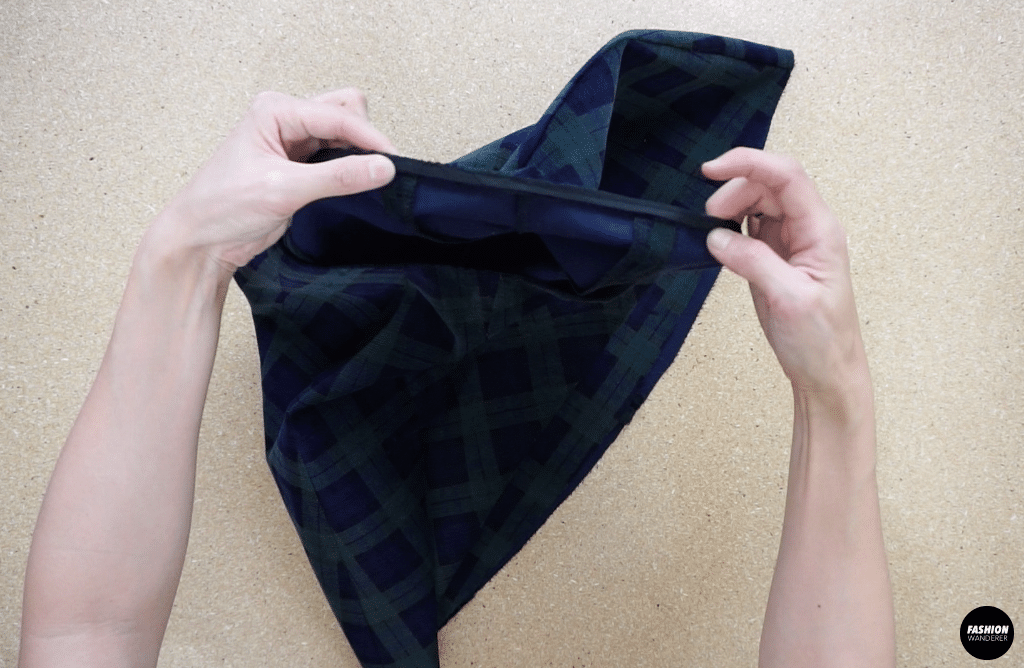
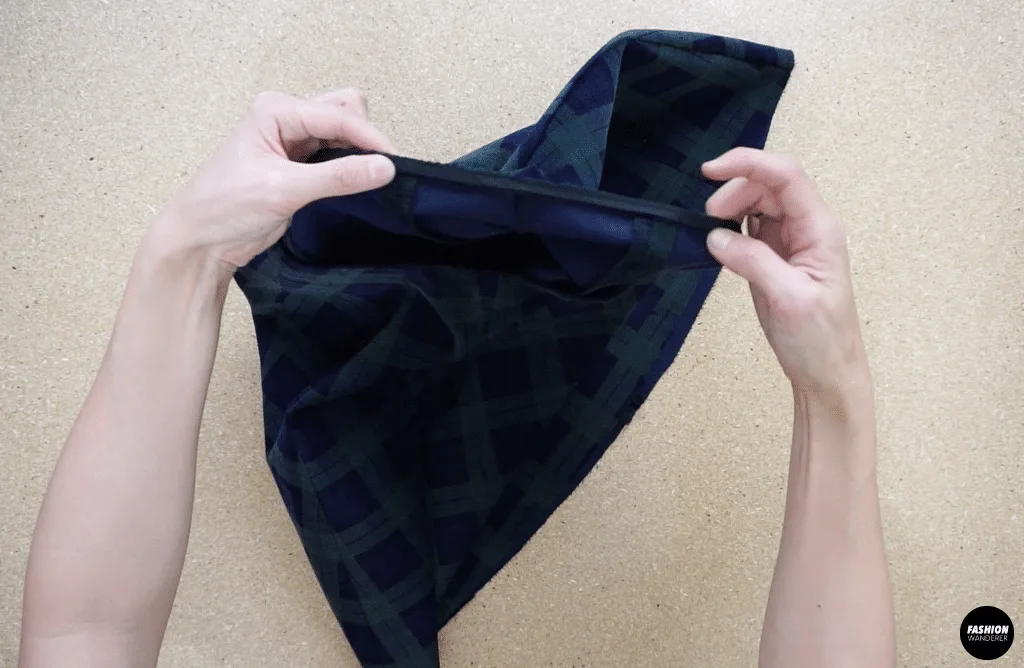
- To hem the mini skirt, overlock stitch around the bottom opening.
Fold the hemline, and then topstitch the hem to complete this Kai notched mini skirt.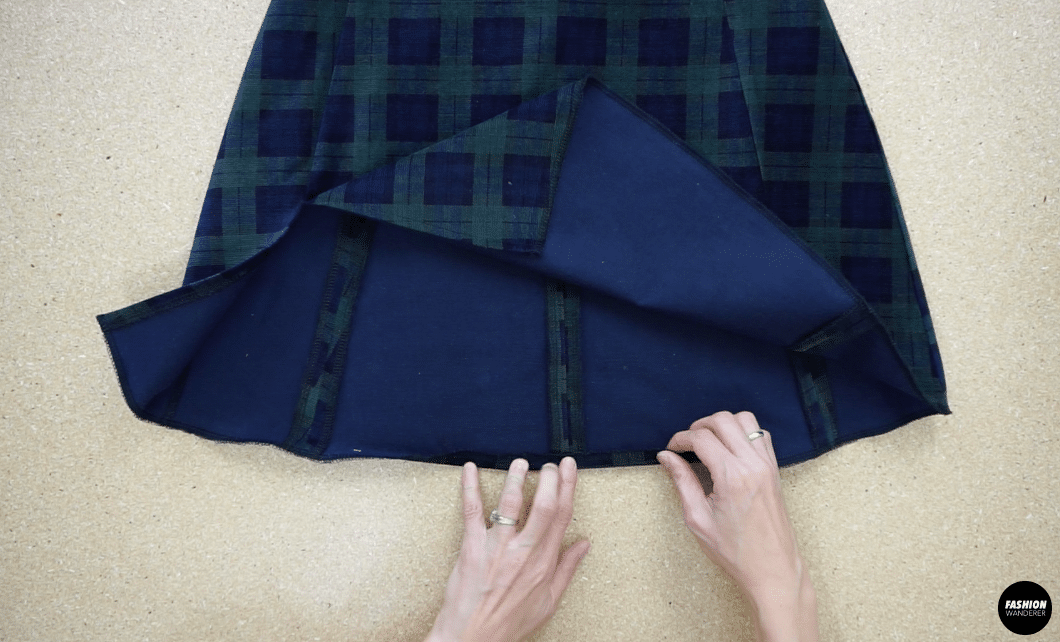


Recommended Products
As an Amazon Associate and member of other affiliate programs, I earn from qualifying purchases.


Trendy, Affordable Sewing Patterns for All Sizes


Tie Shoulder Jumpsuit Pattern


Palazzo Pants Sewing Pattern


Pocket Overall Romper Pattern


Wrap Maxi Skirt Sewing Pattern


Tie Back Top Sewing Pattern