
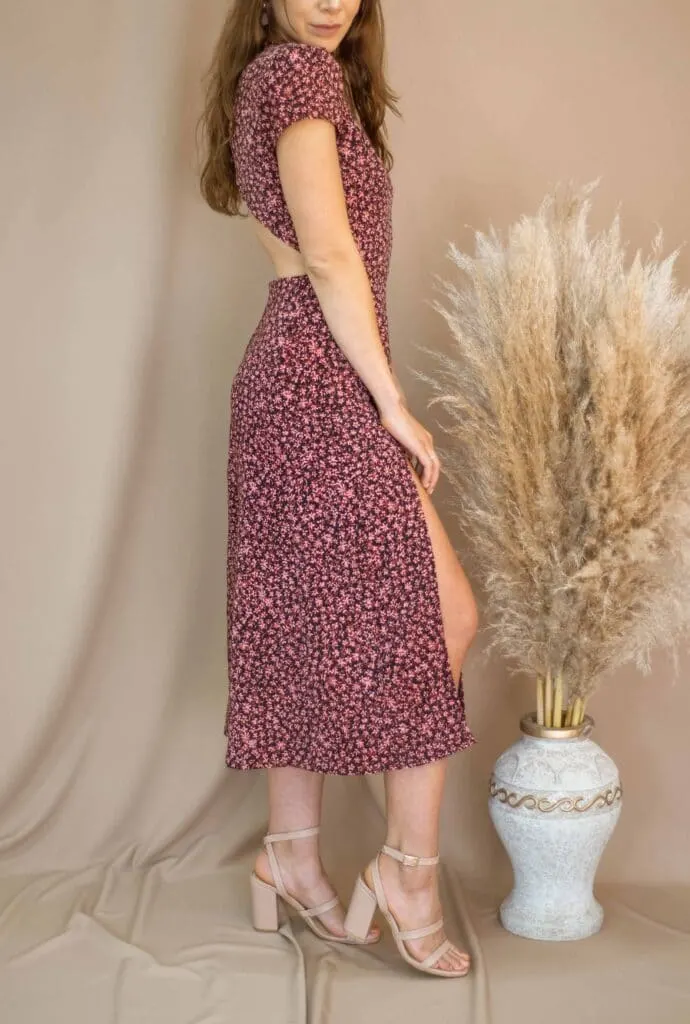
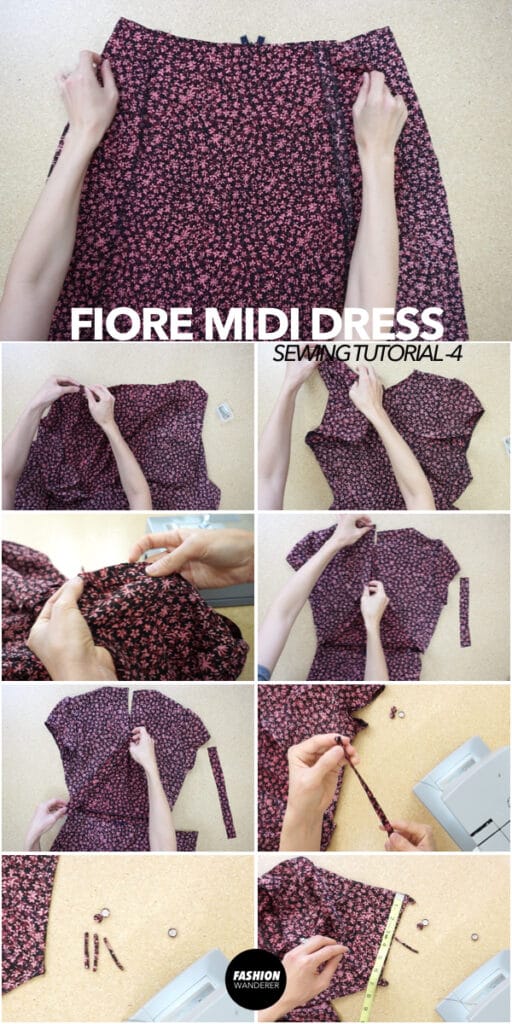
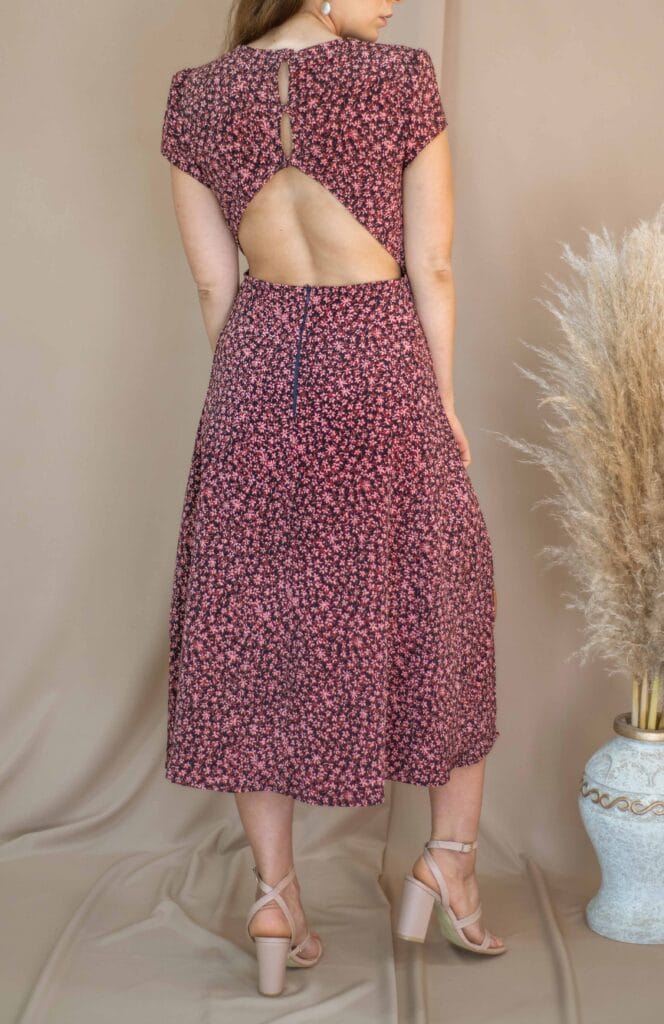
Do you need a go-to dress to wear from casual event to date-night outings? If you are obsessed about puff sleeve and high slit opening along the skirt, then this Fiore midi dress sewing pattern is for you!
The printable pdf is available for immediate download on my Etsy shop. If you have a pretty ditzy floral or conversational print pattern in poly crepe or rayon material, it’s the perfect fabric to make your own modern and feminine Fiore dress in your favorite color and prints.
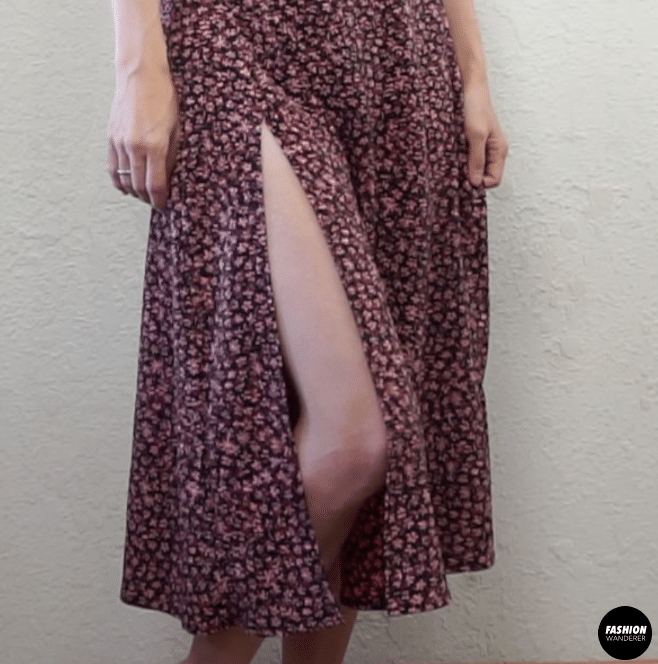
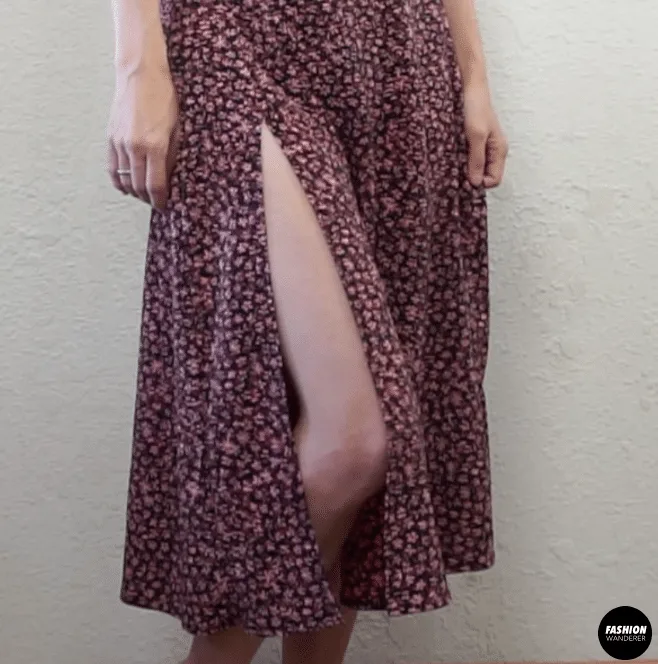
In this tutorial, you will learn to add an invisible zipper to the center back opening of the dress by using bias cut inbinding method for a clean finish. The skirt part of the dress has seams vertically where you can create high slit to show off your legs or you can close the seam as well.
Each sewing pattern from Fashion Wanderer is easily adjustable and customizable based on your style preference. So, have fun transforming and personalizing as you sew!


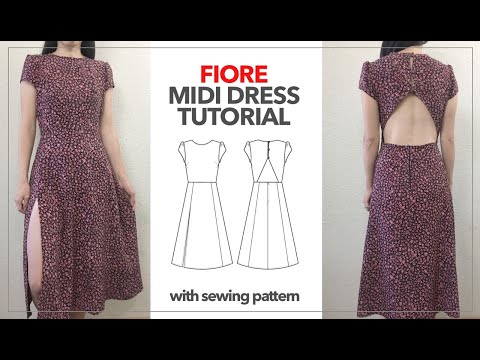
Fiore Midi Dress Sewing Pattern


You will love this Fiore midi dress with sewing pattern because…
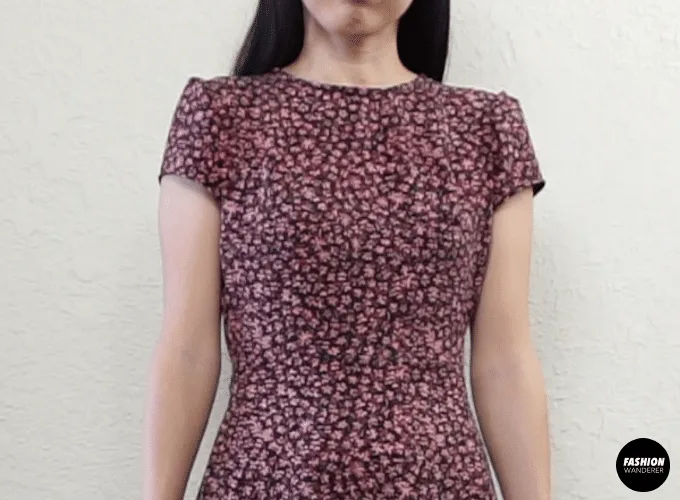
- You will learn how to create puff cap sleeve by creating bunching with wide width stitches.
- Learn self inbinding for a clean finishing technique for the neckline, back opening, and waistline.
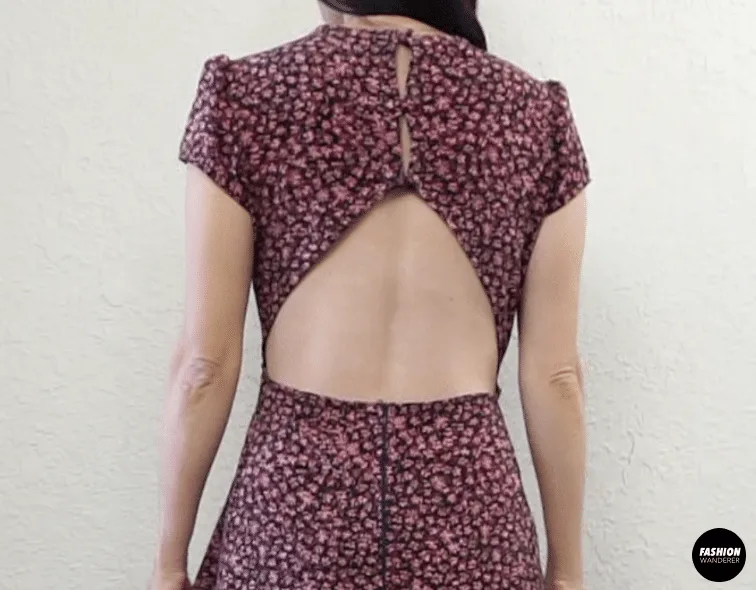
- Add a cute cover button and loop to create open back closures.
- This pretty dress comes in size 2 to 12 to fit you perfectly.
- Beginner level sewing project with store-bought quality finishes.
- Practice sewing medium-weight fabrication and execute clean inner seam with overlock hemming.
For this Fiore midi dress tutorial, it is made with ditzy floral printed on polyester crepe fabric. The crepe material has a pebbly surface and is thick enough that the dress doesn’t require a lining.
If you have rayon challis or crepe-de-chine, it will work also well to drape nice on your body.
However, if you want to challenge yourself, go ahead and go lighter fabrication and add lining on front bodice and skirt part. Simply adjust the pattern by subtracting ¼” on both side on top bodice and ½”~¾” length shorter to create a skirt lining.

How do you make Fiore midi dress?
Make a Fiore midi dress from any medium-weight fabric using the easy-to-follow sewing pattern. First, pre-wash your fabric and give a nice press before you begin cutting and sewing.
Follow along with the helpful guide for how to assemble pdf pattern before you get started. It will help you correctly cut out the size and put the sewing pattern together more accurately.
DIY Fiore Midi Dress Materials:
- Fiore Dress Sewing Pattern
- 2 to 2½ yards of medium weight poly crepe or rayon fabric based on the width.
- 7”~9” Invisible Zipper
- Dritz Size ½” Cover Button Kit
- Sewing Machine
- Matching Color Thread
- Fabric Chalk
- Fabric Scissors
- Measuring Tape
- Ruler
To make a Fiore midi dress, assemble the pattern pieces.
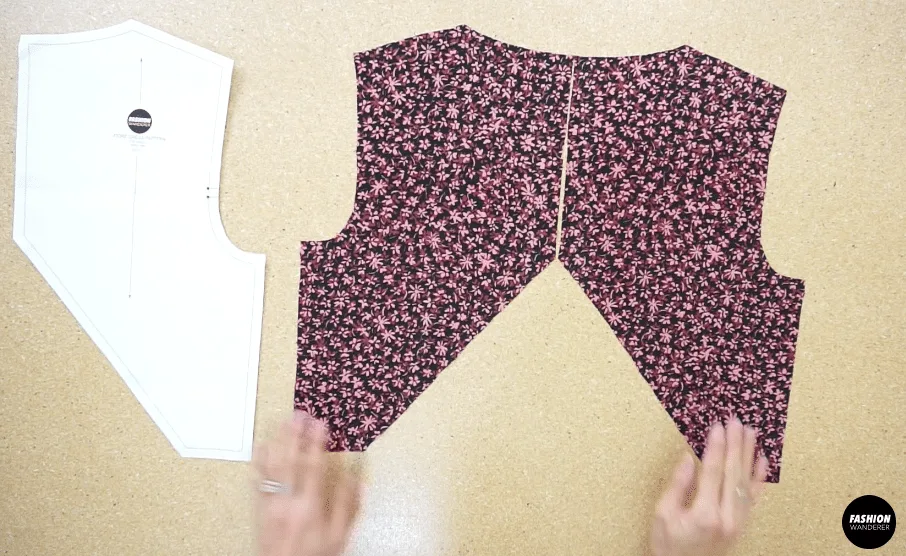
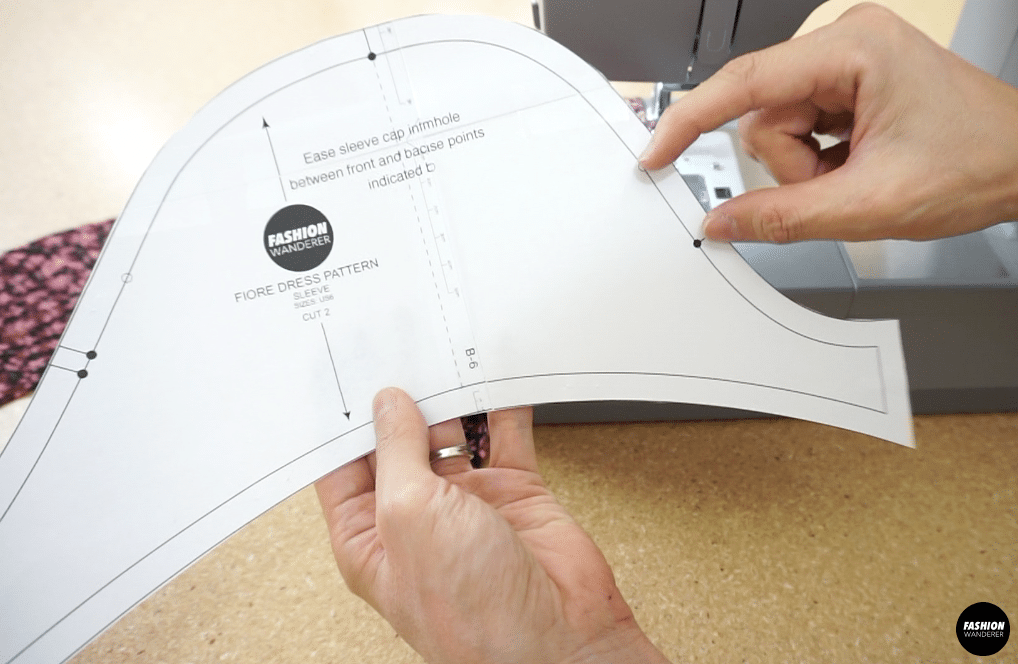
Copy the front bodice piece along the folded edge, the two back bodice pieces and two puff sleeve pieces.
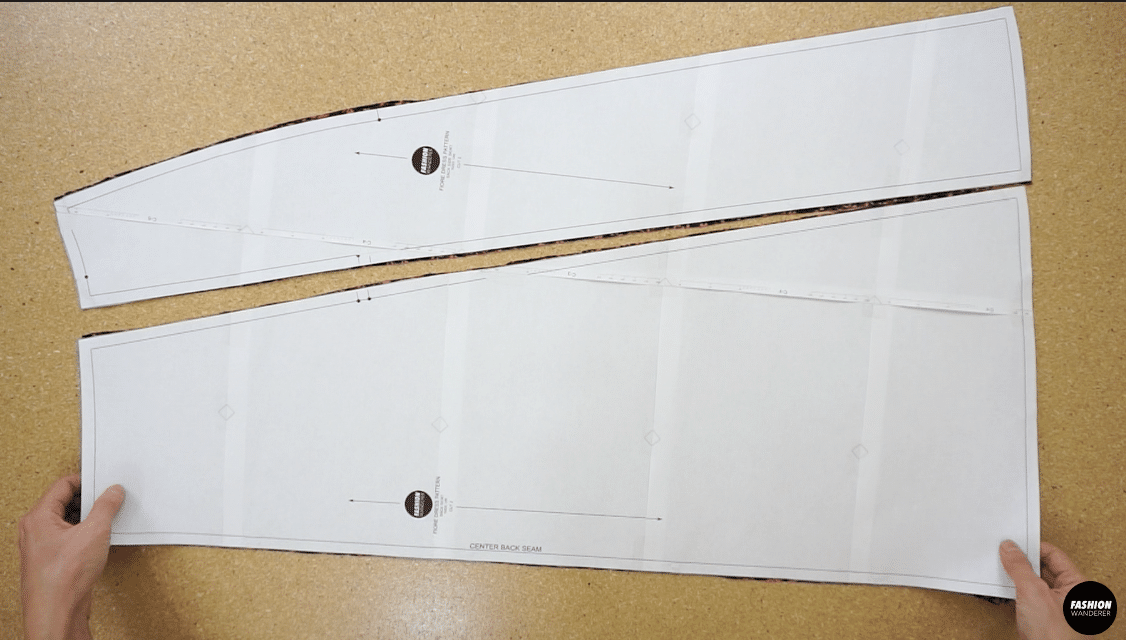
Fold another piece of fabric in half, copy the front center dress piece along the folded edge, two front side dress pieces, two back side dress pieces and two back center dress pieces
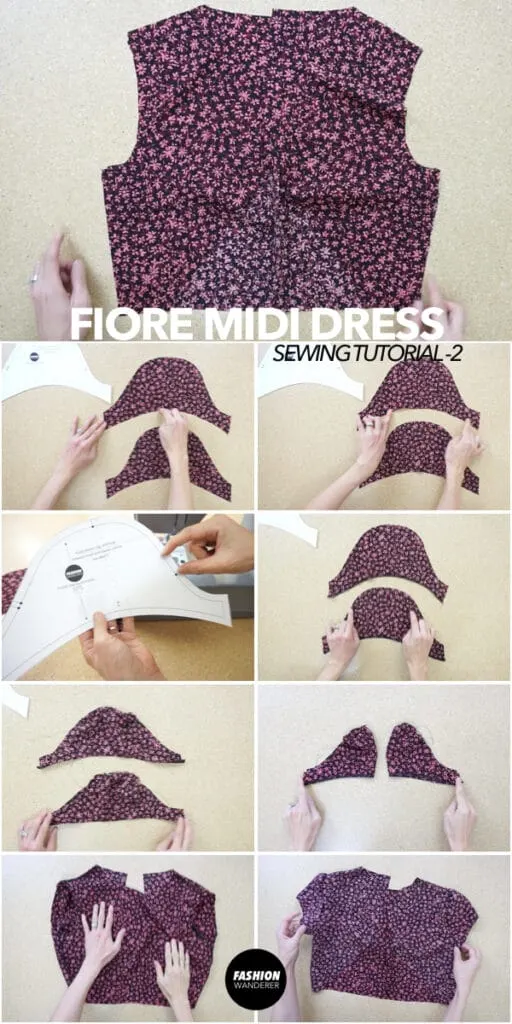
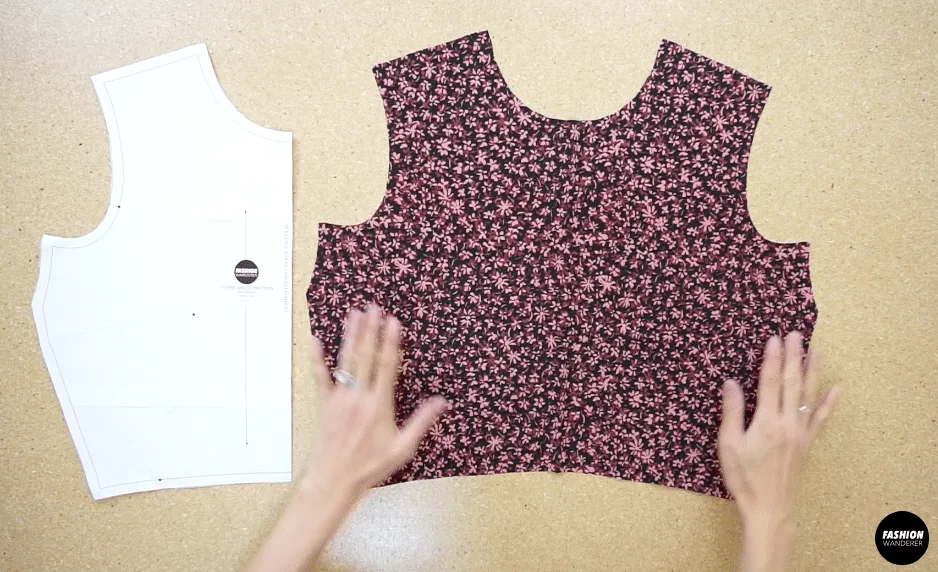
Close the bust dart on both sides of the front bodice piece.


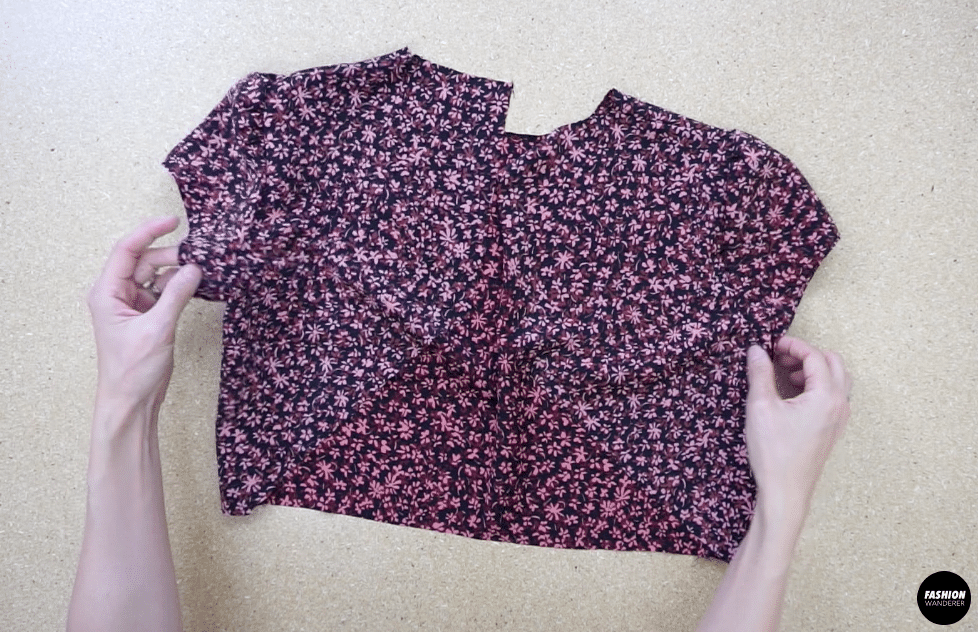
Join the front bodice to the back bodice pieces with the rights side facing together.
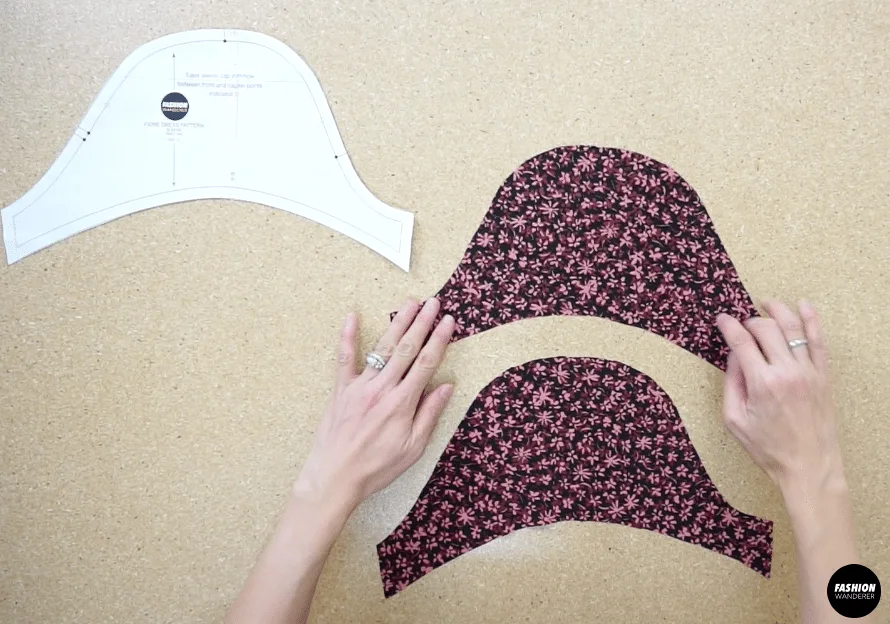
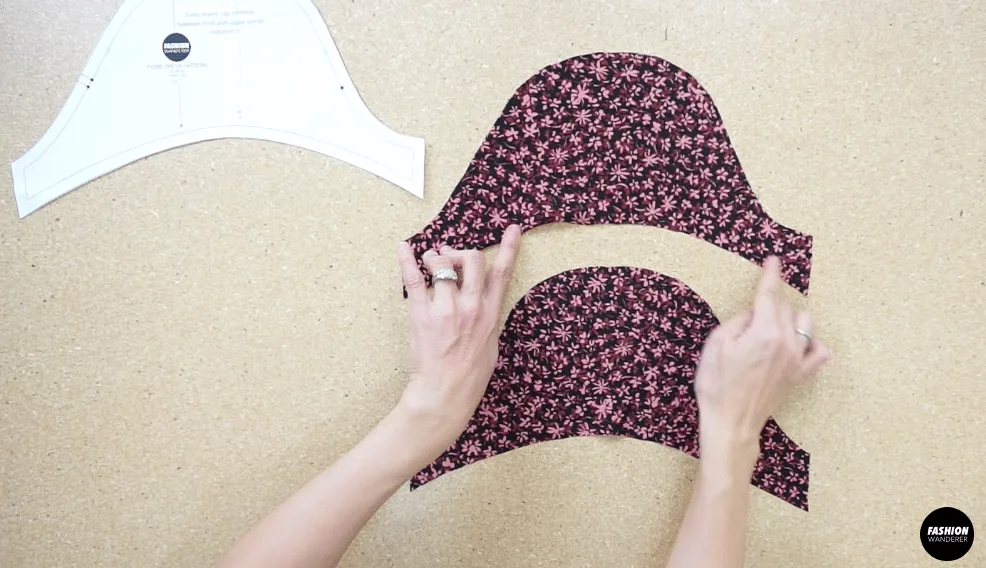
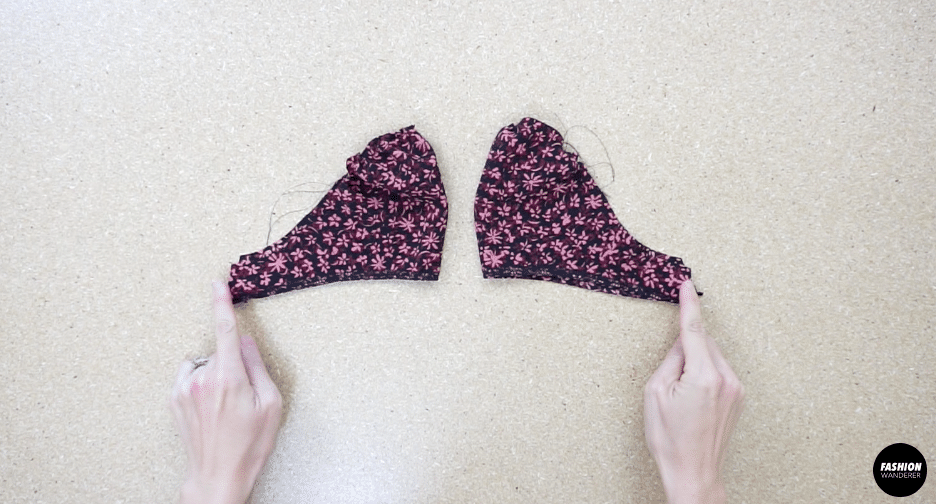
Make the puff sleeves with shirring and join the underarm seam of both puff sleeves.
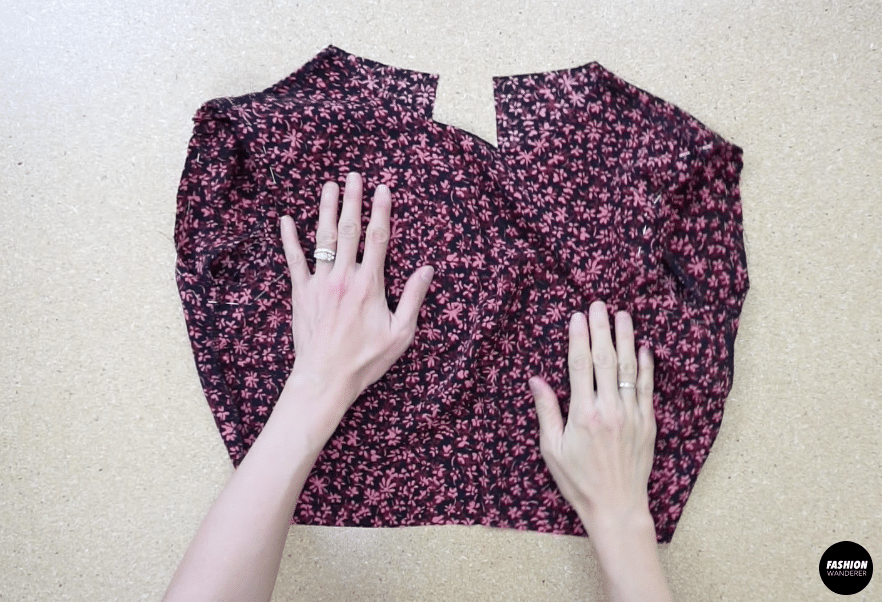
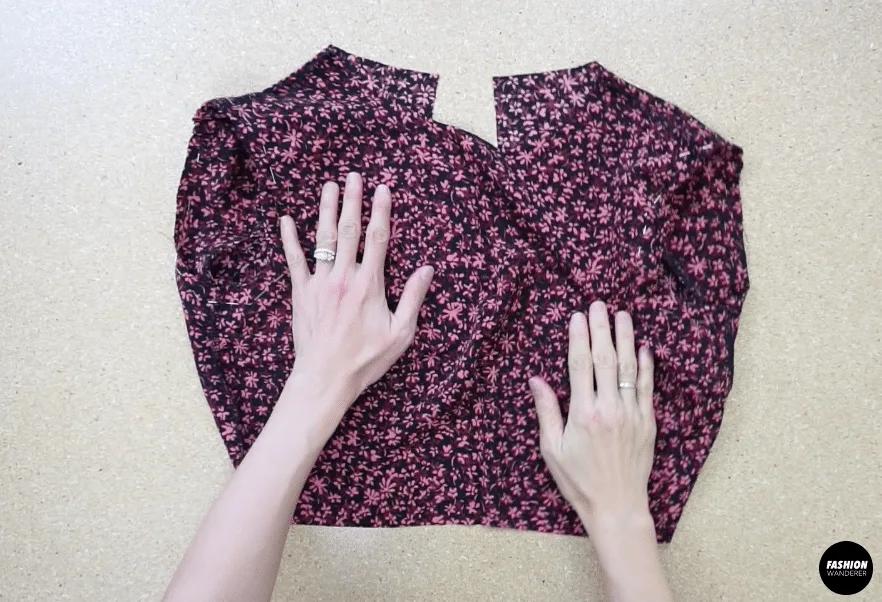
Join the puff sleeves to the bodice.

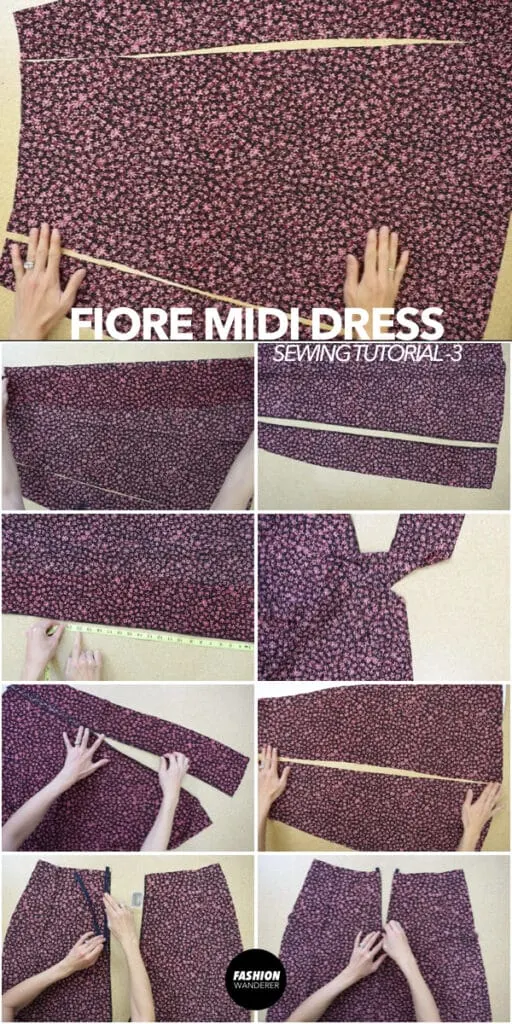
Make the front dress bottom with the side slit.
Make the back dress bottom with the zipper.
Hem the dress.
Join the front dress piece to the back dress piece with the right sides facing together.

Add inbinding to the neckline.
Add inbinding to the back opening.
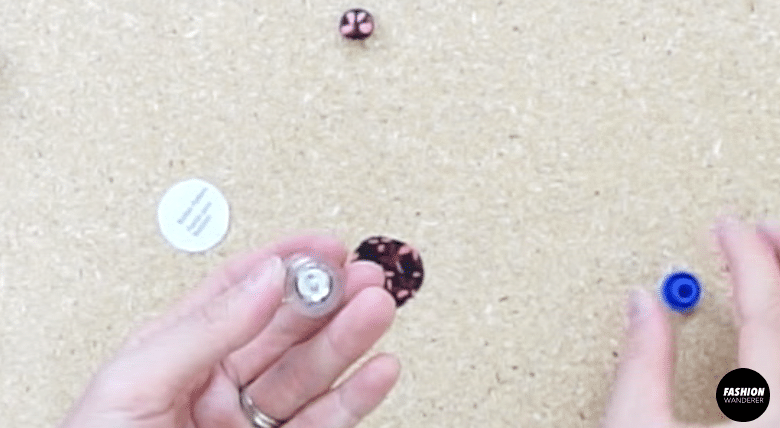
Make covered buttons.
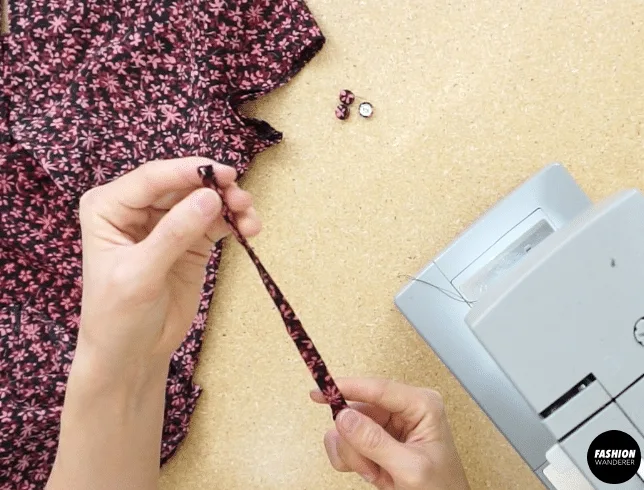
Make the button closure with a 1” wide strap.
Lineup the buttonhole closure with the covered buttons on the opposite side of the back opening.
Hand sew the buttons in place to complete this Fiore midi dress.

DIY Fiore Midi Dress Sewing Tips:

In this DIY Fiore midi dress, you will learn everything you need to assemble this sewing pattern. From sewing an invisible zipper to clean finishing with inner binding method. you will learn techniques to create smooth edges along the opening for a professional quality garment.
Here are must-know sewing tips to accomplish this midi dress without a mistake:
- Sewing Machine: A fine needle such as size 60/8 is recommended and thread the machine with a lightweight cotton or lightweight poly-cotton thread. Test the machine on a swatch of fabric with small stitches ranging between 1.5 to 2 mm or 12 to 15 stitches per inch.
- Cutting Tips: When cutting the fabric, pin well before cutting out your pattern pieces. After cutting out the sewing pattern, unpin the pattern pieces from the fabric. Re-lay the paper pattern on top of fabric again to see where the fabric might have shifted, and trim where necessary. In addition, if the fabric is too flimsy, use spray starch on the fabric so it is more stable for cutting.
- Walking Foot: Crepe fabric tends to shift while sewing due to slippery nature of the material. Use a walking foot to help feed the layers through the machine at the same time if needed.
- Inner Finishes: Use overcast or zigzag stitch if you don’t have a serger. French seams are another practical seam finish for crepe, crepe-de-chine or rayon fabric.
- Ironing: When you are using a polyester crepe, make sure to set your iron to a synthetic setting. It is important to use correct heat setting on your iron so that the material doesn’t burn, warp or become damaged in any way. For this tutorial, I used the silk setting.


How To Make Fiore Midi Dress With Sewing Pattern
Go ahead and copy the sewing pattern. Follow the video tutorial and easy step-by-step picture instructions to complete this Fiore dress!
Materials
- Fiore Dress Sewing Pattern
- 2 to 2½ yards of medium weight poly crepe or rayon fabric based on the width.
- 7”~9” Invisible Zipper
- Dritz Size ½” Cover Button Kit
Tools
- Sewing Machine
- Matching Color Thread
- Fabric Chalk
- Fabric Scissors
- Measuring Tape
- Ruler
Instructions
- For this Fiore midi dress tutorial, start by assembling the pattern pieces.
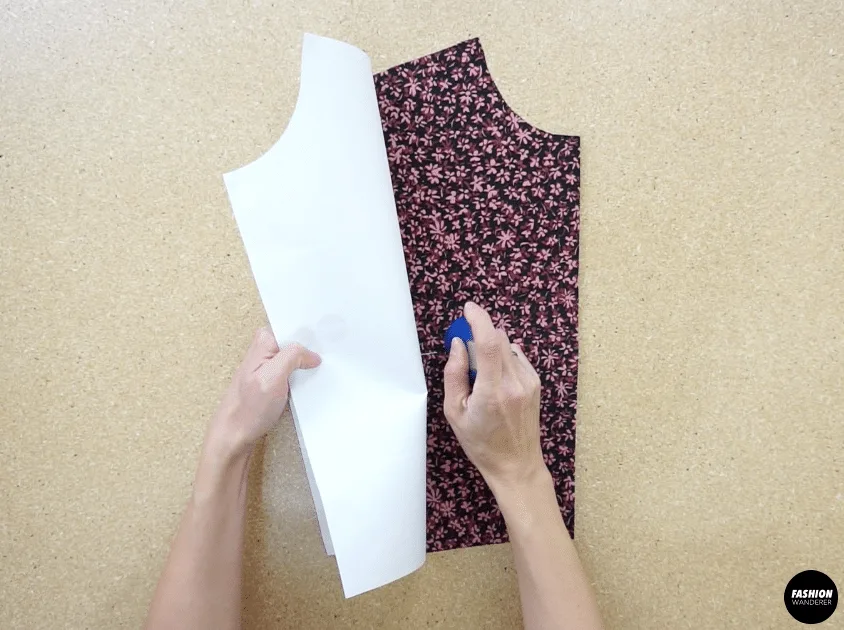
- Fold a piece of fabric in half, and pin the paper pattern to the fabric.
Also pin around the edges so that the two layers of fabric remain taught.
Copy the front bodice piece along the folded edge.
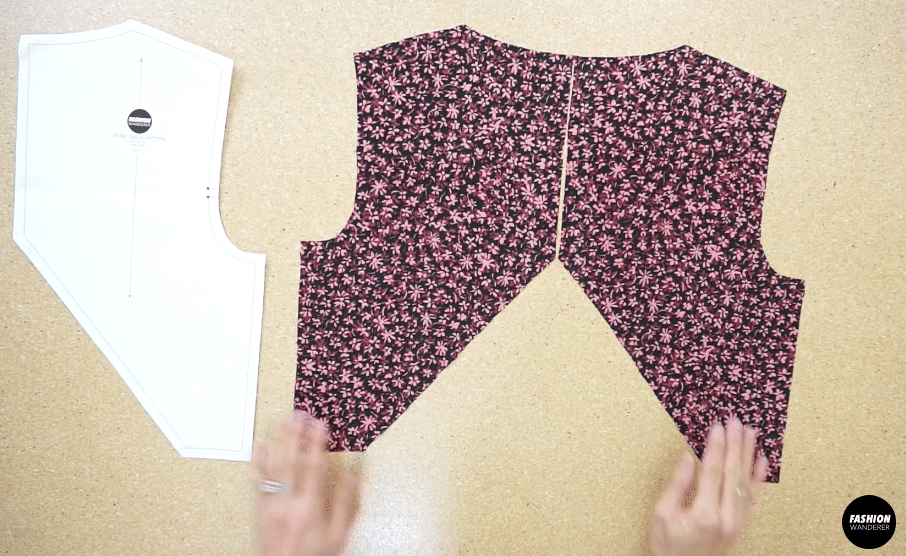
- Also, copy the two back bodice pieces,
and two puff sleeve pieces.
- Fold another piece of fabric in half, pin to secure and copy the front center dress piece along the folded edge, and two front side dress pieces.
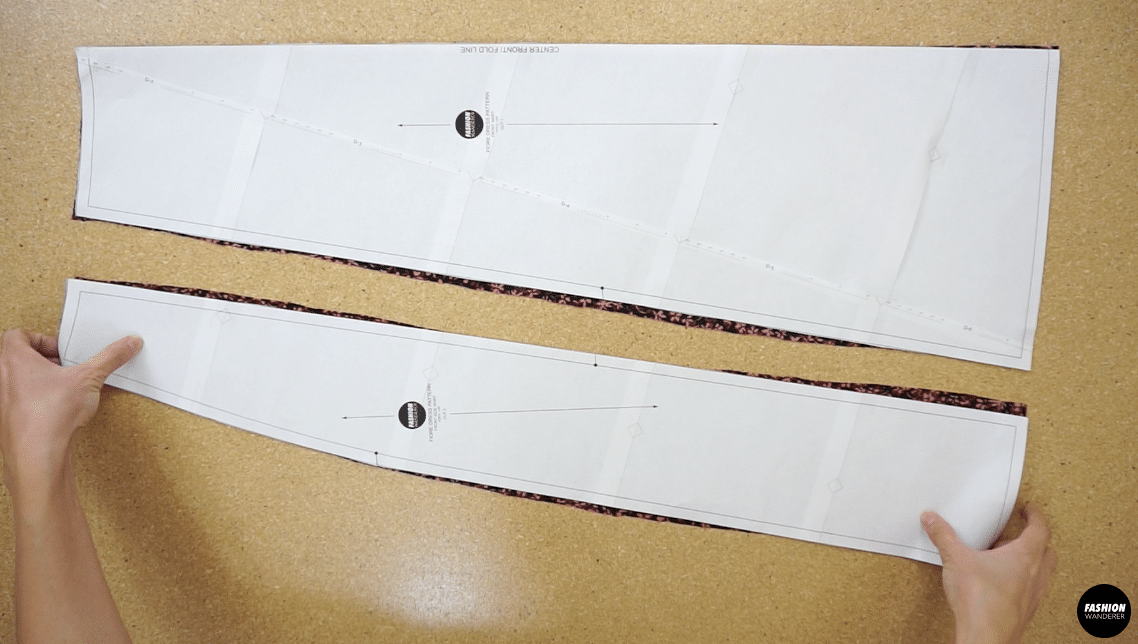
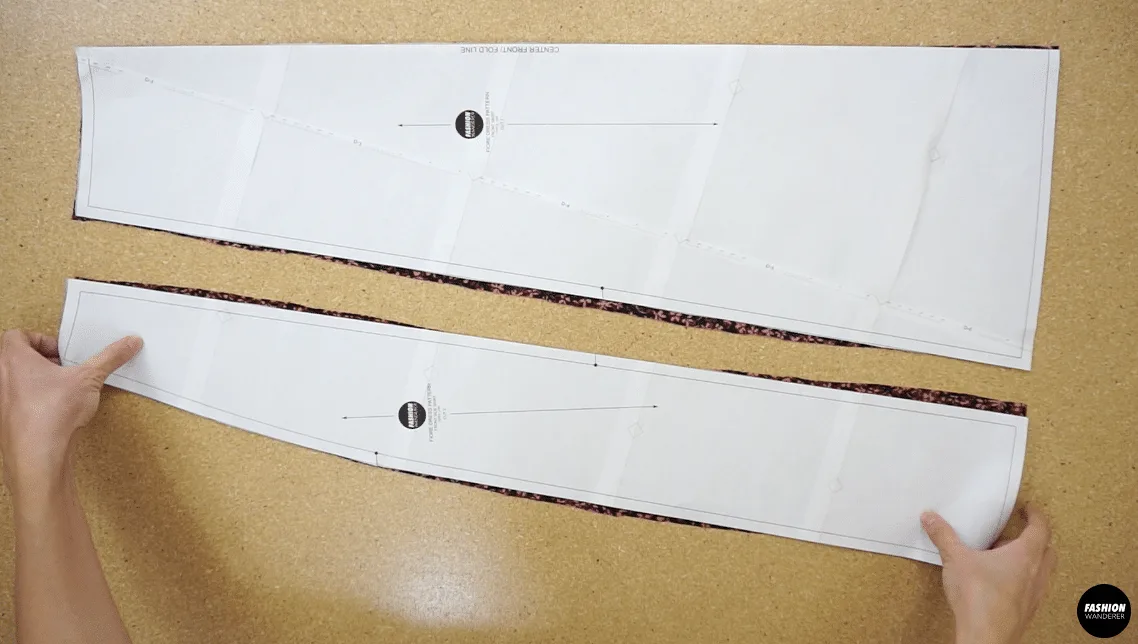
- Lastly, cut two back side dress pieces and two back center dress pieces

- You will also need a piece of 1” wide biased cut binding strips for the neckline and back opening of the dress.
- To close the bust dart on the front bodice piece, locate the position of the dart on the pattern piece.
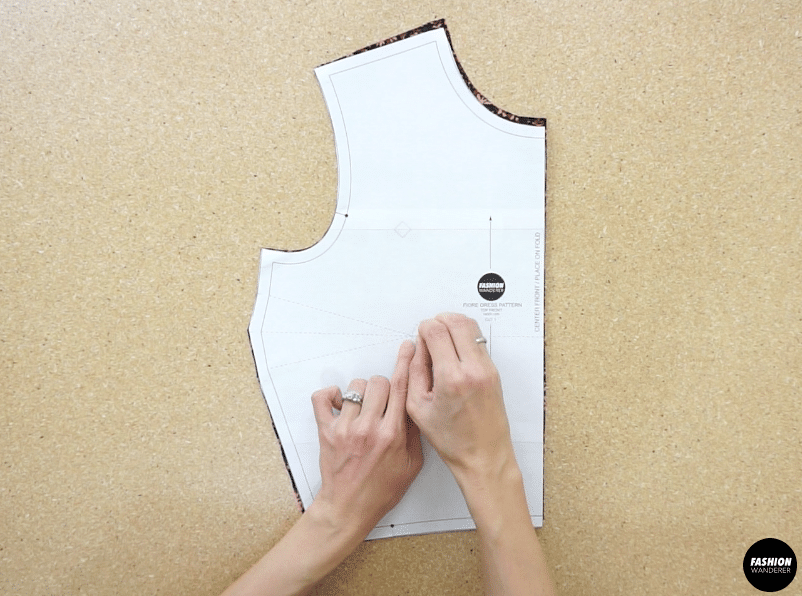

Line up the dart on the fabric and mark with chalk.
Fold the fabric along the marking, pin to secure and close the bust dart.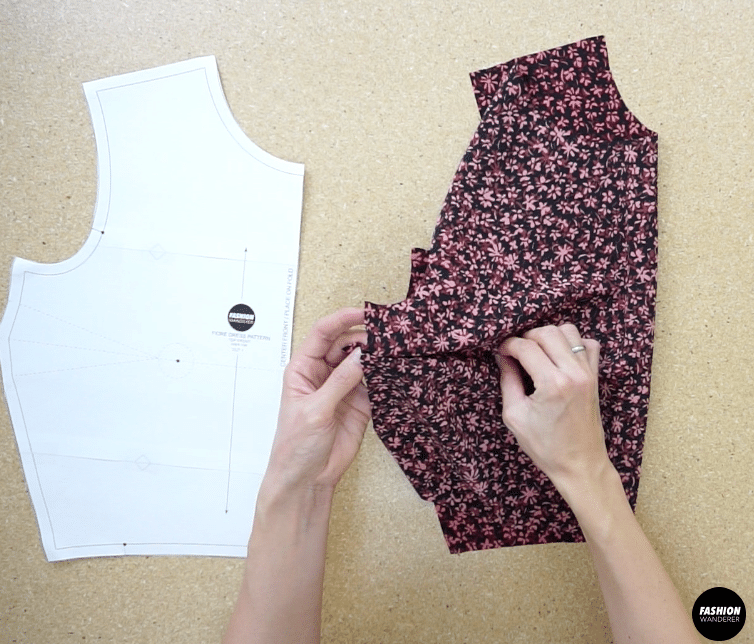

Copy the bust dart onto the other side of the front bodice piece.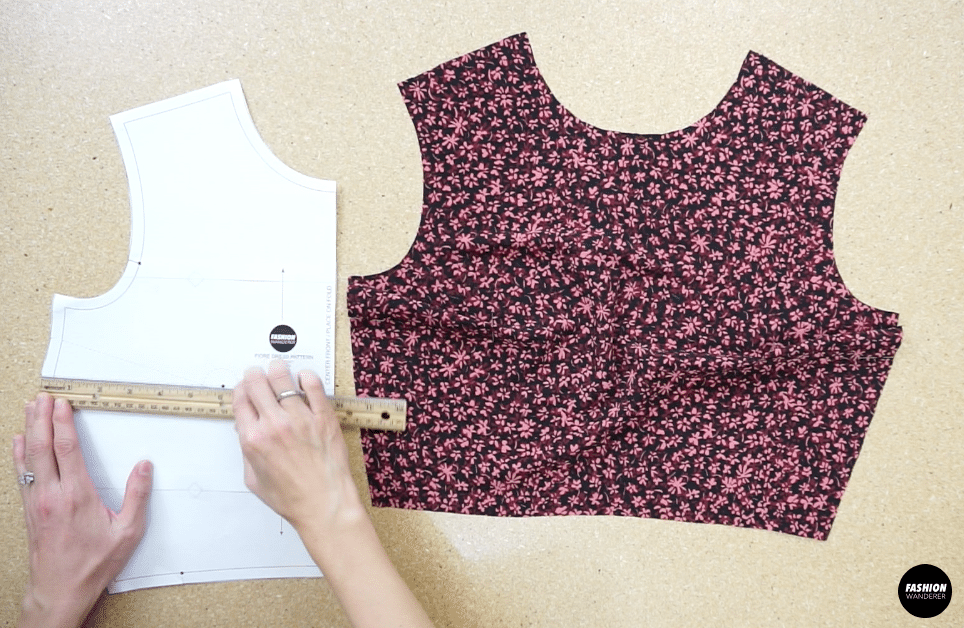

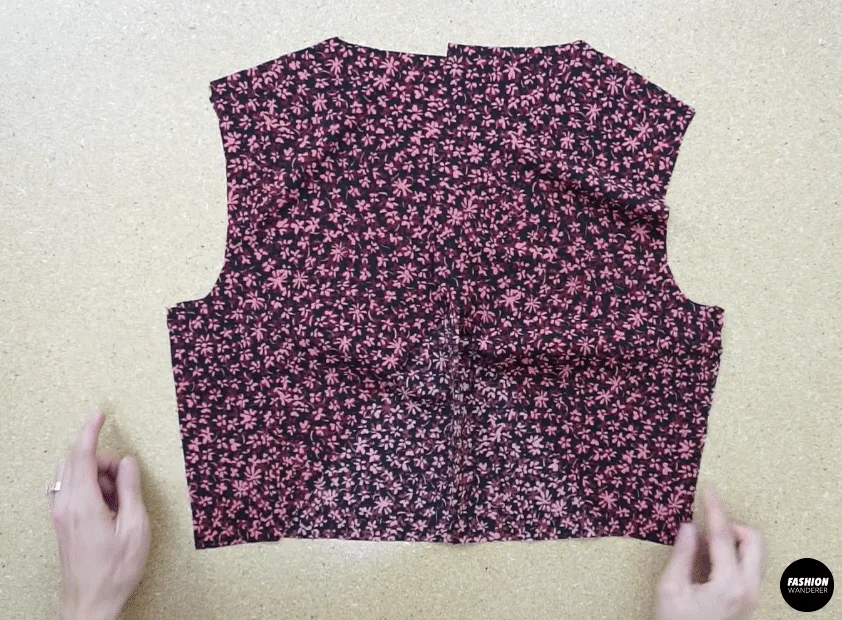
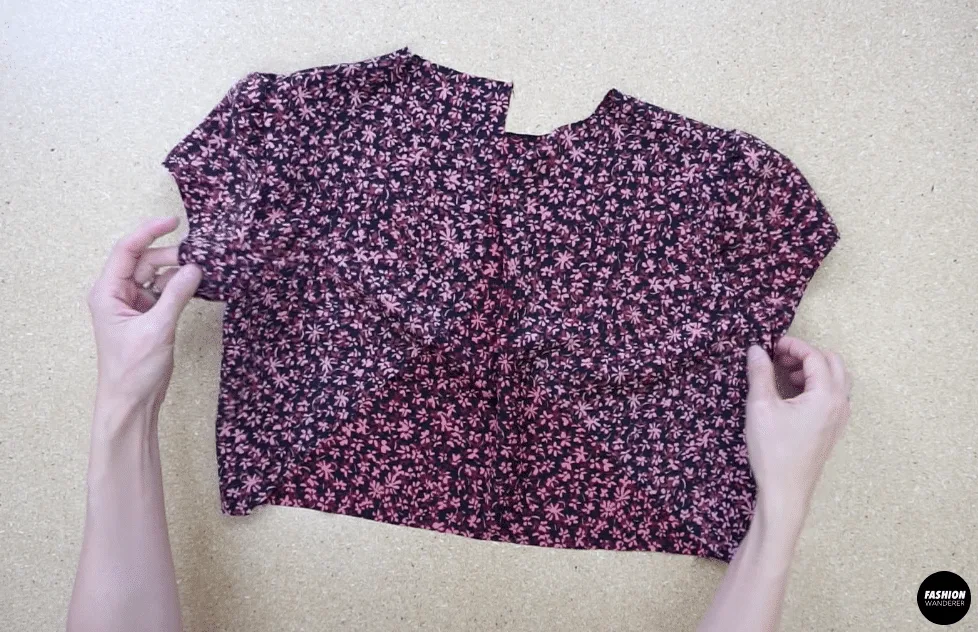
- To attach the front bodice to the back bodice, join the pieces with the rights side facing together.
Sew both shoulder seams and side seams.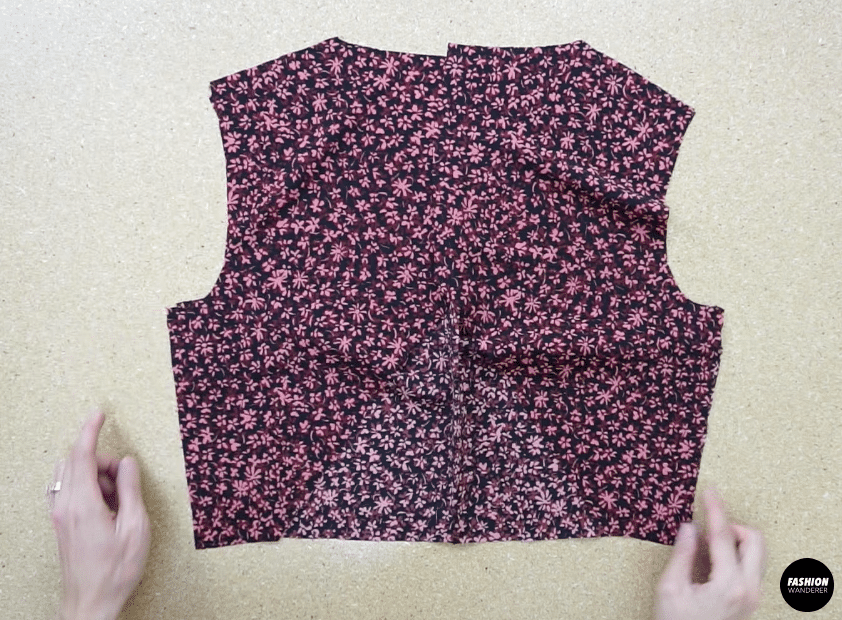
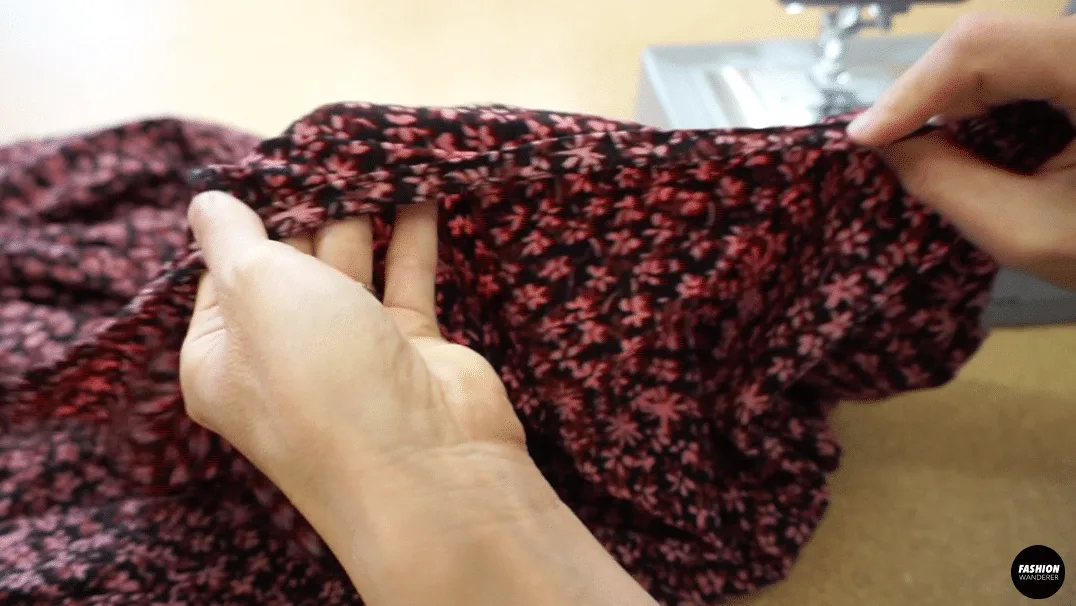
- To make the puff sleeves, overlock or zigzag stitch along the armhole opening.

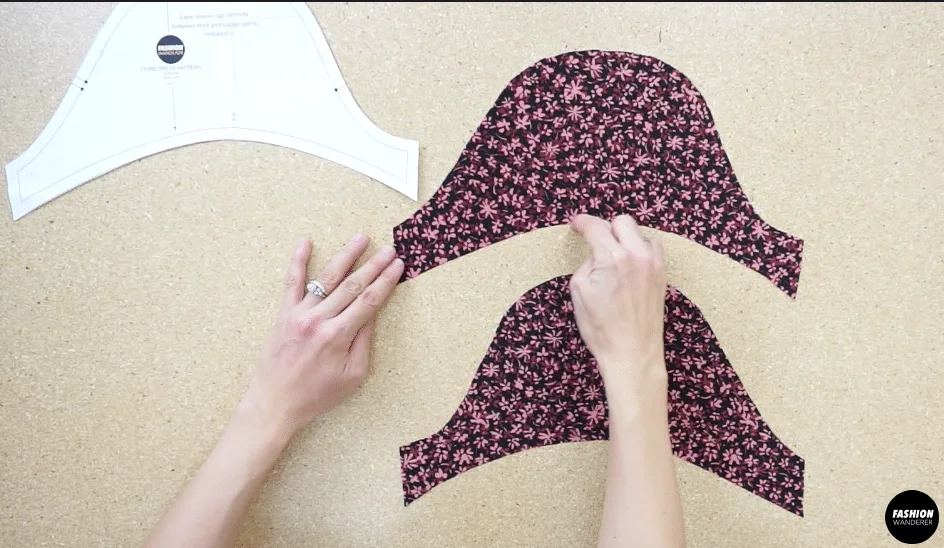
Then, fold the stitch over and topstitch for a clean edge.
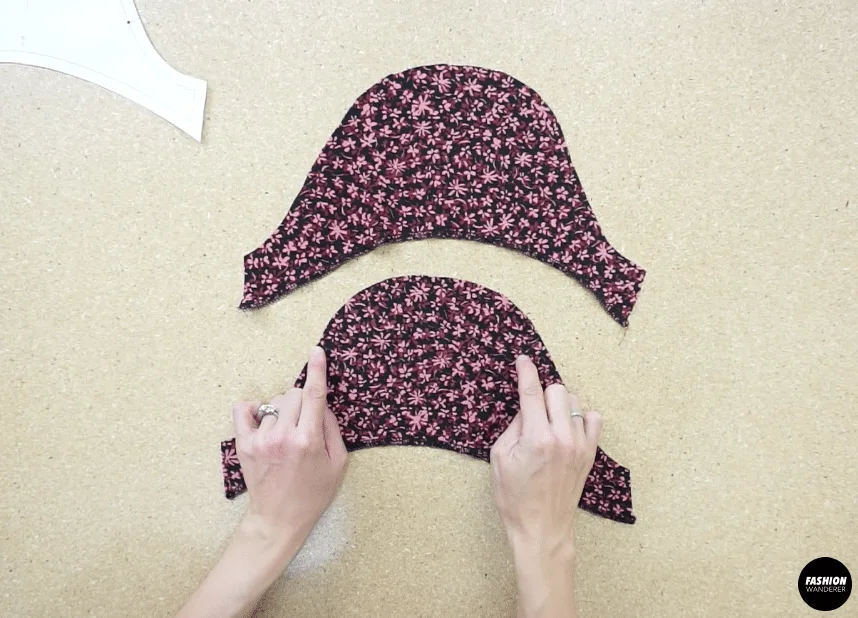
- To add shirring to the puff sleeve, use a wide stitch width and sew along the top edge of both sleeves.

Pull on the back thread to bunch the fabric.
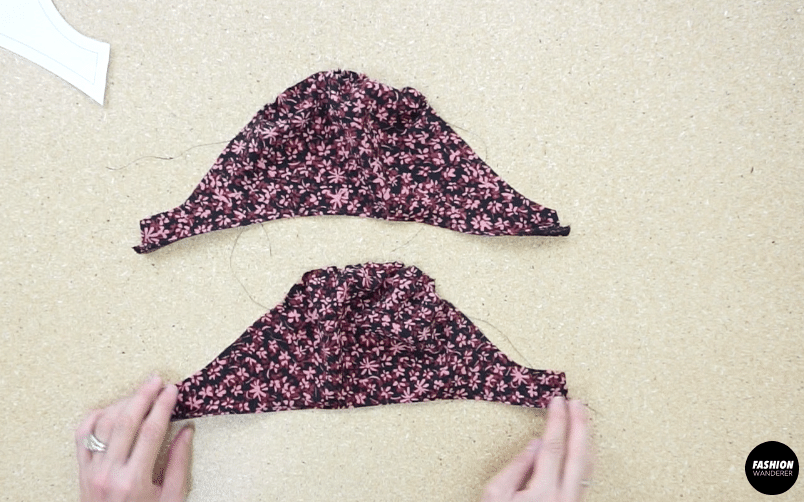

- Join the underarm seam of both puff sleeves.

- To attach the puff sleeves to the bodice, pin with the right sides facing together, and then sew around the armhole.
- To make the front of the dress, join one front side piece to the front center piece with the right sides facing together.
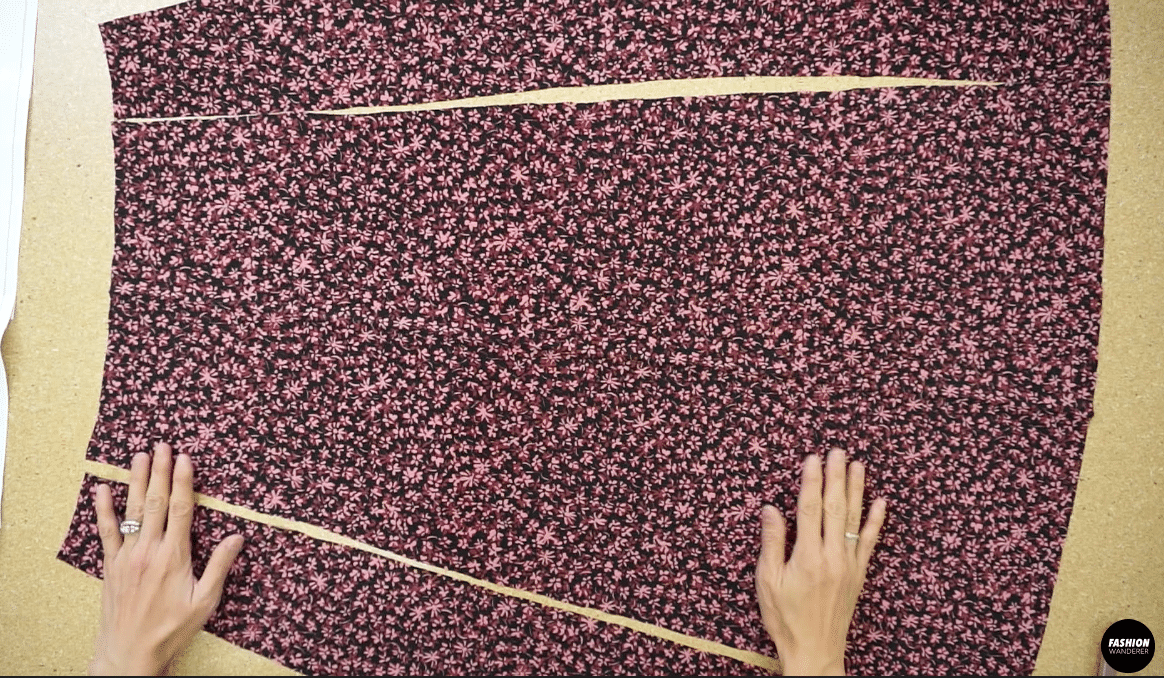


- To make a side slit, overlock or zigzag stitch along the edge of the other front side dress piece.

Lay the front side piece on top of the front center piece with the right sides facing together.
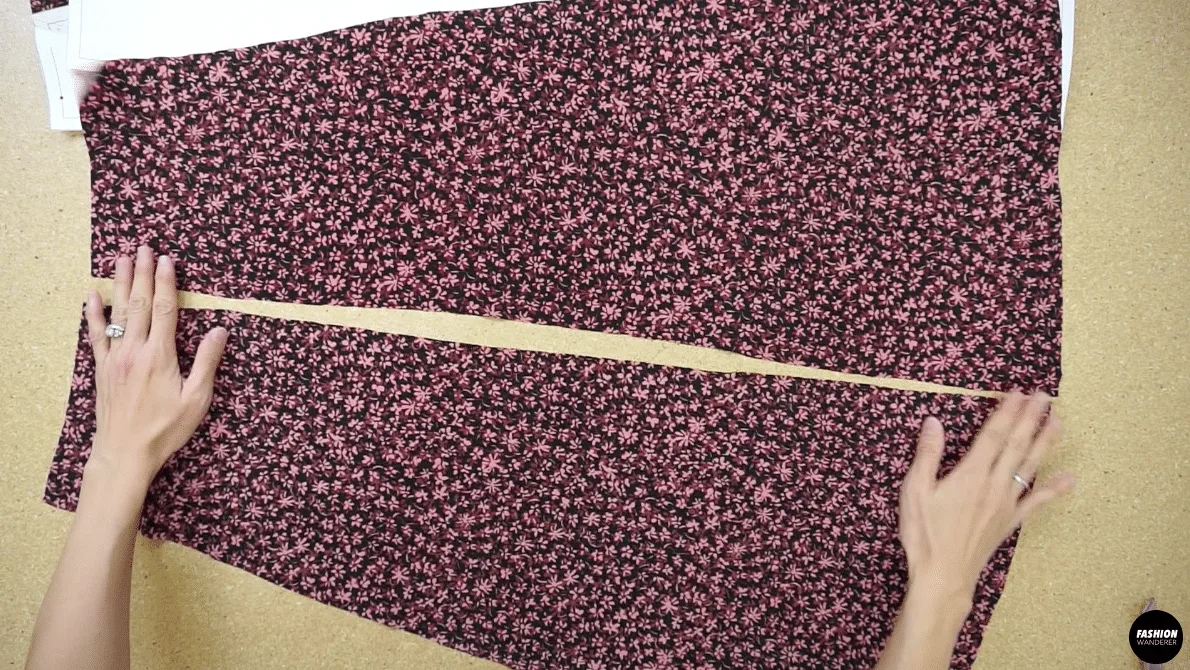
Measure 20” up from the bottom opening, and mark with fabric chalk.
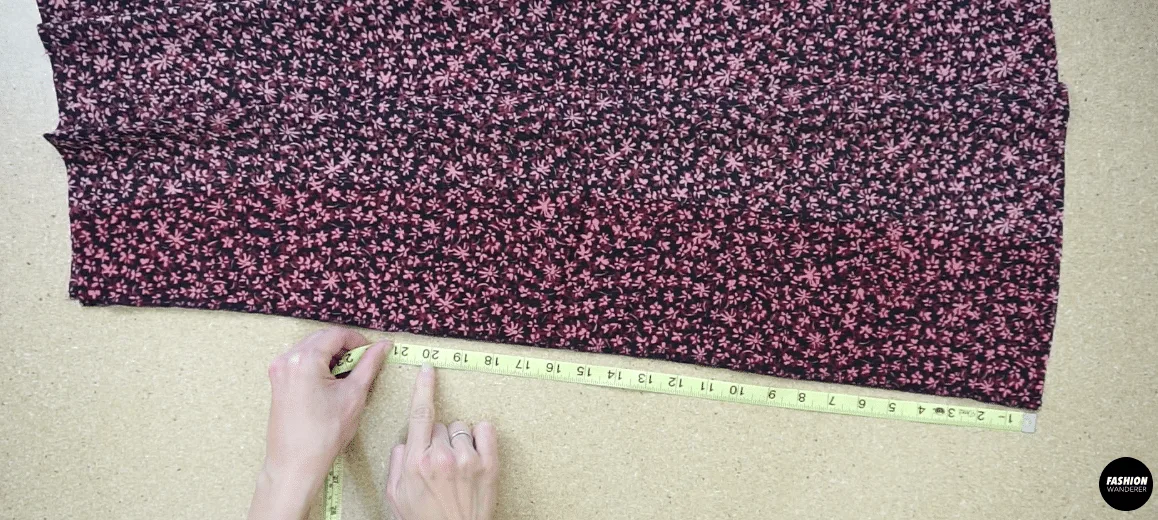
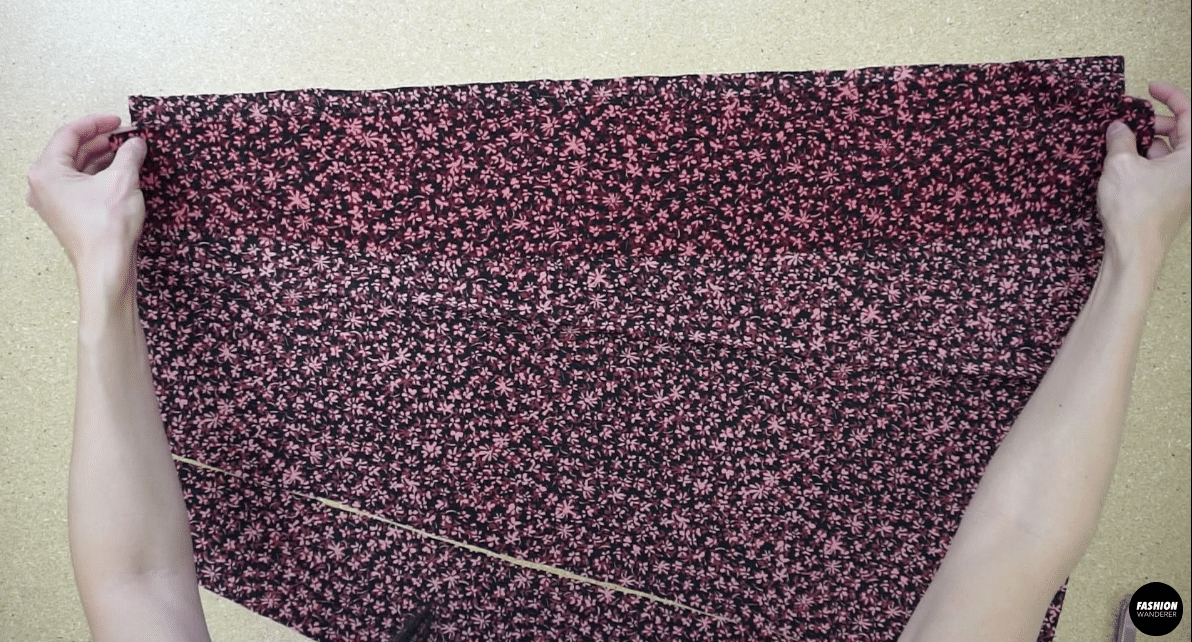
Join the seam from the marking up towards the waistline.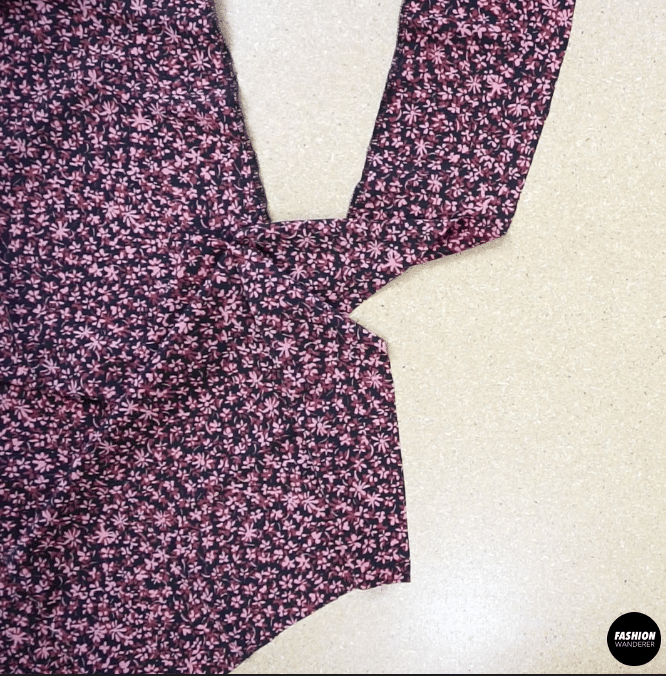

Fold the stitch over and topstitch for a clean finish around the side slit opening.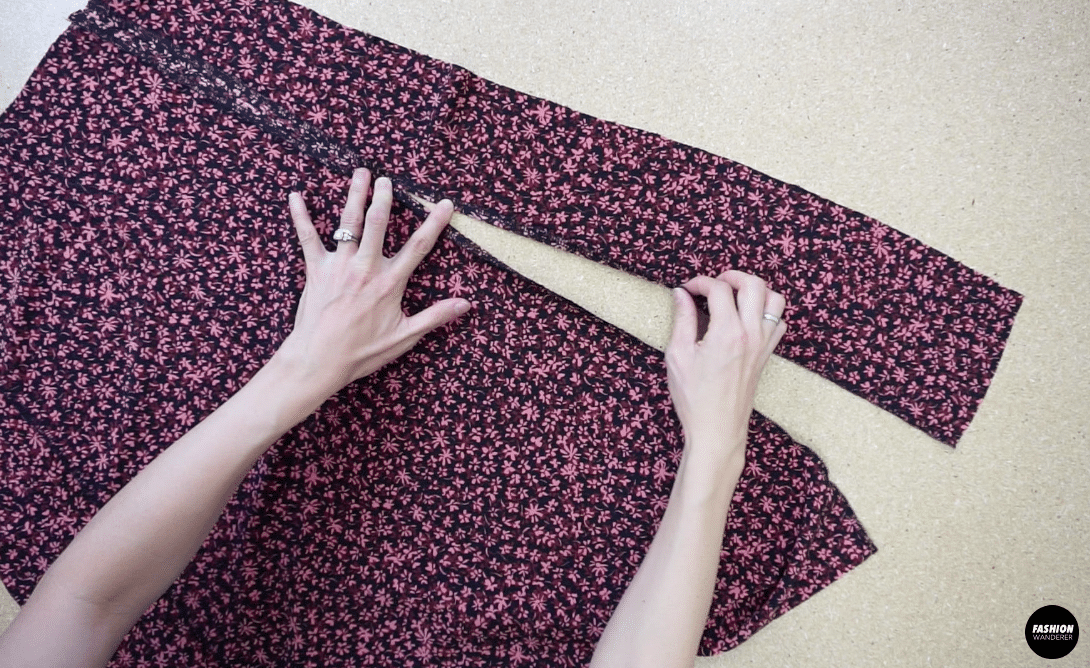

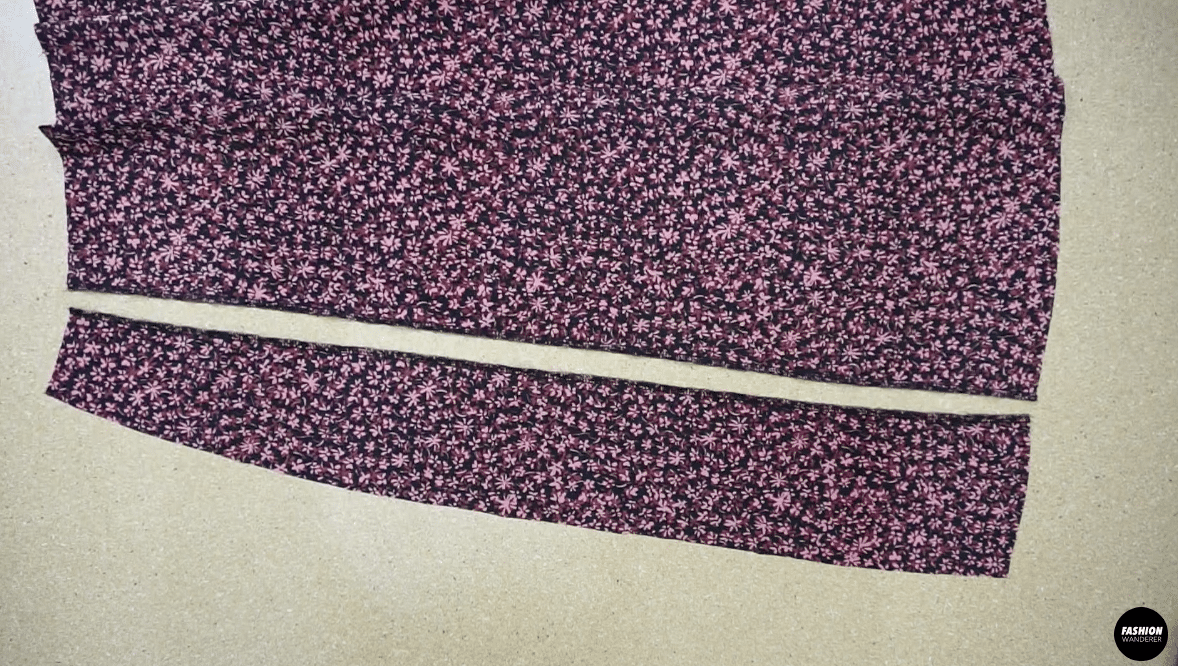
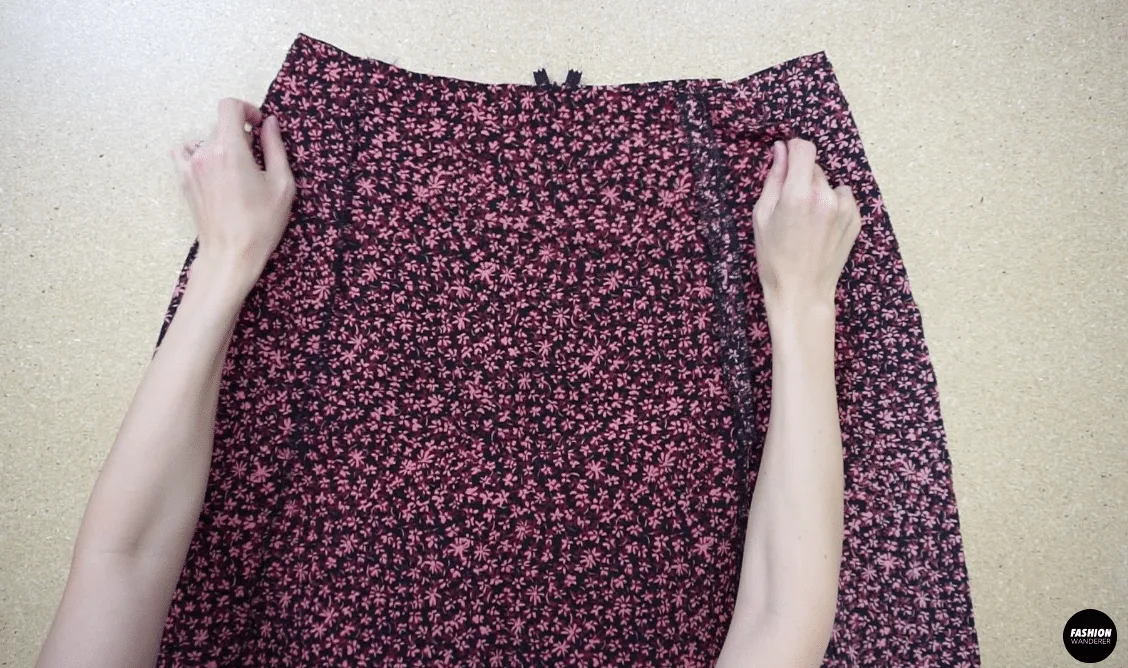
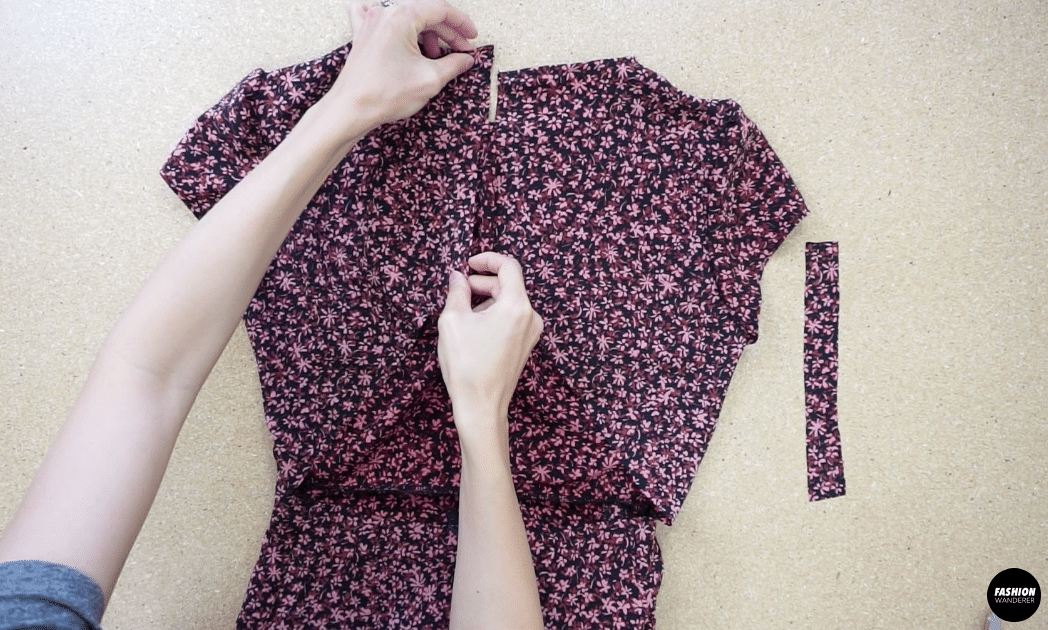
- To make the back of the dress, join one back side piece to one back center piece with the right sides facing together.
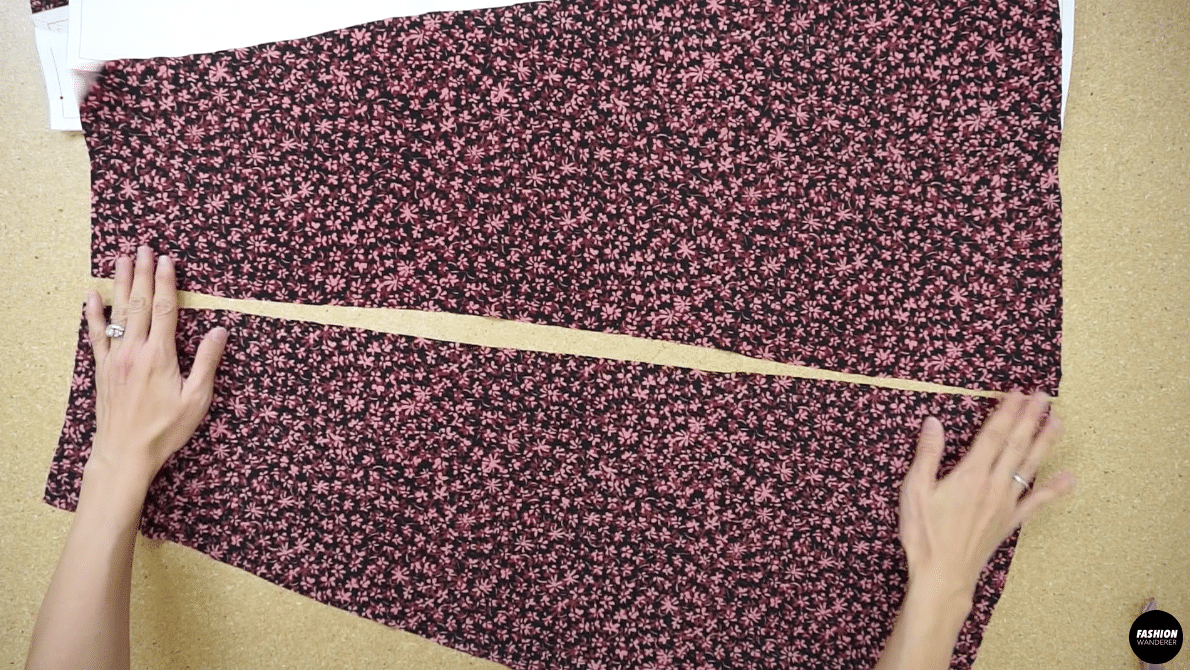
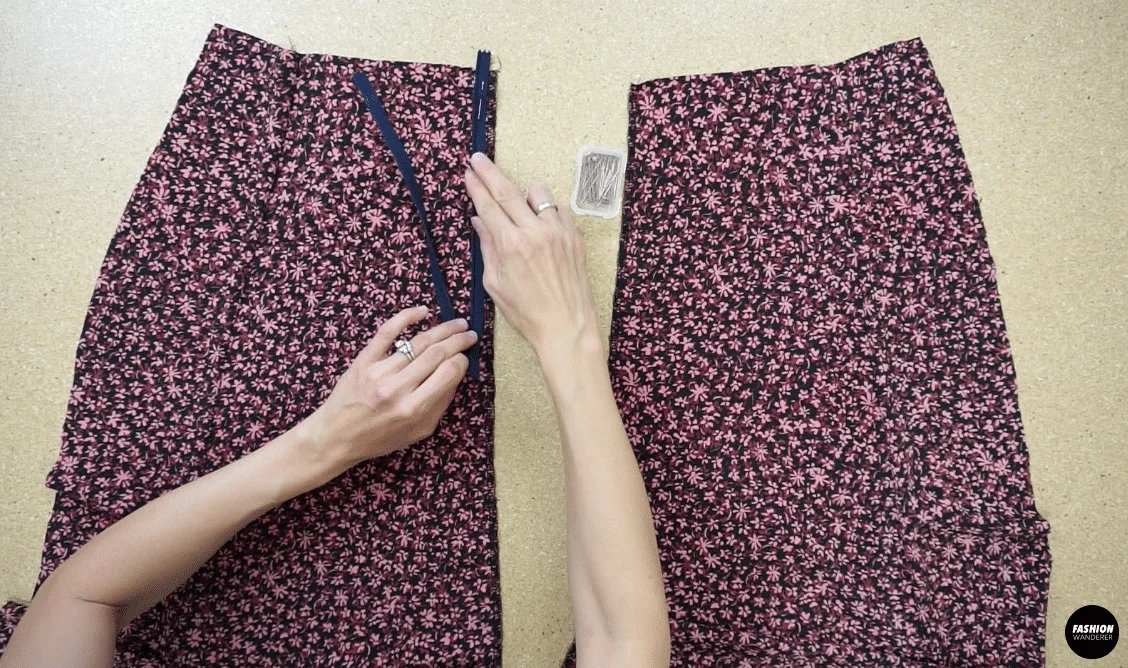
Do the same for the opposite side. - To attach a zipper to the back of the dress, open the zipper and join the placket tape to the center back opening starting at the waistline on both sides.

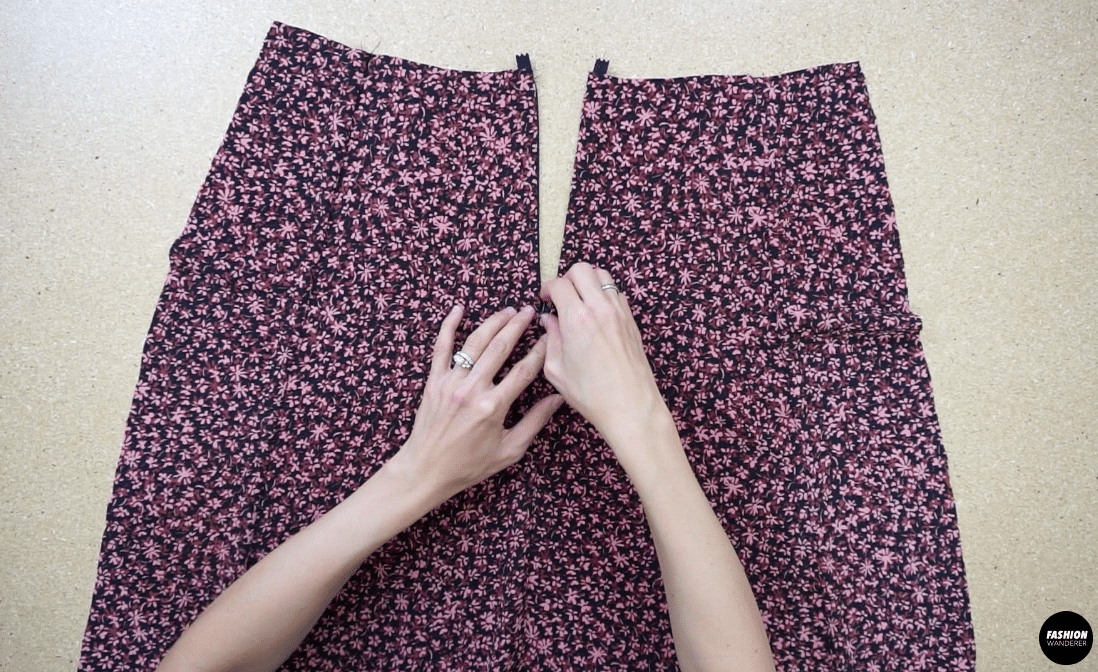
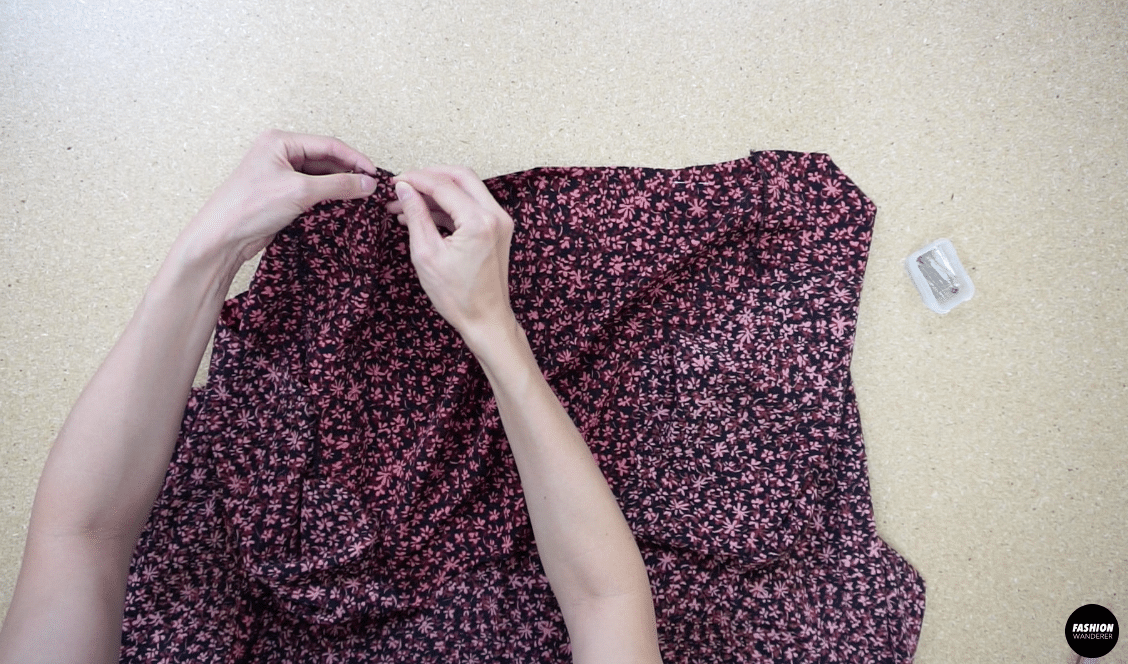
- To complete the back of the dress, close the bottom of the center back opening.

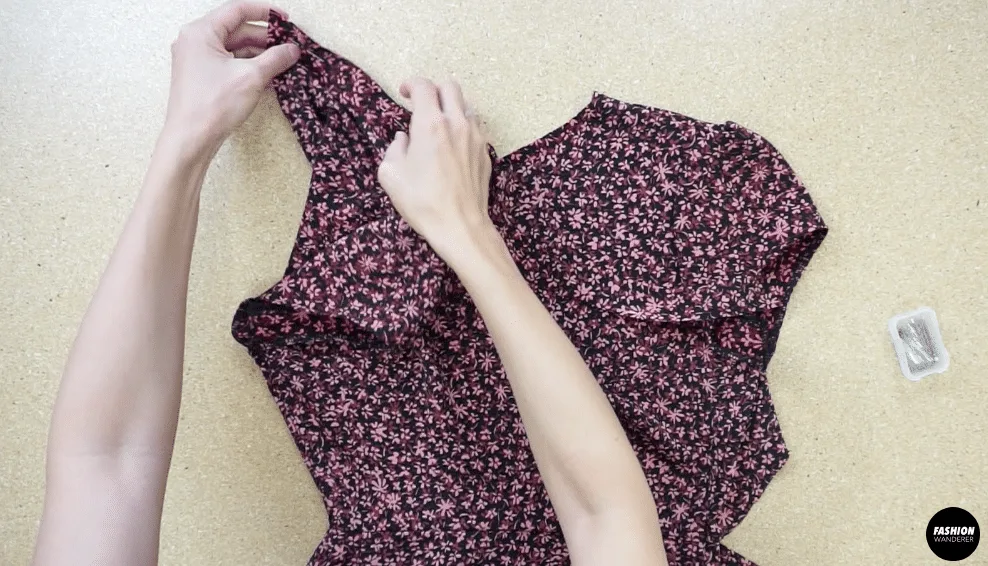
- To attach the front dress piece to the back dress piece, overlock stitch the side seams with the right sides facing together.
- To hem the dress, overlock stitch around the bottom opening.
Fold the hemline, and then topstitch the hem. - To attach the top bodice to the dress bottom, overlock stitch the waistline seam with the right sides facing together.

- To complete the neckline, join the inbinding to the neck opening with the right sides facing together.

Straight stitch along the edge, then open the seam and topstitch along the seem line.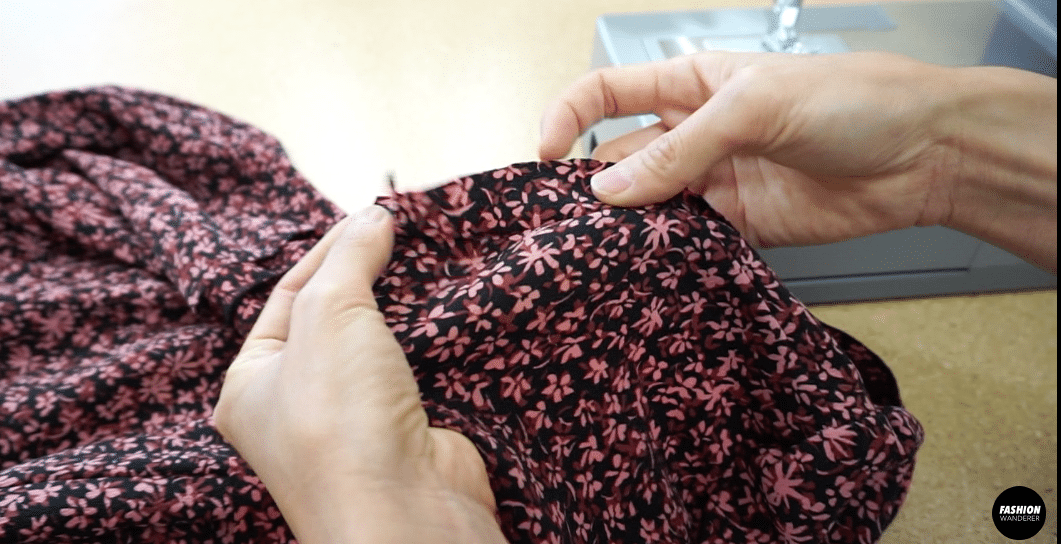

Fold the inbinding over the edge, ¼” fold the raw edge and topstitch to finish the other side of the neckline.
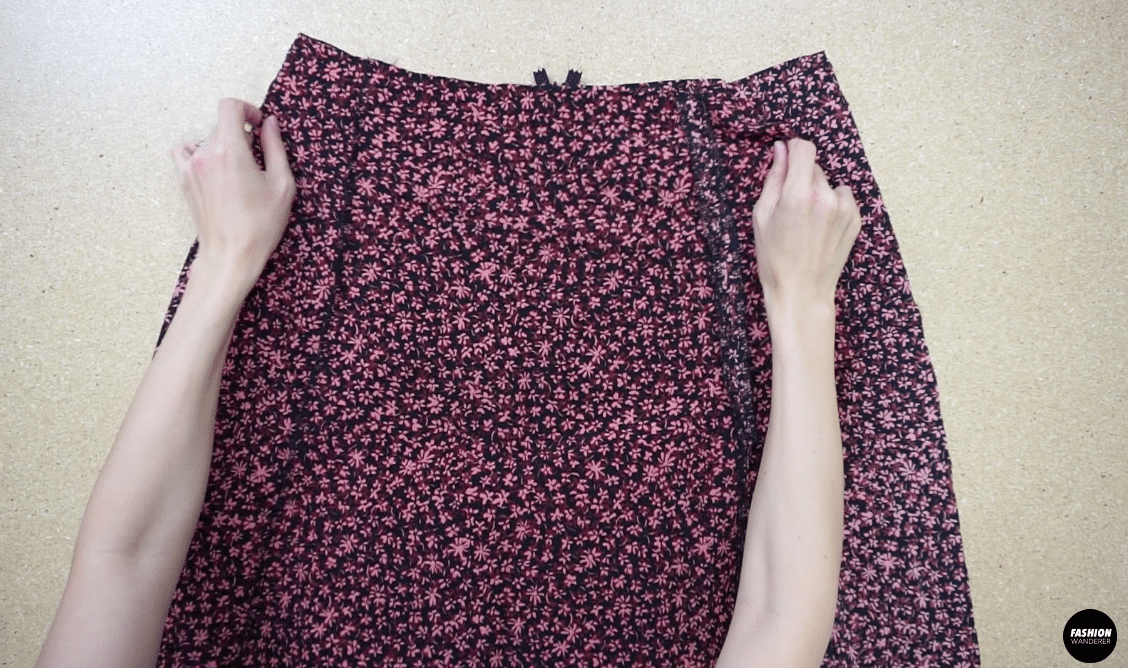
- To complete the back opening, join the inbinding to all sides of the center back opening with the right sides facing together.

Straight stitch along the edge, then open the seam and topstitch along the seem line.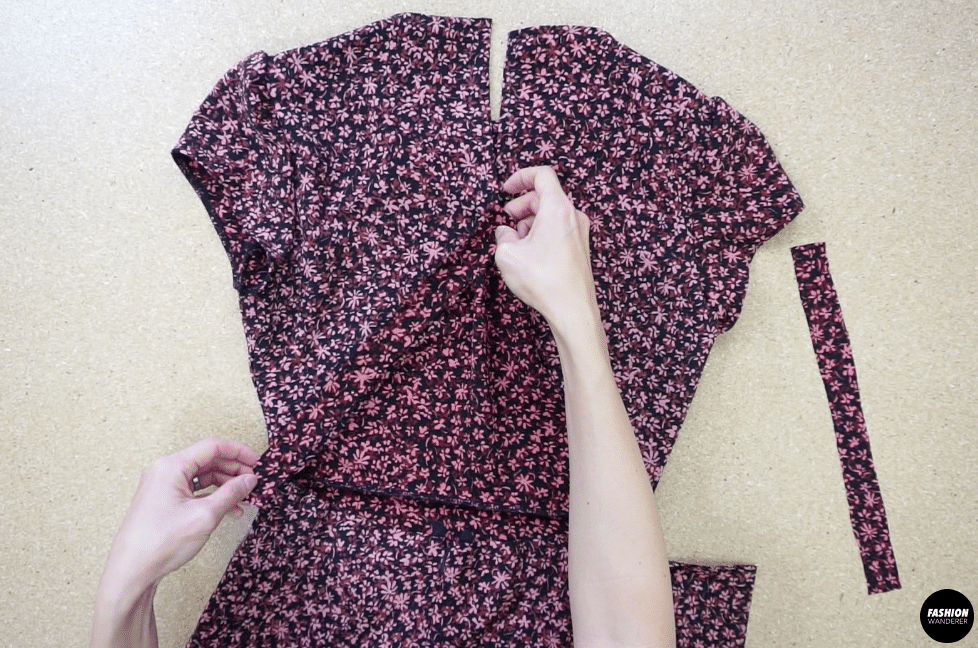

Fold the inbinding over the edge, ¼” fold the raw edge and topstitch to finish the other side of the center back opening.

- To make the buttons, use a button cover with a small piece of fabric.

- To make the button closure, use a 1” wide strap.
Fold the strap in half lengthwise and close the side.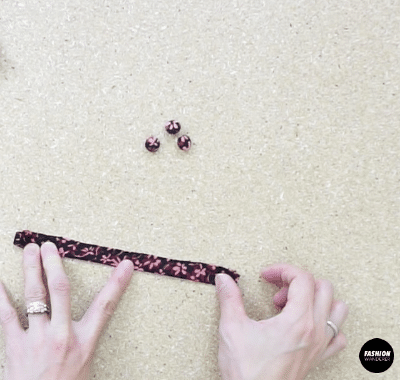

Use a loop turner to flip the strap inside out.
Cut three separate 2” long pieces of the strap.
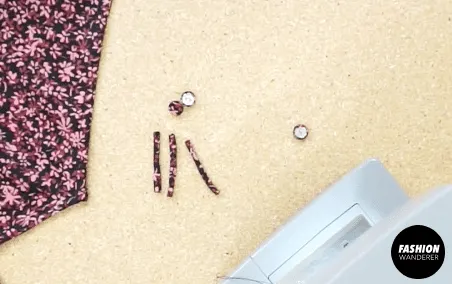
Pin to secure, and then straight stitch to attach the button closures to the back opening of the dress.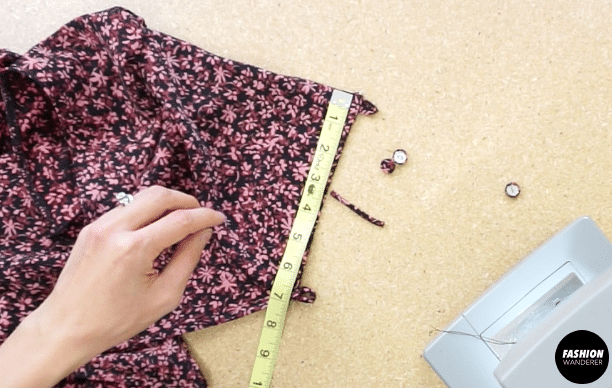

- To add buttons to the back opening, lineup the buttonhole closure on the opposite side of the back opening.

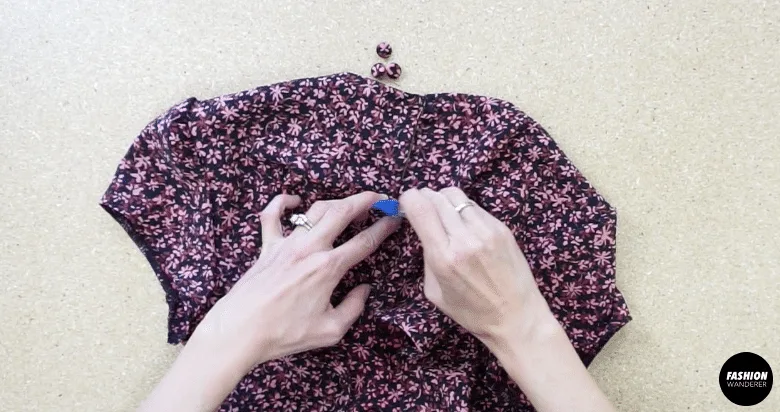
Hand sew the buttons in place to finish this Fiore midi dress.

Recommended Products
As an Amazon Associate and member of other affiliate programs, I earn from qualifying purchases.


Trendy, Affordable Sewing Patterns for All Sizes


Tie Shoulder Jumpsuit Pattern


Palazzo Pants Sewing Pattern


Pocket Overall Romper Pattern


Wrap Maxi Skirt Sewing Pattern


Tie Back Top Sewing Pattern
Imri
Thursday 29th of July 2021
With this pattern is the seam allowance included?
Soonjoo
Thursday 29th of July 2021
Yes, the Fiore midi dress sewing pattern includes ⅜" seam allowance.