
Simple tie front top is quick and easy conversion for an old t-shirt to look brand new again. Make an up-to-date style by shortening the length a couple of inches and adding a princess seam to create a slimming effect the will make you look gorgeous.
Complete this project and sign up for these easy crop top upcycle projects to make from your old t-shirt. It’s rewarding to see the various styles and silhouettes you can come up with.
You may also be interested in trying these upcycle t-shirt projects. From sleeve tie to shirt dresses, give variety to your everyday wardrobe.
If you are looking for a quick fix and a complete transformation, then this upcycled clothing is perfect for you. Gather any old t-shirt from your closet and let’s get started with this cute tie front crop top.


You will love this tie front crop top from old t-shirt because…
- Takes about 20-30 minutes to complete based on sewing skill level.
- Perfect beginner to intermediate project to learn how to sew knit fabric.
- Create the tie front detail without a sewing pattern.
- Learn how to sew a princess seam and master zigzag stitch.
- Tie straps are adjustable to make the top loose or form fitting.
This tie front crop top will look cute in any color. It’s a universal element that won’t affect the design. Therefore, don’t be afraid and go with any color that looks good on you!
In this tutorial, you will learn how to make double layer straps in knit fabric and sew a princess seam to create a form fitted silhouette in knit fabrication.


This tie front crop top needed an upgrade, so I added a high waisted circle skirt from t-shirt for a DIY matching set. The outfit looks super cute and I was excited to share the addition!
How to make tie front crop top from t-shirt?

In order to make a tie front crop top from old t-shirt, you need basic sewing kit and a couple brilliant tips and tricks for magic to happen.
Grab a measuring tape because you will need to take body measurements for clothing. Accurate measurements will ensure that your garment fits you perfectly.
These methods and steps will help you to transform old tees into brand new trendy and fashionable tops. Pick your favorite color t-shirt and let’s upcycle together!
DIY Tie Front Crop Top Materials:


- T-shirt
- Fabric chalk
- Measuring tape
- Ruler
- Scissor
- Straight pins
Fold the t-shirt in half lengthwise. Mark 17” down from the shoulder and cut to make a crop top.
ONLY cut to detach the FRONT center of the top. Cut along the back neckband to separate and completely open up the center piece.
Use the excess fabric to make the tie front pieces. Flip the tie front pieces inside out and then attach to the bust area of the chest.
Cut to remove the top of the center piece, hem the new top and reattach both sides of the front center piece.
Hem the bottom opening and new neckline of the crop top.
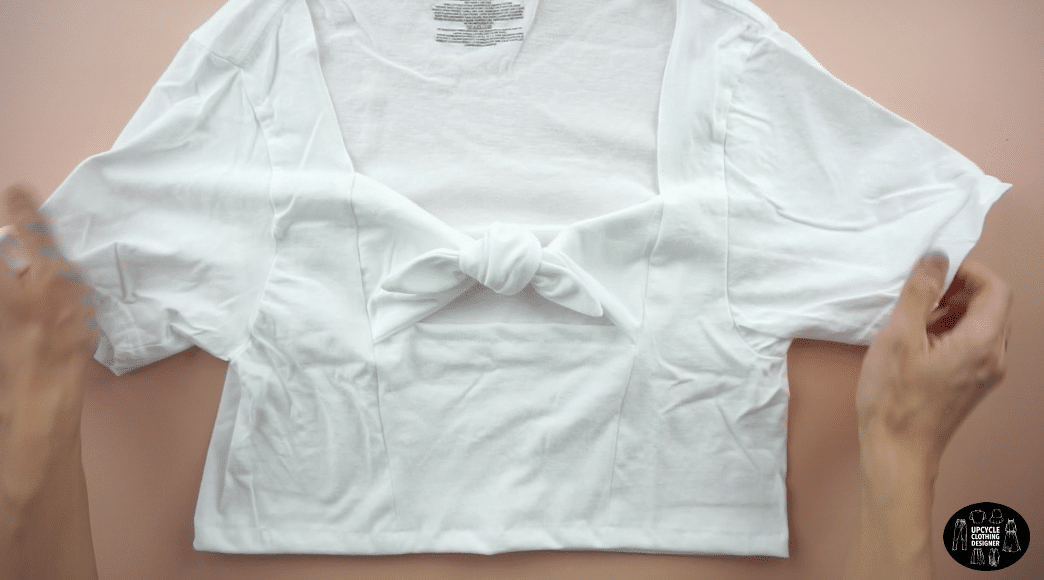
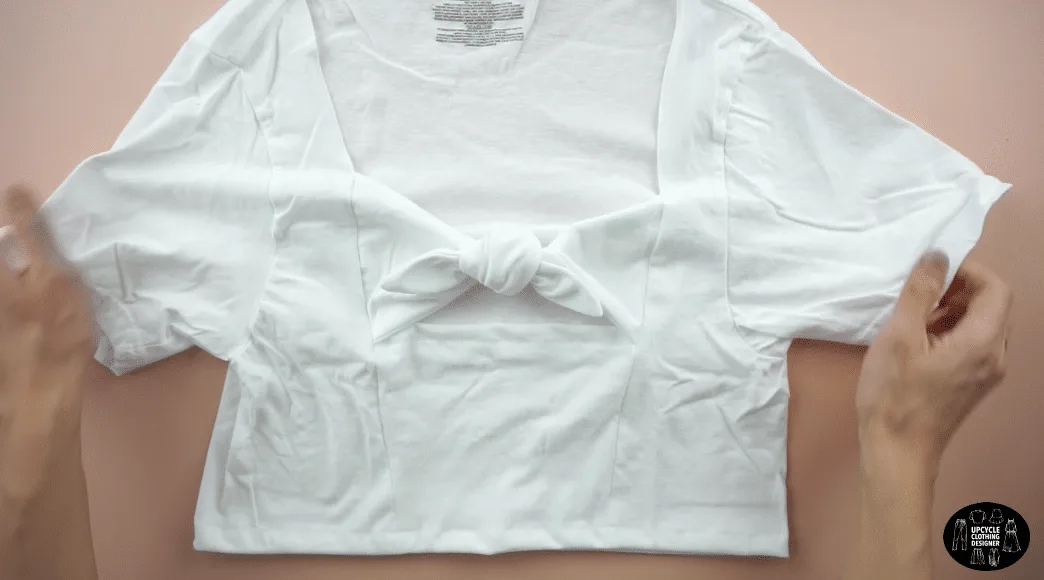
Knot the tie front pieces to complete this tie front crop top.


DIY Tie Front Crop Top Sewing Tips:
Upgrade your old t-shirt into a tie front crop top using the sewing tips I listed below. Once you have a clear idea of what to do with old t-shirt, then the creative possibilities are endless.
If you are new to upcycling and sewing, I put together essential sewing tips to help you effectively accomplish every DIY challenge. Use your old clothes to make fun new wearable items.
- Practice, practice, practice: Always reserve a few fabric scraps to test the sewing machine settings and needle type. Understanding your machine and practicing different stitches will help you to perfect the sewing process.
- Pins: Use ballpoint pins to avoid damaging the knit fabric while cutting and sewing.
- Iron: If the knit fabric begins to stretch during the sewing process, hover your iron about 1” above and apply steam. By doing so, the heat and moisture of the steam helps to shrink the seam back to its intended size and shape.
- Walking Foot: The walking foot has an extra set of feed dogs for the top layer of fabric. They work with the bottom feed dogs in the sewing machine to help keep everything in place while sewing. Use a walking foot to sew even and straight lines.
- Needle: A ballpoint needle works well for knits. However to create a professional look that is ready-to-wear, then its recommended to use and twin needle seam method.
More crop top upcycle projects from your old t-shirt for your next DIY fashion:


How To Make Tie Front Crop T-Shirt
If you have small bust (like me!), the tie front detail is useful to create volume and enhance the feminine look. Learn how to make a tie front crop t-shirt with these basic sewing techniques. The method is guaranteed to upgrade your tee and give you a variety of options to wear with it.
Materials
- T-shirt
Tools
- Sewing machine
- Fabric chalk
- Measuring tape
- Ruler
- Scissor
- Straight pins
Instructions
- For this tie front crop top tutorial, start by folding the t-shirt in half lengthwise.

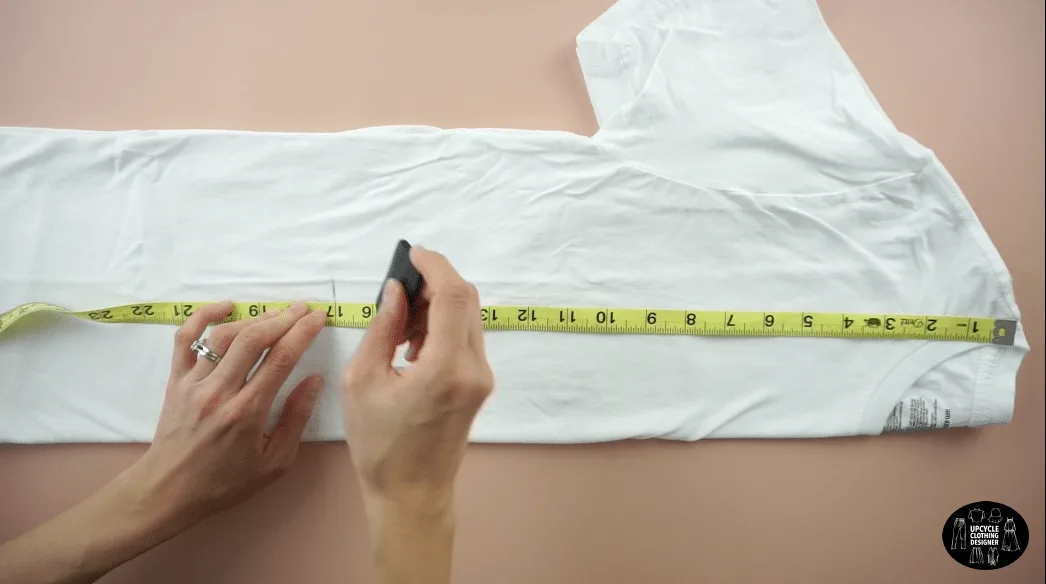
- Mark 17” down from the high point on the shoulder.
Draw a straight line across and cut to make a crop top. - Mark 3” from the folded line on the bottom opening.
Mark 5” from the folded line on the shoulder seam.
Draw a straight line to connect both points.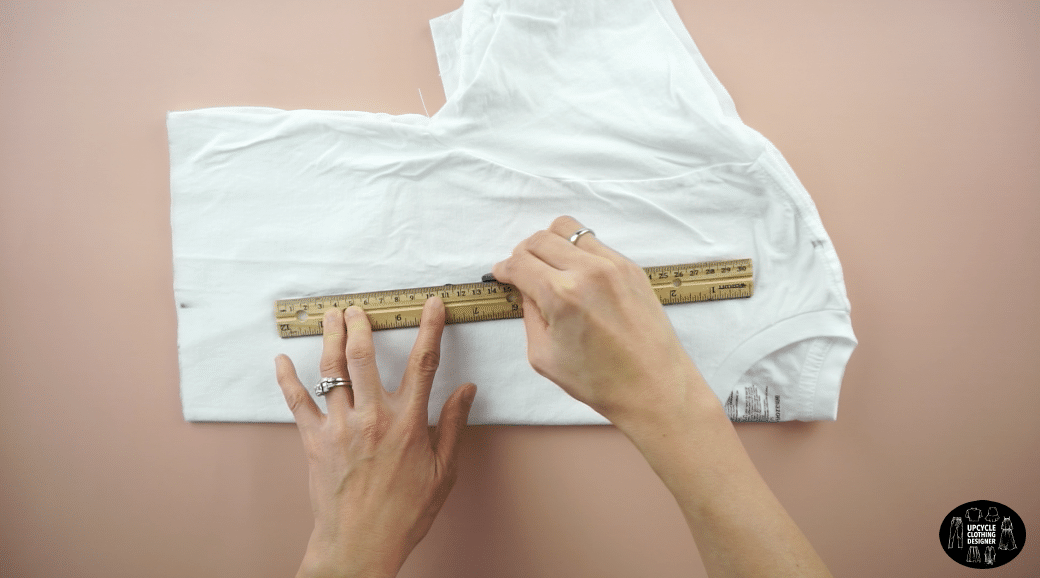

- ONLY cut along the lines to detach the FRONT center of the top from from both sides.


- Cut along the back neckband to completely detach the center piece
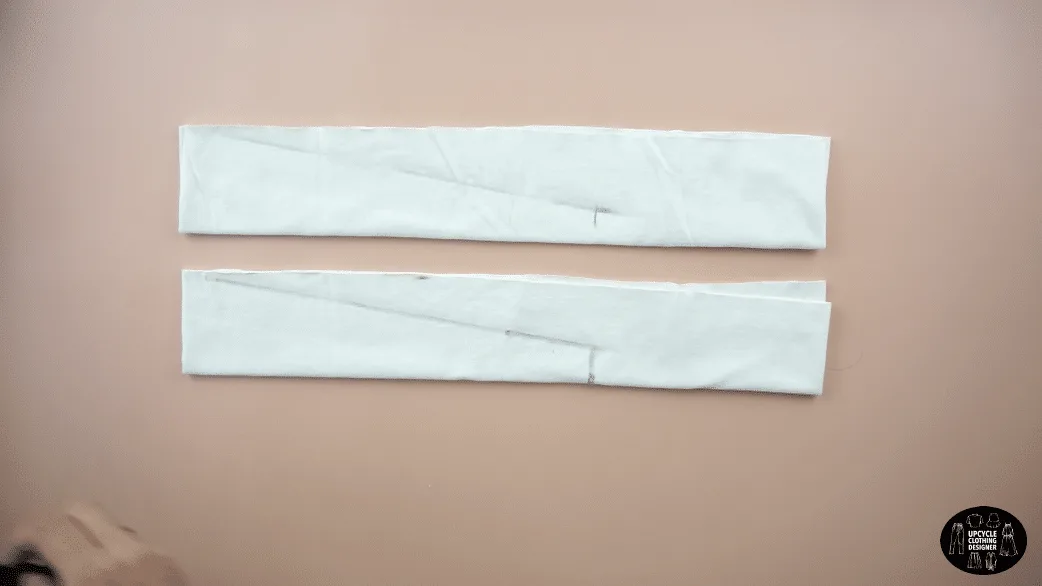
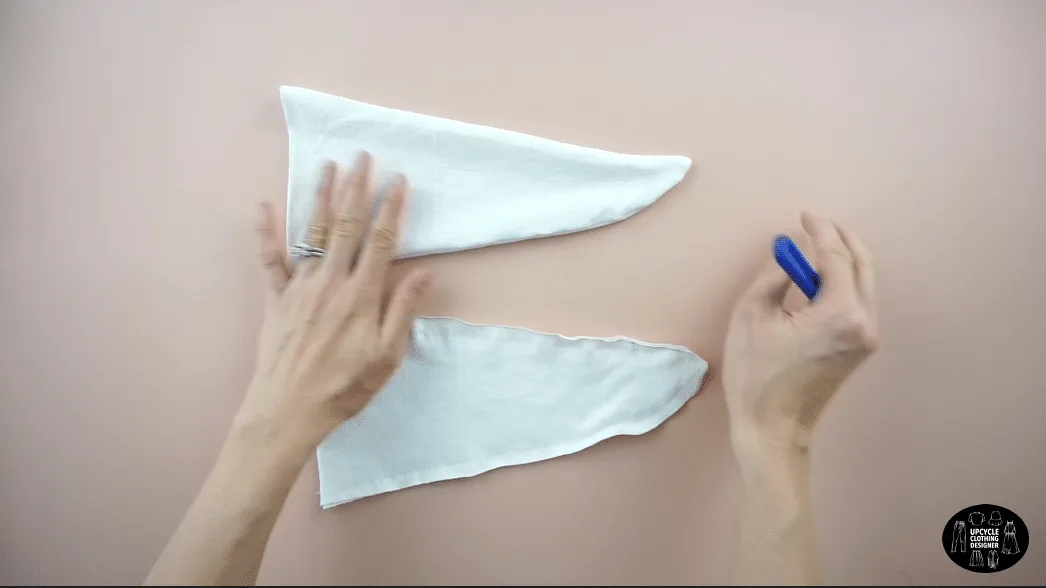
- To make the tie front, use the excess fabric to cut 2 separate 5½” wide pieces.
Fold the each piece in half lengthwise, then mark 11” from the side opening.
Draw a diagonal line on each piece and cut.
Open the pieces and flip the top piece over so that the frontside are both facing inwards.
¼” topstitch around the outside edge to attach the tie front pieces together.
Afterwards, flip the tie front pieces inside out.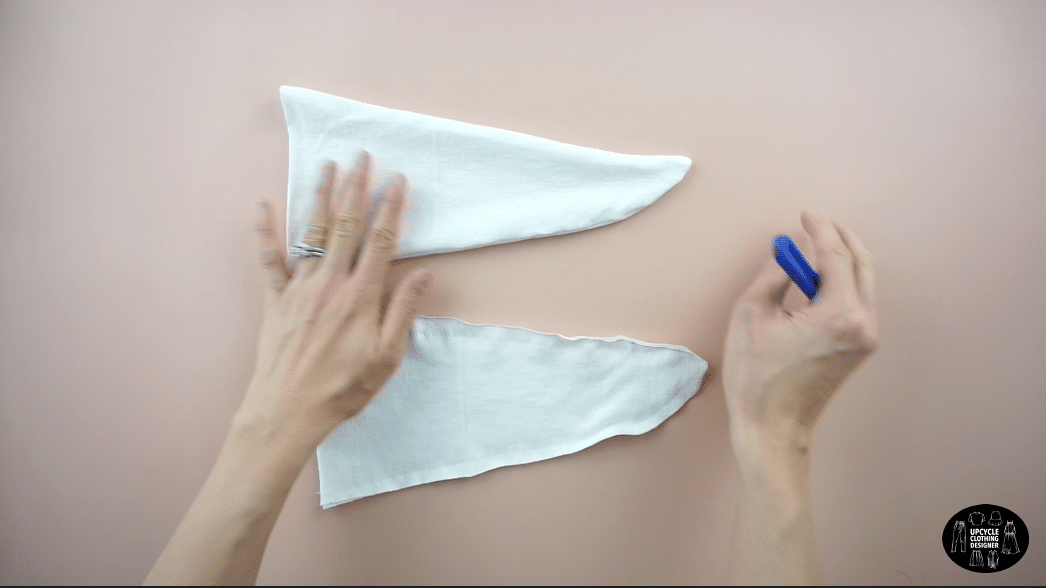
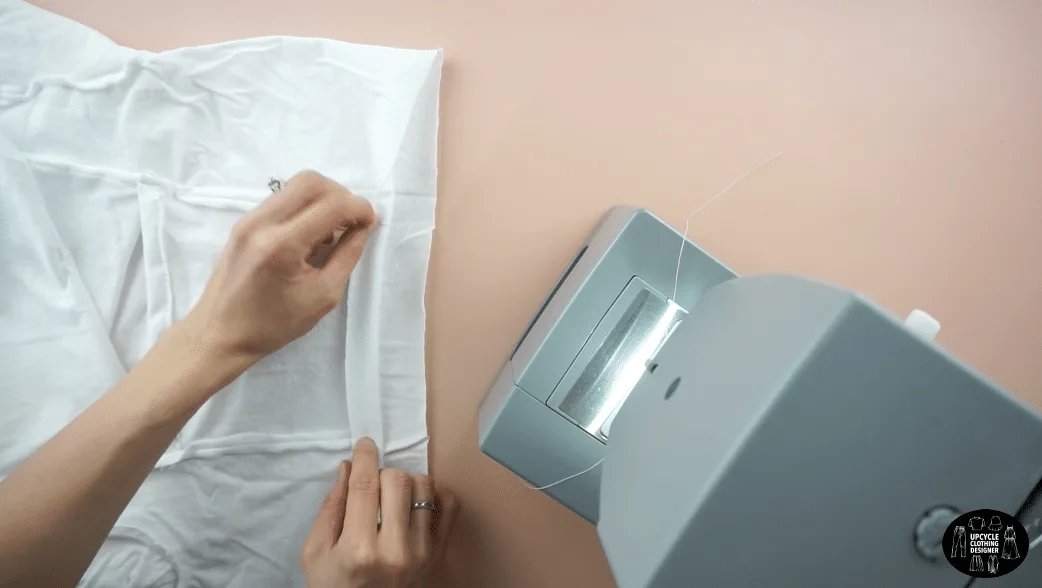
- To attach the tie front pieces, mark 5½” down from the shoulder seam.
Pin the tie front pieces to both sides of the chest, and ¼” topstitch.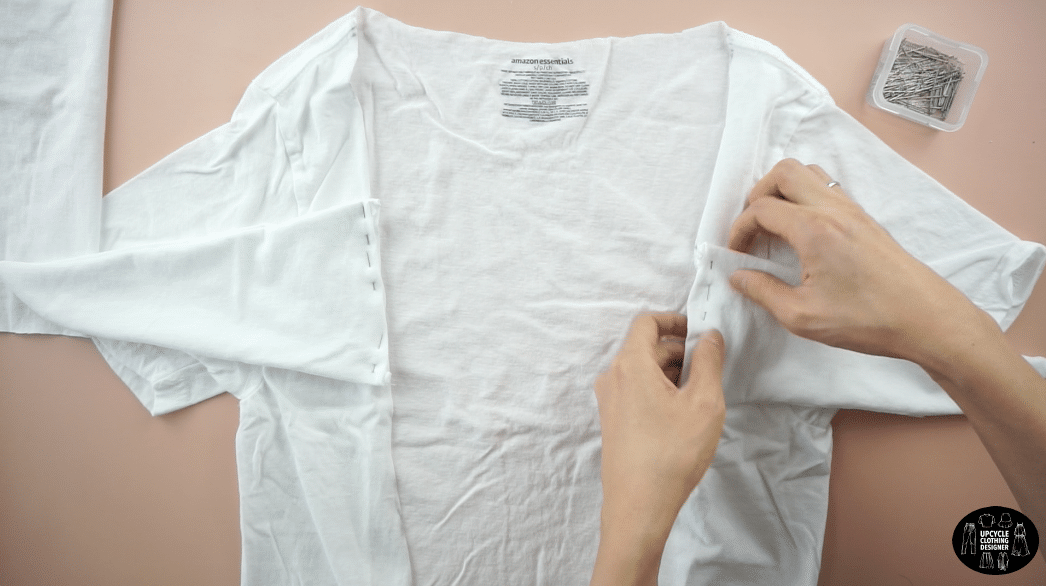

- To finish the center opening, return the center piece of the top.
Draw a line across the center piece that is ½” above the bottom of the tie front pieces.
Cut to remove the top of the center piece.
Hem the new top of the center piece.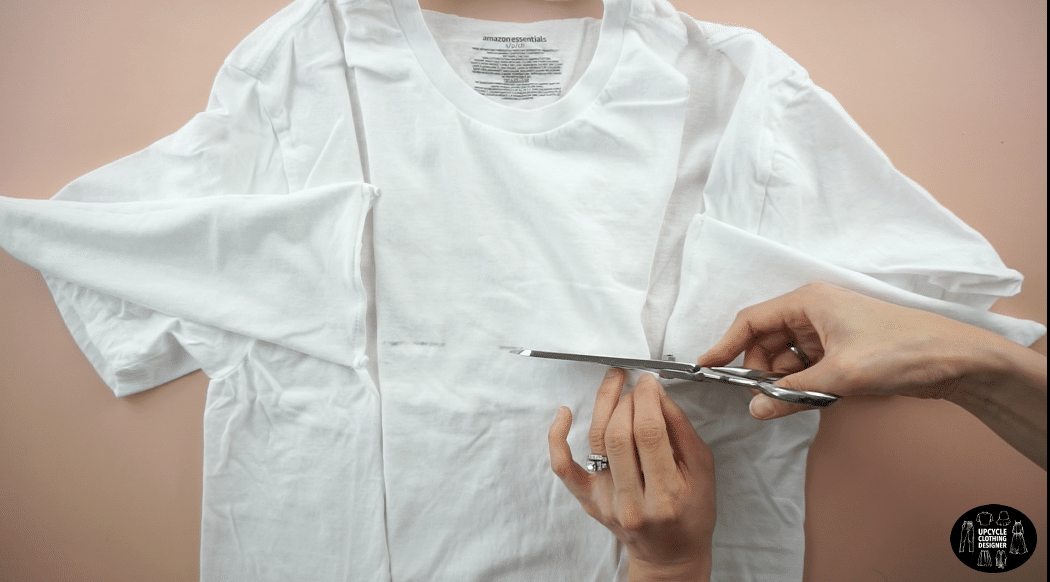

- Reattach both sides of the front center piece.
- Hem around the bottom opening of the top.
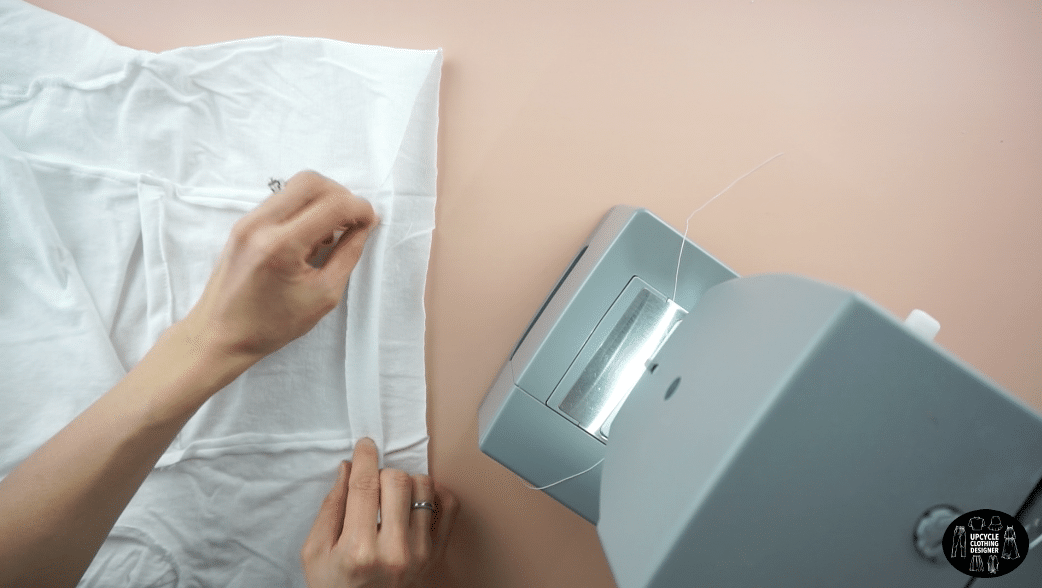
- Also, hem the new neckline of the top.
- Tie a knot with the front pieces to complete this tie front crop top.
Recommended Products
As an Amazon Associate and member of other affiliate programs, I earn from qualifying purchases.


Trendy, Affordable Sewing Patterns for All Sizes


Tie Shoulder Jumpsuit Pattern


Palazzo Pants Sewing Pattern


Pocket Overall Romper Pattern


Wrap Maxi Skirt Sewing Pattern


Tie Back Top Sewing Pattern