
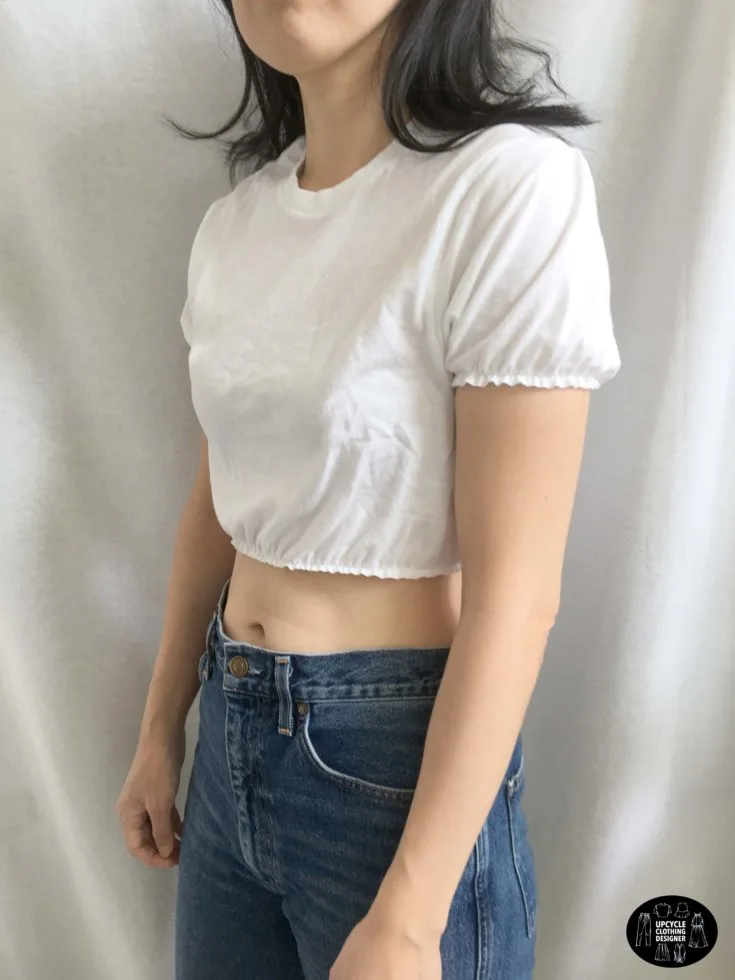
Changing regular sleeves into puff sleeves on a plain old t-shirt drastically upgrades the classic look into an up-to-date style. A puff sleeve with elastic around the arm compliments the crop length to give a comfortable and snug feel that can easily be paired with high waisted bottoms.
If you have way too many old t-shirts in your closet that you are ready to throw away, take a moment and check out these easy crop top upcycle projects. Easily transform old clothes into new wearable clothes that are on trend with current fashion.
You may also enjoy t-shirt upcycle projects that are guaranteed to give your old t-shirts new life by upcycling with me! You’ll be surprised how many different styles you can make when you recycle old t-shirts into new clothes.
Recreate trendy and fashionable garments once you know what to do with old t-shirts. If you are looking to add a feminine touch to your look, then convert any t-shirt from your wardrobe to this puff sleeve crop top.
You will love this puff sleeve crop top from old t-shirt because…
- Learn how to sew ¼” width elastic band around both sleeves and hemline.
- Easily adjust the crop and sleeve length to create different looks.
- Perfect beginner level to learn how to sew knit fabric.
- Takes only 20 minutes to finish.
- No sewing patterns required for this project.


The balloon hemline crop length matches the overall look with puff sleeve. Whether you choose a colored t-shirt or stripe t-shirt, the base fabrication will also make your puff sleeve crop top unique and personalize.


Enhance your DIY outfit by pairing your puff sleeve crop top with a tiered ruffle mini skirt from t-shirt. The matching look demonstrates how easy it is to make new clothes from a tee!
How to make puff sleeves on a t-shirt?
This quick upcycled clothing project requires a few sewing techniques and tricks. To make puff sleeves on a t-shirt, you don’t need lots of fancy tools and overextend your budget.
After you pick a refashion design, take body measurements for clothing so that your DIY fits you properly. Follow along and use a measuring tape to measure the armhole opening so that your puff sleeves look great!
All you need it basic sewing kit to start with. Follow the guide to transform a t-shirt into a cute and adorable fashionable crop top that you’ll have in your closet forever.
DIY Puff Sleeve Crop Top Materials:


- T-shirt
- ¼” elastic band
- Fabric chalk
- Measuring tape
- Ruler
- Scissors
- Straight pins
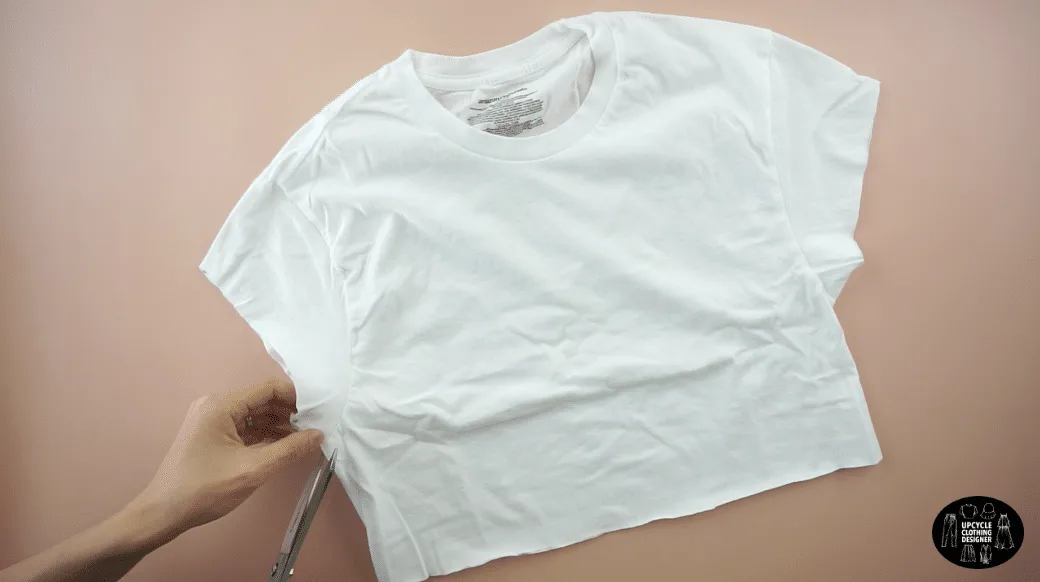
Fold the t-shirt in half lengthwise. Mark 16” down from the high point on the shoulder and cut across to make a crop top.
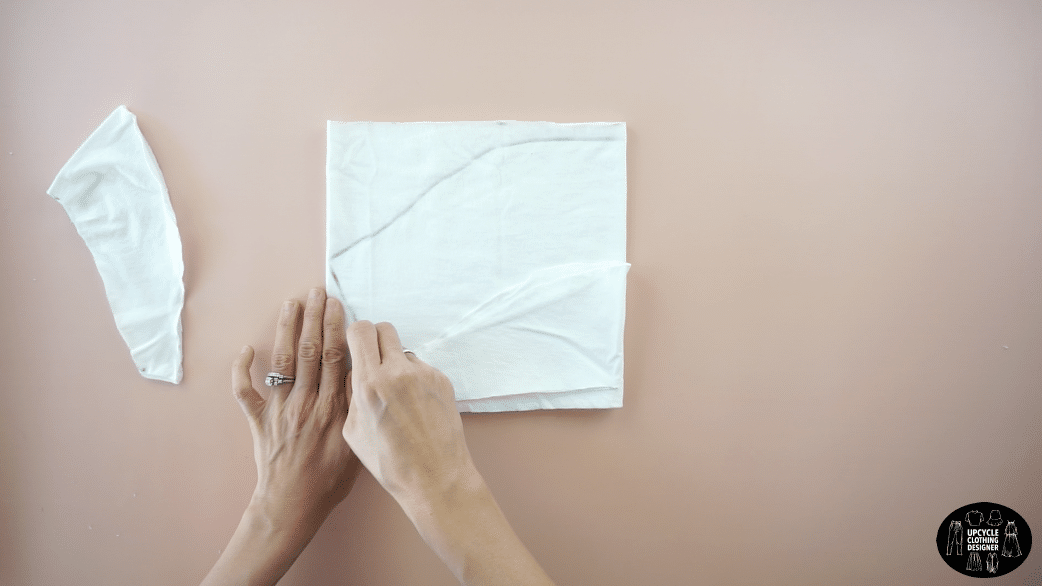
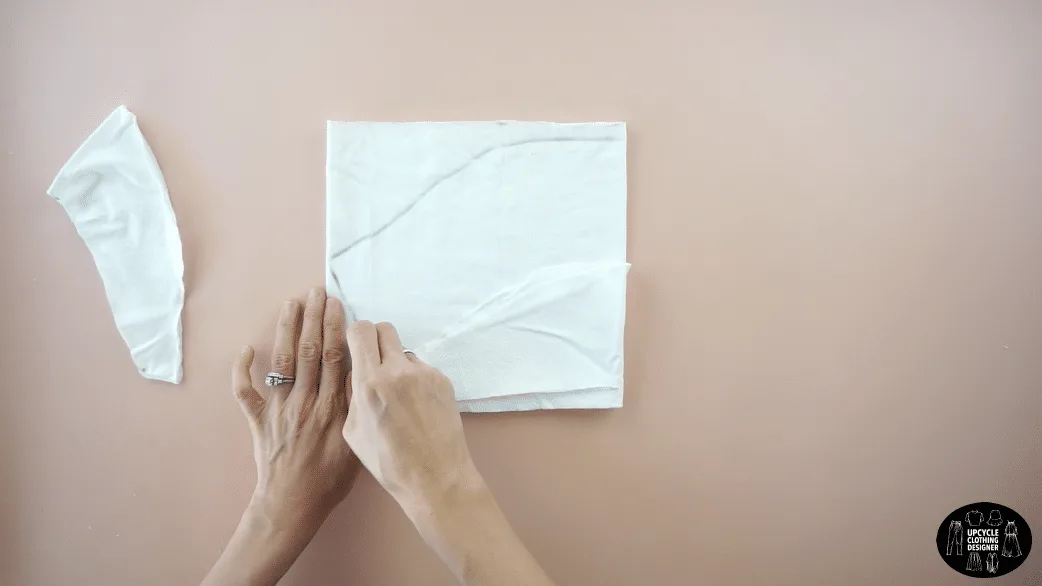
Detach the sleeves by cutting along the armhole seam.
Make the puff sleeves a piece of scrap fabric. Add 2” to the top and bottom of the existing armhole line on the sleeve. This will give puff around the shoulder and sleeve opening.
Use a wide stitch width to topstitch along the the shoulder opening of the new sleeve.
Bunch the material around the top of the shoulder opening by pulling gently on the back thread.Topstitch the underarm seam of the new sleeves and reattach the arm seam.
Attach a 28” long piece of ¼” elastic band to finish the bottom opening and create a balloon silhouette.
Attach a 10” piece of ¼” elastic band to finish the puff sleeves to complete this diy puff sleeve crop top.


DIY Puff Sleeve Crop Top Sewing Tips:
When transforming a t-shirt into a crop length and changing the sleeve on an existing garment, there are additional tips that I want you to know before getting started with this tutorial.
I put together the list below for you to read through so you won’t accidentally make any mistakes and throw away your clothes. It will help you complete the DIY project more smoothly and fail-free.
- Pins: Always pin the elastic to the wrong side of the garment to match four pins along the edge of the fabric. Add pins as needed to stretch the elastic across the entire length of the opening and pin four equal distances apart so that you equally space the stretch throughout the fabric.
- Stitches: Use overlock or zigzag stitch to fully secure the elastic to the fabric.
- Needle: Since you are stitching directly onto the elastic, you will need ballpoint or stretch sewing needles. If you find that your stitches are skipping, switch to a needle that is designed to handle the stretch.
- Foot: Most elastics can be sewn with a regular all-purpose sewing foot. But if your stitches are getting skipped or irregular, try a teflon sewing foot. The special foot glides smoothly over the elastic and keeps the stitches evenly spaced.
- Thread: When sewing elastic to an edge, use a good quality polyester thread. Cheap thread will likely break and cause an uneven finish.
More crop top upcycle projects from your old t-shirt for your next DIY fashion:

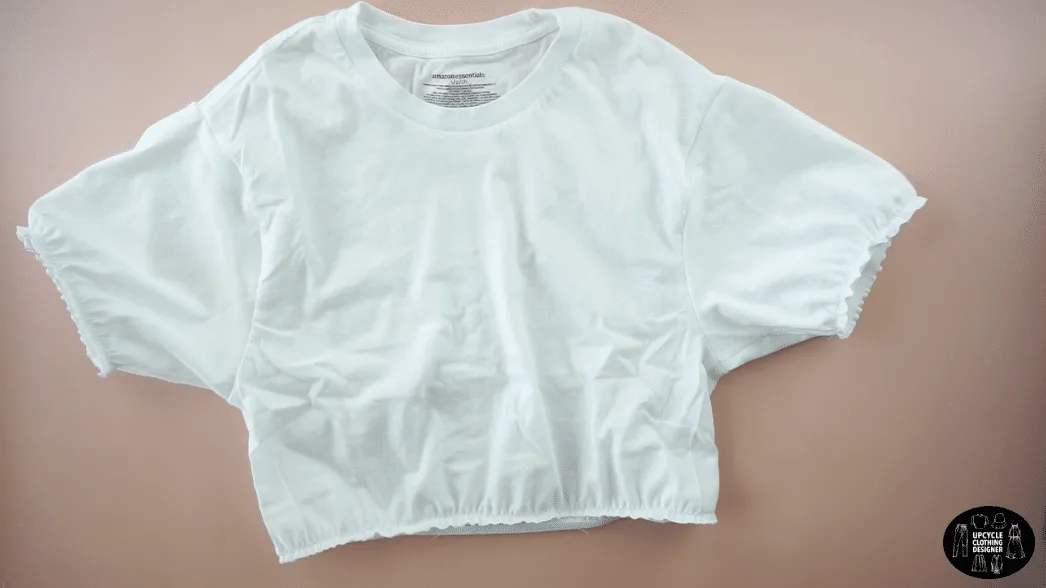
T-shirt Into Puff Sleeve Crop Top
This easy and quick puff sleeve crop top will give your basic t-shirt new life and satisfy your style this season. The elastic creates evenly gathering around the puff sleeve and hemline. Not only the visually attractive ballon silhouette, but also gives comfort when wearing the garment all day long.
Materials
- T-shirt
- ¼” elastic band
Tools
- Sewing machine
- Fabric chalk
- Measuring tape
- Ruler
- Straight pins
- Scissors
Instructions
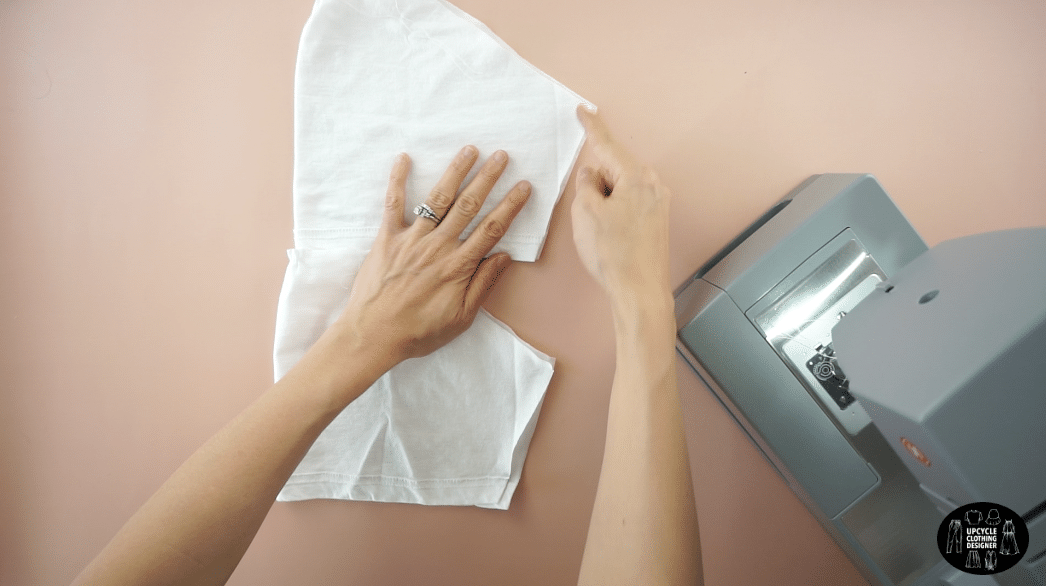
- For this puff sleeve crop top tutorial, start by folding the t-shirt in half lengthwise.
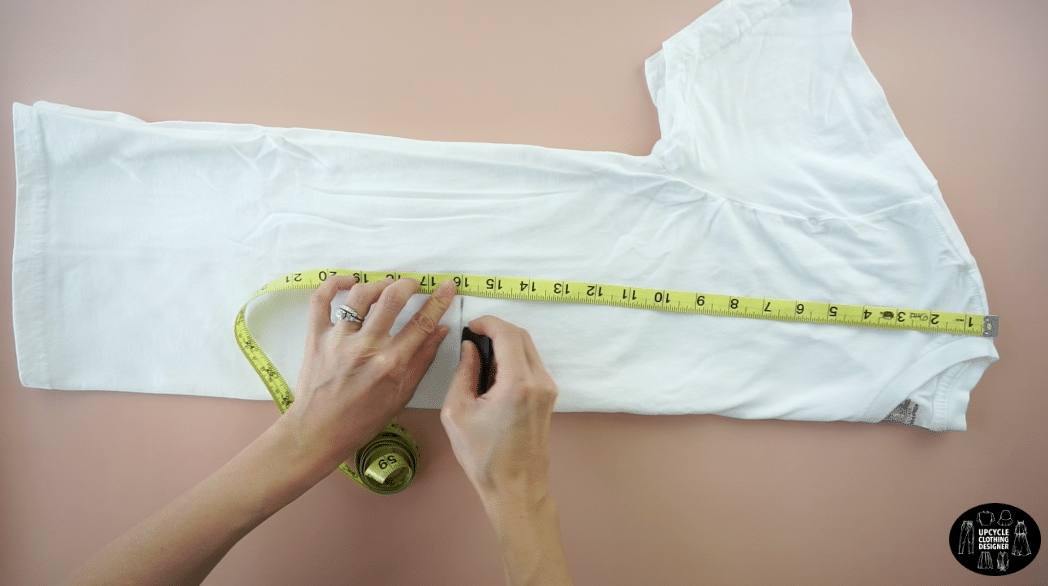

- Mark 16” down from the high point on the shoulder. Draw a straight line across and cut to make a crop top.
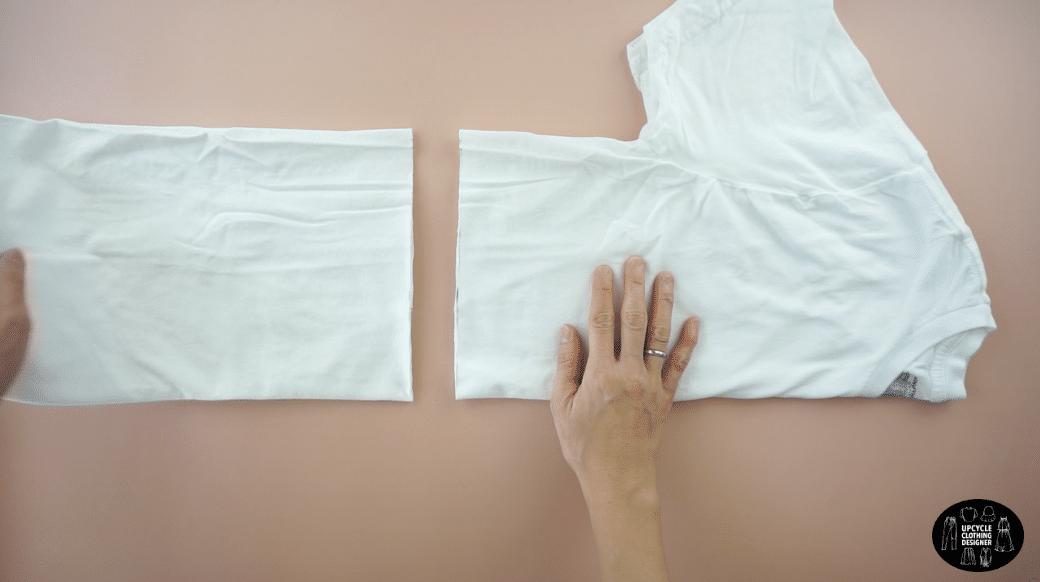

- Cut along the armhole seam to detach the sleeves.

- To make the puff sleeves, trace the existing armhole line, but add 2” to the top and bottom of the sleeve.
By doing so, you gain puff around the shoulder and also have enough shirring around the sleeve opening. - Use a #6 stitch width to ¼" topstitch 6” along the top of the shoulder opening.
Pull the back thread to create a slight bunching around the top of the shoulder opening.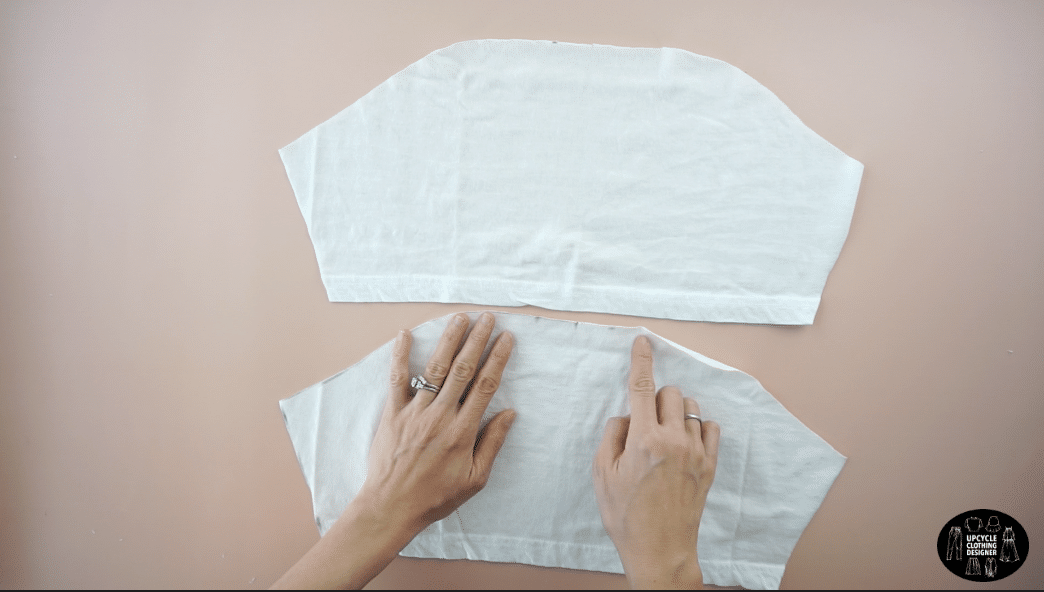

- Fold the new sleeves in half and ¼” topstitch the underarm seam.

Pin the new sleeve to the armhole opening and ¼" topstitch. - To finish the hemline, cut a 28” long piece of ¼” elastic band.
Attach both ends of the elastic band to make a loop.
Slide the loop over the hemline and topstitch to secure.
Stretch the elastic as you sew to create a balloon silhouette.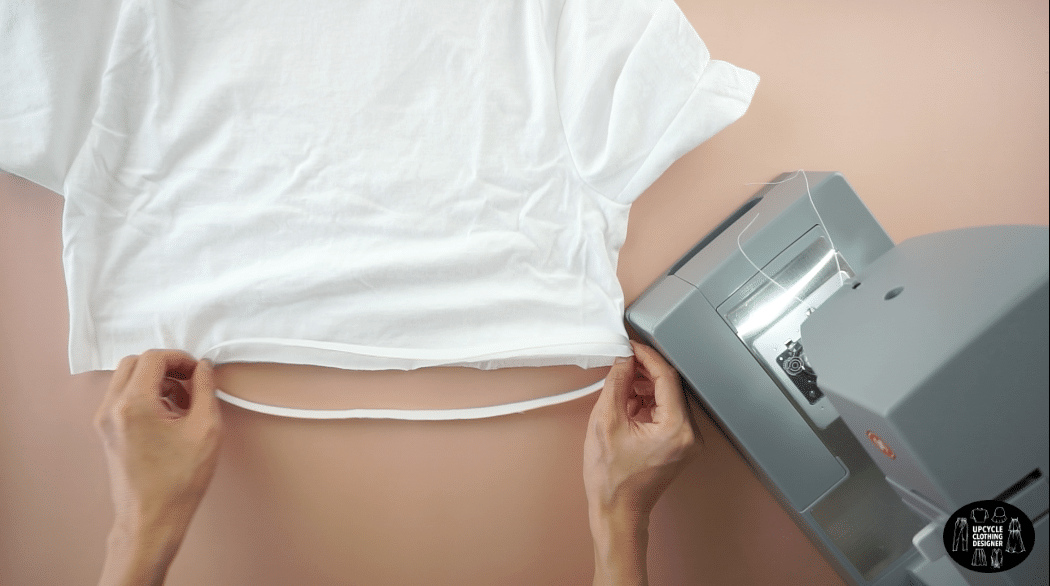

- To finish the puff sleeves, cut a 10” piece of ¼” elastic band.
Attach both ends of the elastic band to make a loop.
Slide the loop over the armhole opening and topstitch to secure.
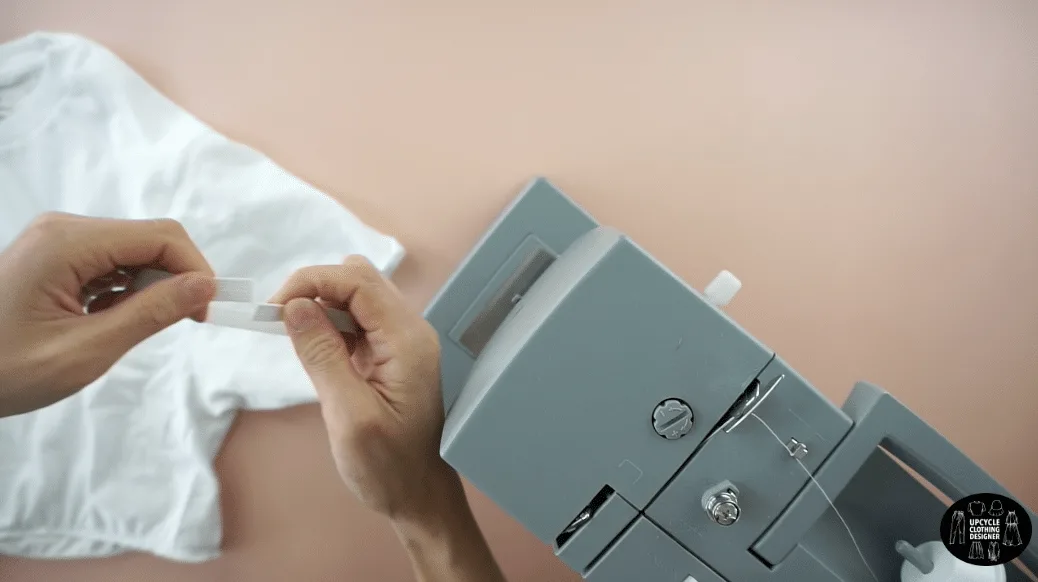
Stretch the elastic as you sew to create a balloon sleeve silhouette to complete this diy puff sleeve crop top.
Recommended Products
As an Amazon Associate and member of other affiliate programs, I earn from qualifying purchases.


Trendy, Affordable Sewing Patterns for All Sizes


Tie Shoulder Jumpsuit Pattern


Palazzo Pants Sewing Pattern


Pocket Overall Romper Pattern


Wrap Maxi Skirt Sewing Pattern


Tie Back Top Sewing Pattern