
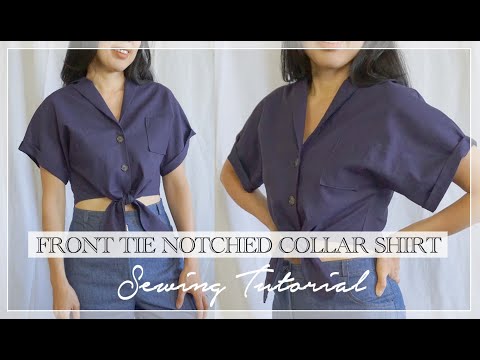
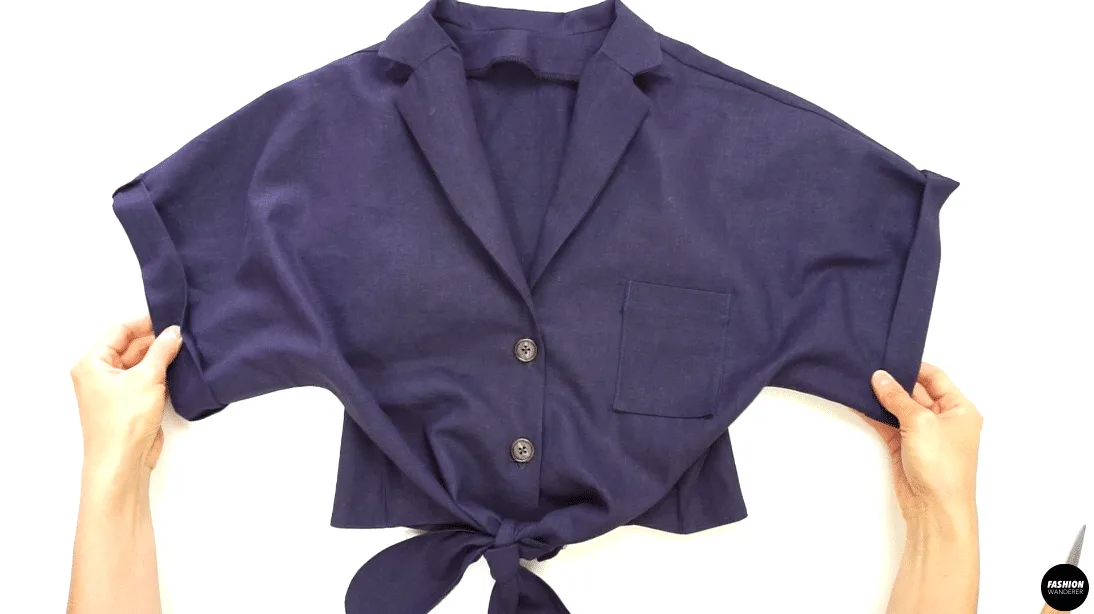
Have you made a button down shirt before? This Evie shirt features front button with tie closure, breast pocket, and casual pajama blend with camp shirt notched collar. The dropped shoulder kimono sleeve gives an overall relaxed silhouette to the style.
How do you make a front tie notched collar shirt? Prepare the linen fabric by washing them in hot water to work on shrinkage prior to cutting and sewing the garment.
Place the sewing patterns parallel to the selvage and cut out according the instructions. Follow the sewing tutorial to complete the front tie notched collar shirt by using interfacing, buttonhole sewing foot, and basic stitches to accomplish this beginner friendly sewing project.
If you are intimidated by sewing a collar, in this tutorial you will learn the proper way to sew notched collar and lapel, which is much easier compared to a standard collar and collar band design. In addition, you will learn to add interfacing to shape the collar and give a pointy lapel that looks equal on both sides.
Every sewing patterns from Fashion Wanderer comes with step by step instructions and video tutorial that is easy to read for all sewing levels. Each design also consists of sewing tips and techniques for specific fabrication to guide you from start to finish of the project.
These tutorials are detailed and easy to follow so that complete beginners or those looking to grow to the next level level can understand. But, if you are stuck on the steps or have difficulty understanding the instructions, feel free to reach out to me for more help!


DIY Front Tie Notched Collar Shirt Sewing Pattern


You will love this DIY front tie notched collar shirt because…
- Evie shirt sewing pattern provides a wide range of sizes from US 2 to 12 and UK 6 to 16 for you to choose from.
- Each sewing pattern piece includes ⅜” or 0.95cm seam allowance to sew right away after cutting and give plenty of room for fit adjustments.
- Learn to sew buttonholes on a front closure.
- Master to sew straight stitches and overlock stitches that enhance quality of the handmade garment.
- Perfect beginner friendly sewing project that demonstrates how to attach interfacing to shape the collar professionally.
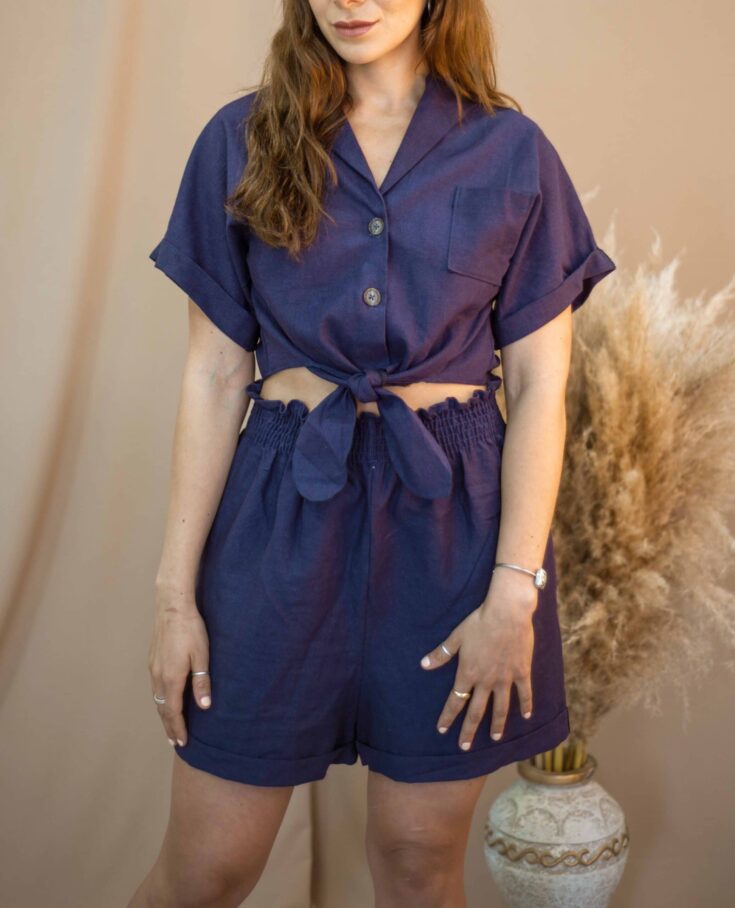
This casual shirt pairs well with any high waist bottom including the Evie shorts or Ari denim jeans. If the original shirt length is a bit too short, you can easily adjust and lengthen the bodice pattern to make it bit longer to wear with regular bottoms.
Use this DIY front tie notched collar shirt sewing pattern and tutorial so you can add to your summer wardrobe.


How to make front tie notched collar shirt from scratch
Have basic knowledge to read sewing pattern with an understanding of the basic element of notches, cutlines, and grain lines. This will help you prepare to assemble the pdf sewing pattern once it is printed out.
Ensure to match the diamond shape on each page and use clear tape to join the pages together. If you are considering to lengthen the bodice, use matte tape to draw lines over them.
Before cutting the patterns out, double check your body measurement and compare with size guide chart to select the correct size to start with. For any in-between sizes, go with one size up to downgrade during the fit adjustment session.
Always use up-to-date body measurement to nail the perfect fit.
For this project, all you need is chest and waist opening to identify the right size. It will help you to avoid making any fit alterations once the garment is finished.
In addition, understand the characteristic, content, and care instructions of linen fabric. Look for a pre-washed label on the bulk of fabric to determine if you need to pre-treat the fabric before cutting and sewing.
Prepare your sewing machine prior to starting the project.
Evaluate the condition of the machine and realize that the sewing needle needs to be replaced after 7-8 hours to prevent from creating uneven stitches. It will help to avoid from puckering seams or breaking thread which causes halt during the stitches.
Another important aspect to look for is threading the sewing machine and the bobbin correctly. As a result, the straight stitches will have even length and tension overall throughout the garment.
DIY Front Tie Notched Collar Shirt Tutorial Material:
- Evie Shirt Sewing Pattern
- Linen Fabric 1 yard for 60” width or 1½ yards for 45” width
- 2 Pieces of 4-hole Button Size 24L or ⅝” (1.58cm)
- Fusible Interfacing
- Fabric Chalk
- Pins
- Measuring Tape
- Fabric Scissors
- Seam Ripper
- Buttonhole Sewing Foot
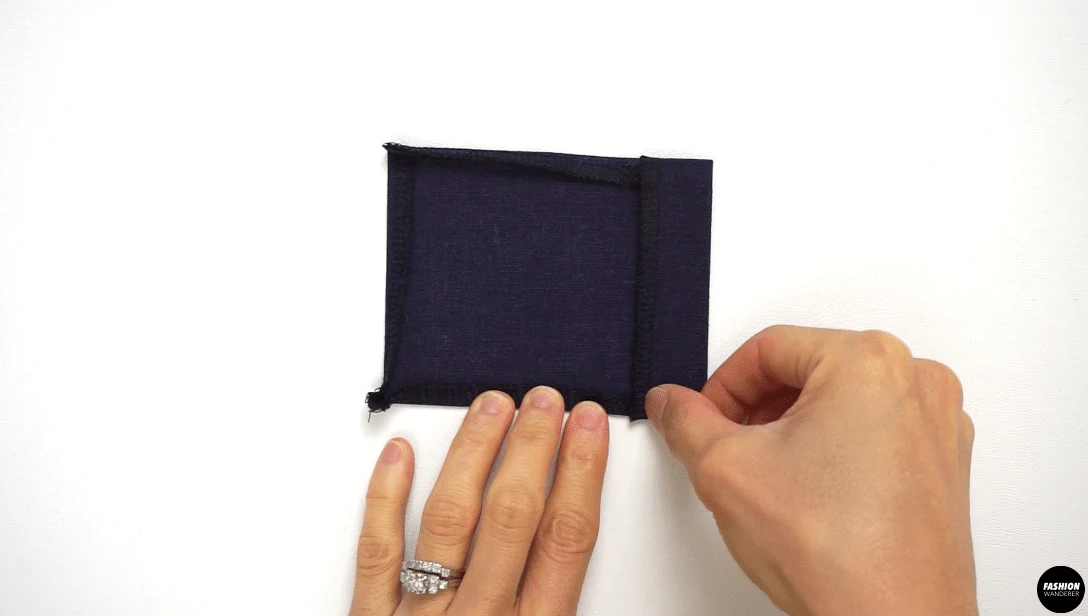
Finish the patch pocket edges with overlock stitch all around, then fold the overlock stitch on all three sides and press with iron to shape. For the fourth side, fold ¾” width and press with iron.


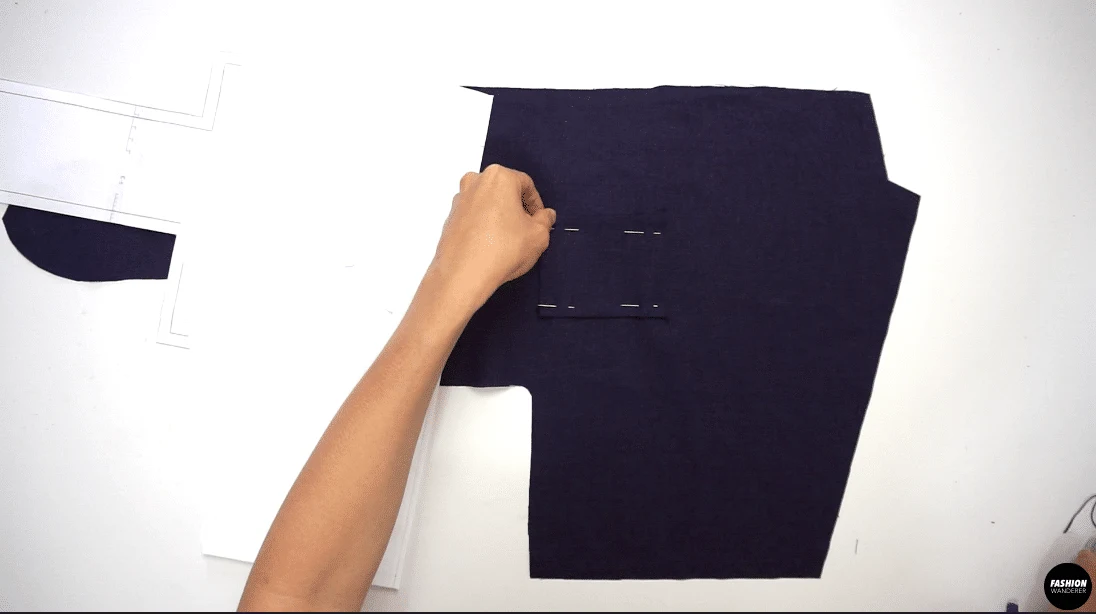
Place the Left Front Shirt facing right side up and transfer the pocket placement from the paper sewing pattern, then mark the four corners with fabric chalk and pin. Edge topstitch around and press.
Sew Front Facing pieces to the left and right Front Top at the shoulders with right sides together. Sew shoulder seam and press the seam open, then use overlock or zigzag stitch around the joint facings.
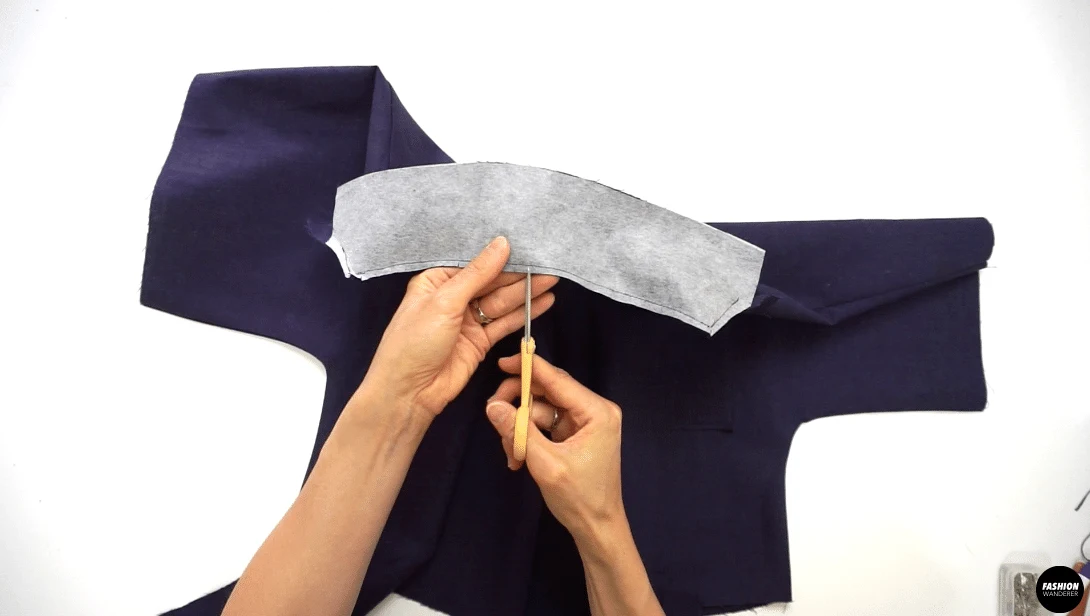
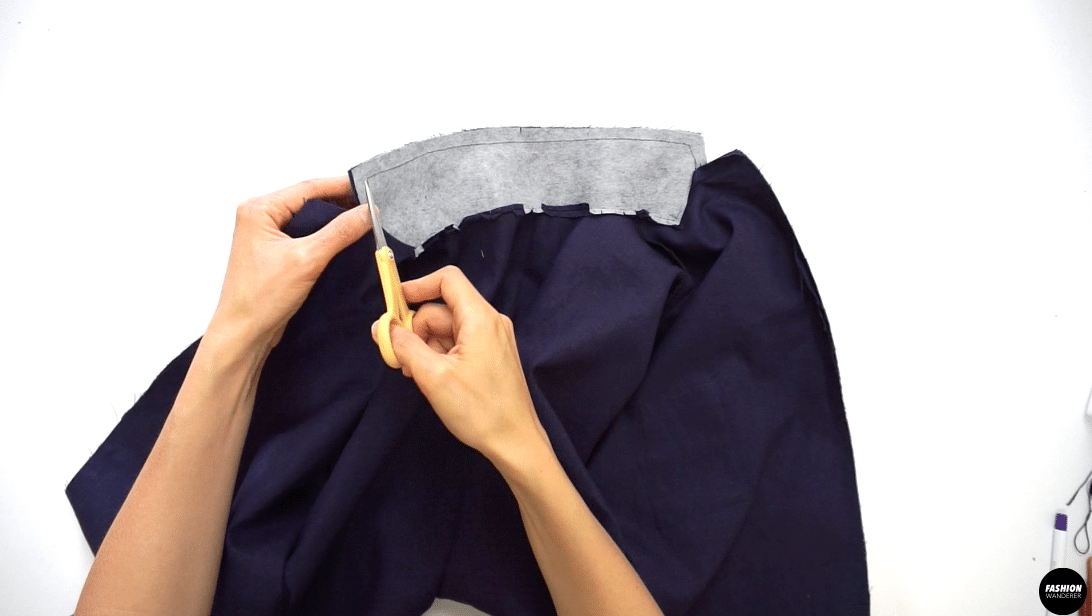
Attach the Collar to the facing with right sides together and pin. Stitch the collar to the facing and snip the seam allowance and continue to sew the short edges.
Trim the seam allowance in half and slip the corners and press the seam open.


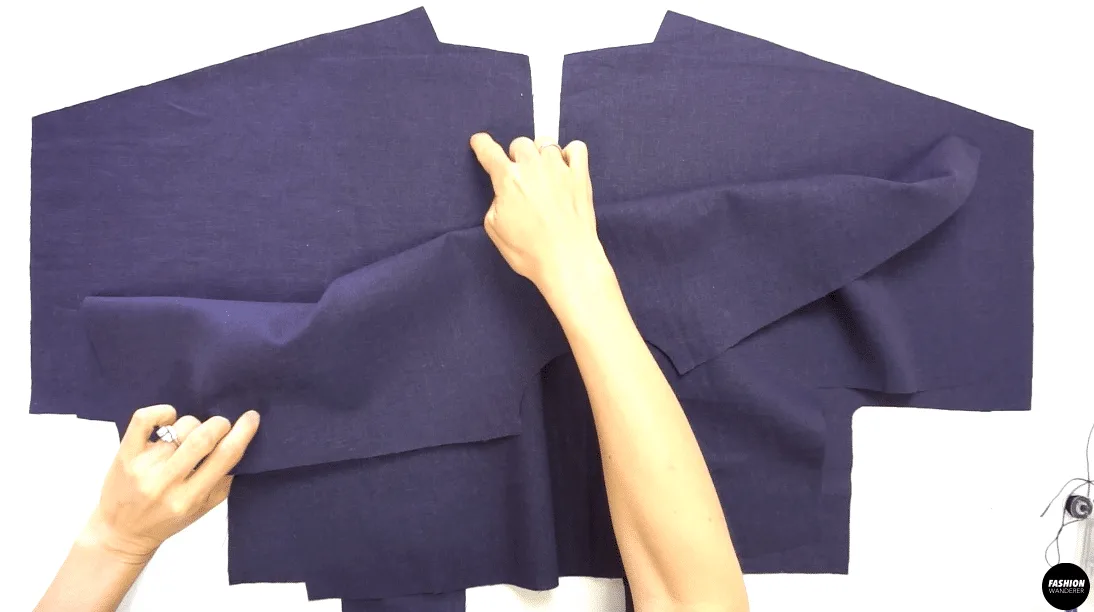
Sew the outer garment collar by placing the right side of the Front Top and right side of the Back Top facing together.
Sew along the shoulder, underarm, and side seam. Finish with overlock stitch and press these seams facing the Back.
Assemble the Collar to the Top right sides together and sew along to attach. Trim the seam allowance in half and slip the curved neckline so it is easier to sew the short edges.
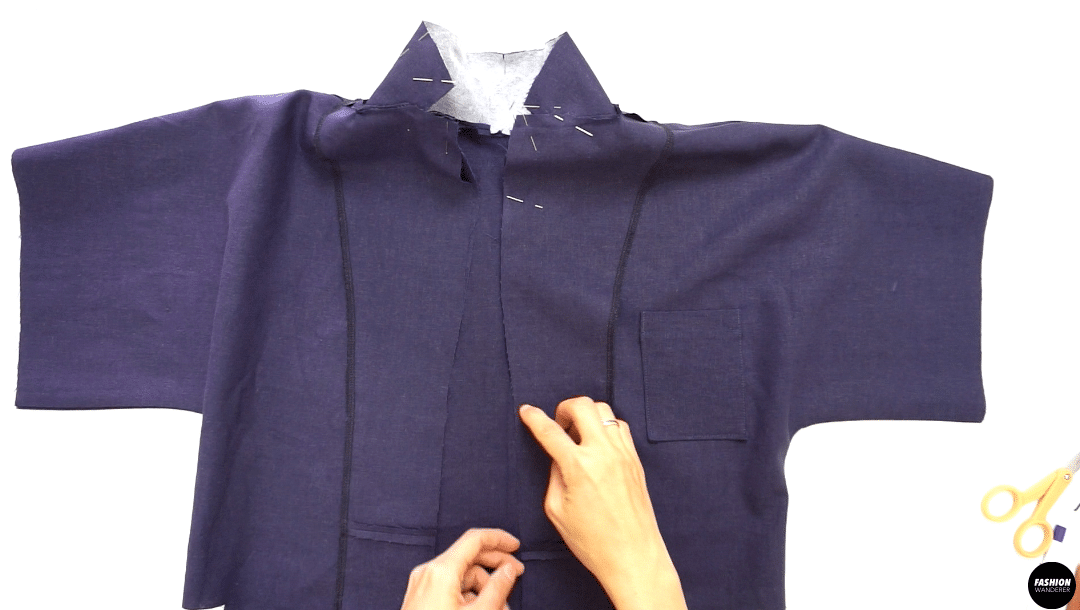
Lay the Facing and the garment right sides together and sew along the seam allowance around the collar and lapel. Trim the seam allowance in ¼” width and clip the corners to flip inside out easily, then press and shape the collar and lapel.
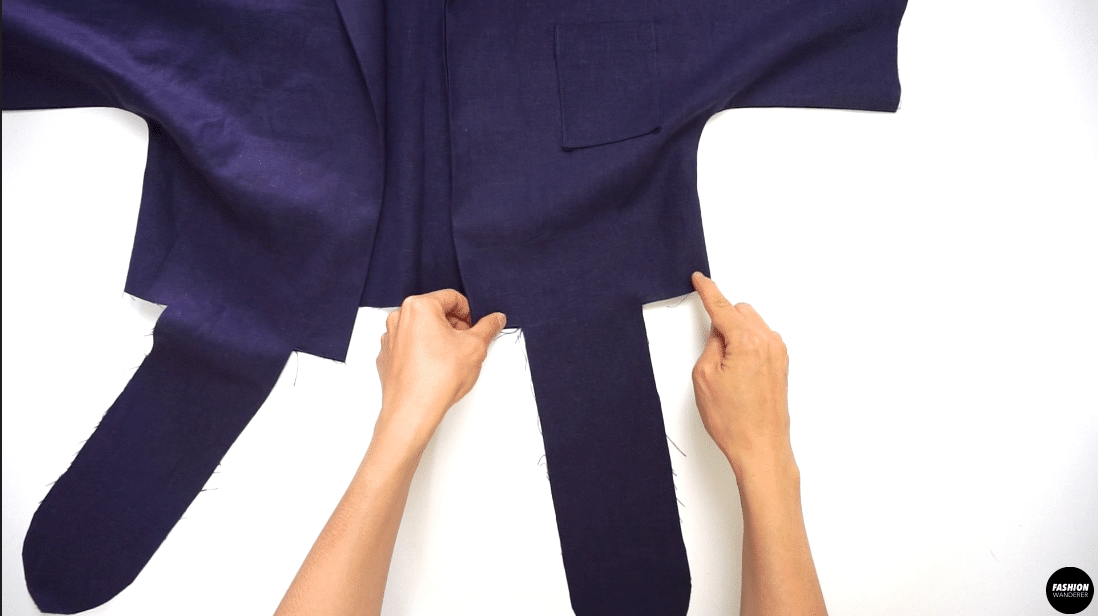
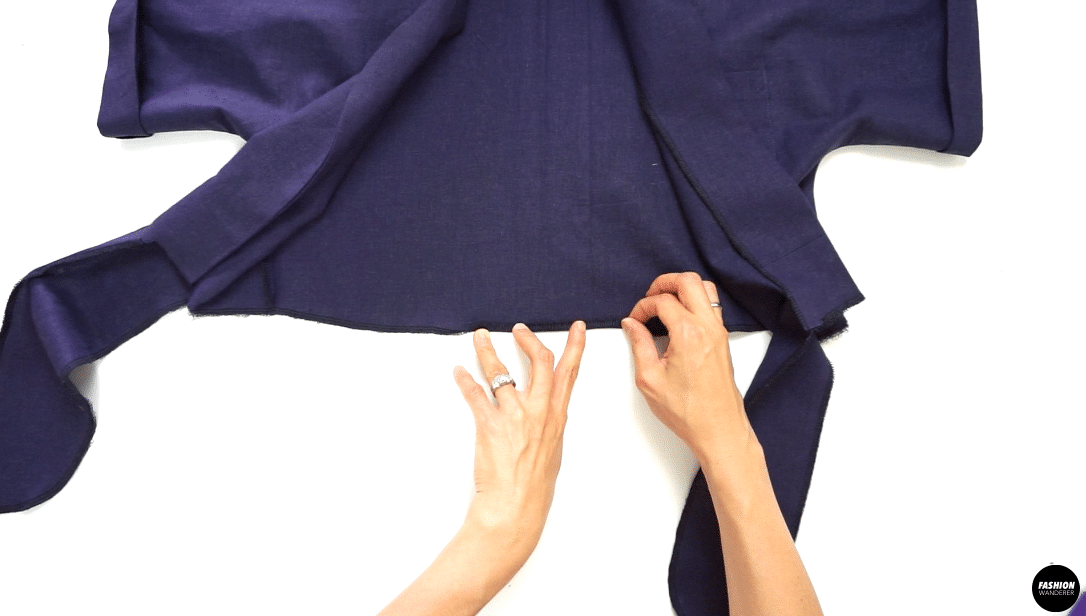
Finish the hem of shirt and hem of front tie with overlock stitch. Also, overlock stitch around the sleeve opening.
Press with iron width of overlock stitch and fold again 1” width to press to create the folded crease. Sew ¾” length along the seam to secure the tacking.
Fold the hem of the shirt inside and sew edge stitch to finish the edges.
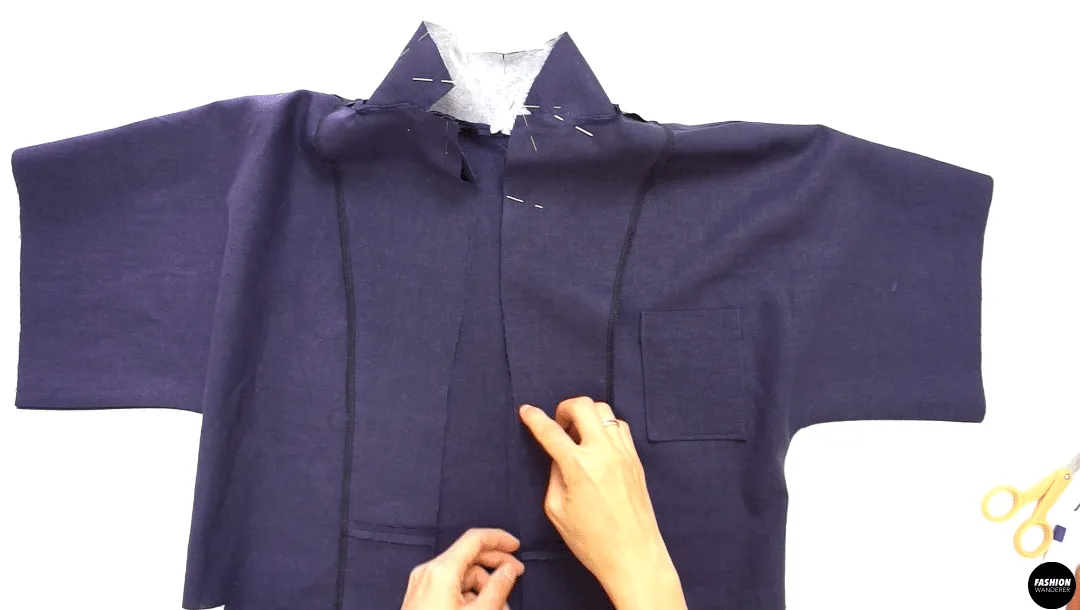
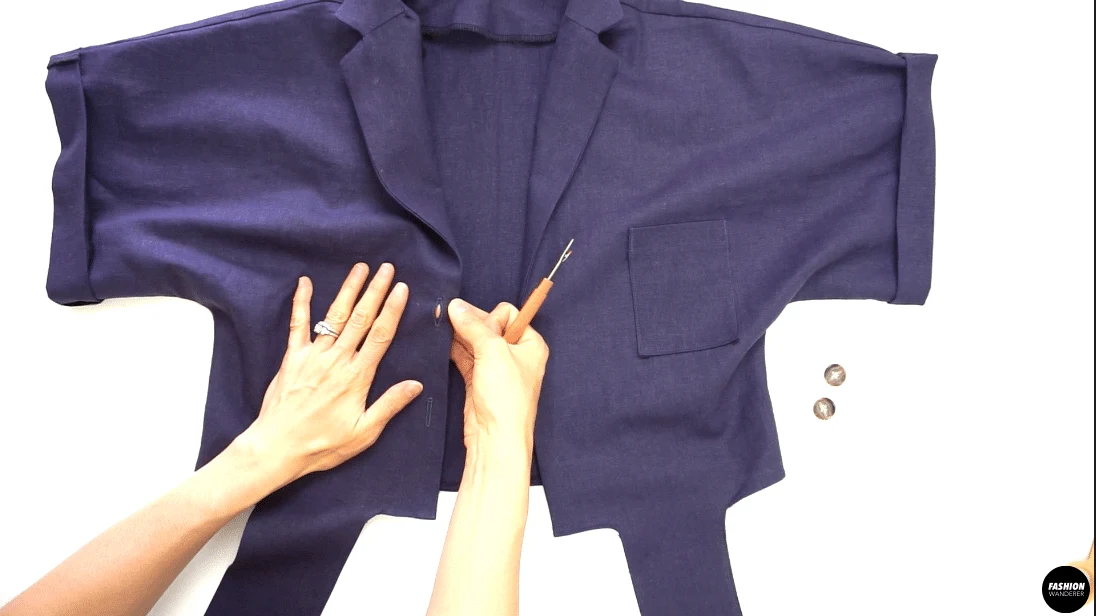
Overlap the shirt right side being on top to find the first button position. Mark with chalk and measure 2” away from the center for the second button position.
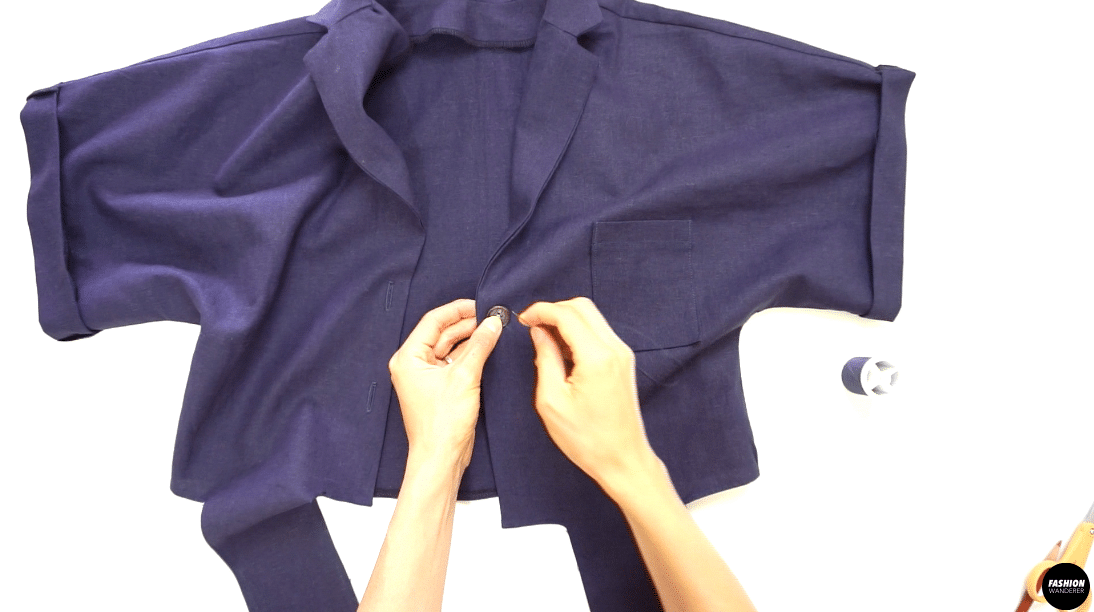
Use buttonhole sewing foot to create two identical buttonholes on the garment. Use seam ripper to open the buttonhole, then transfer the buttonhole onto the left side of the shirt and hand sew the button in place.
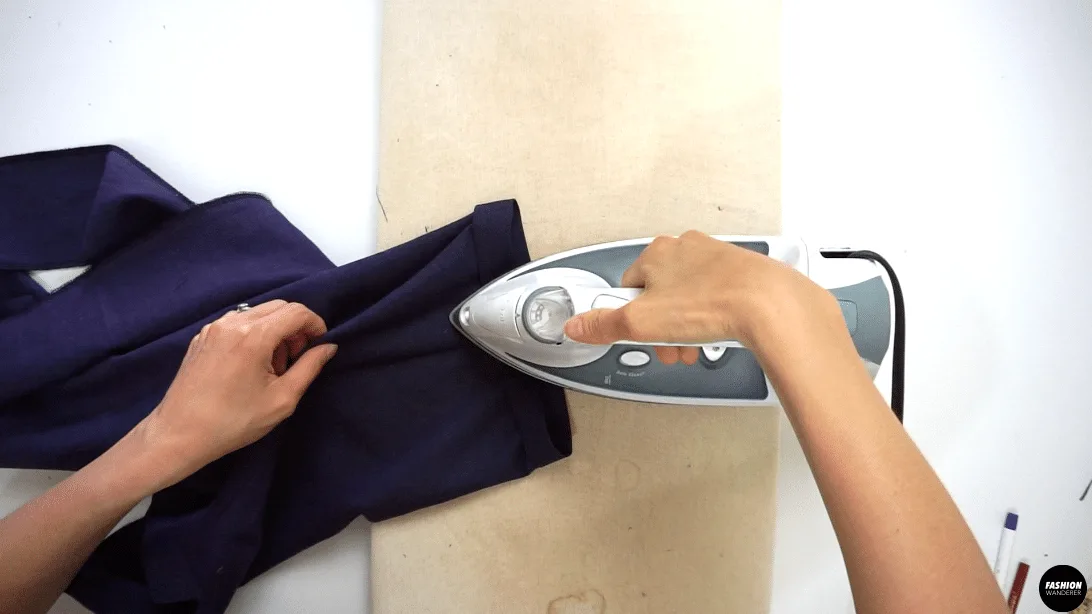
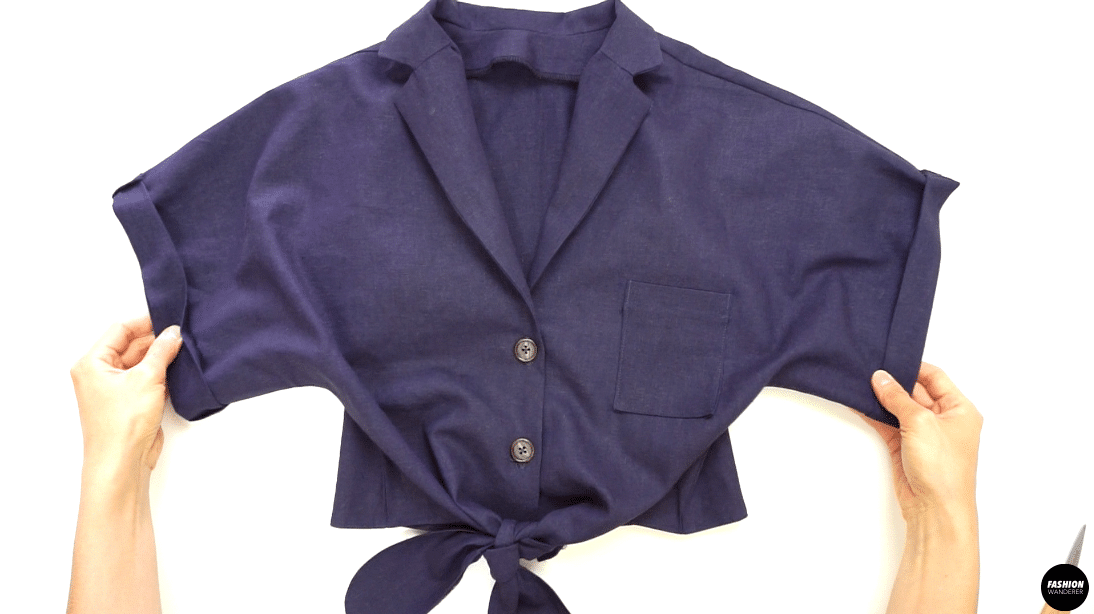
Press the shirt with iron along the lapel, collar, patch pocket, and folded cuff on sleeve and hemline to complete the front tie notched collar shirt.


DIY Front Tie Notched Collar Shirt Sewing Tips


Completing notched collar shirt looks difficult and seems like it will require years of experience. However, this step by step tutorial teaches how to use fusible interfacing to create a beautiful lapel and collar that is rigid, even and professional looking.
In addition, you will also learn whether to dry or steam fusible interfacing to attach the under collar and create a bubble-free collar. This can be tricky as a beginner to properly apply interfacing on the fabric.
However, if you do not own iron-friendly interfacing, there are other option and fabrics to use instead of interfacing to shape the collar and lapel.
In this sewing tutorial, we will use basic types of stitches to join fabrics together and create buttonholes with an essential sewing foot. If you already have downloaded the Evie shirt sewing pattern, review these sewing tips and techniques to help you easily complete the project.
- Sewing Needle: For this tutorial, selecting the correct sewing needle size is important. If you have lightweight linen, go with 70/10 or 80/12 needle size. For medium or standard linen fabric, universal needles will work well.
- Thread: When sewing linen, cotton thread or cotton covered polyester thread works the best. However, do not use linen thread since it easily breaks when used on a sewing machine.
- Stitches: Ensure to adjust the stitch length to 2.5 to 3 to sew linen without an issue, and keep the tension as 4 or 5 to get seams without puckering. These adjustments work for straight stitch or overlock stitch as well. When sewing buttonholes, follow the manual to change the stitch length based on the type of stitch.
- Interfacing: When applying the interfacing to the fabric, always glue on the wrong side of the fabric on the under collar. This will help to avoid from visually catching bubbles on the surface of the fabric. If you are using fabric as interfacing, make sure to edge stitch around the collar to secure the position.
- Button: Use buttonhole sewing foot to create beautiful buttonholes that are nice and even. Test on a scrap of fabric to understand when the needle needs to start and end the stitches. Mark the width of the button with fabric chalk to make it easy.
To make a front tie notched collar shirt, review these sewing tips and techniques that are specifically designed for linen fabric. This type of fabric wrinkled a lot, so use steam iron while you sew each seams to get the accurate measurement. A Serger machine or zigzag stitch of regular sewing machine is useful to prevent from fraying the fabric on all the seams.
Always test on a scrap of linen fabric to try buttonhole, overlock stitch, and straight stitch to get the perfect stitch length and tension that works best for you. Complete this casual Evie shirt by understanding and studying these sewing tips to give you the best result.

DIY Front Tie Notched Collar Shirt
Are you looking for a cute crop length top to match with your favorite high waist shorts? If you want a simple button front shirt that is fun to sew, this diy front tie collar shirt is exactly what you are looking for!
Follow these instruction for a step by step guide to sew the notched collar and create buttonhole closure to complete the garment. In this tutorial, all the sewing details are great for beginners to master basic sewing stitches.
The Evie shirt features front button with tie closure, breast pocket, and casual pajama blend with camp shirt notched collar. If you are intimidated to sew a standard collar, this notched collar is great option for beginner sewers to grow to the next level.
From patch pocket to buttonholes, this garment provides a kimono style sleeve with folded cuff detail that gives a relaxed silhouette compared to regular button front shirts. Follow this sewing tutorial with Evie shirt sewing pattern to help you to achieve this cute shirt to match with your fun shorts to wear.
Materials
- Evie Shirt Sewing Pattern
- Linen Fabric 1 yard for 60” width or 1½ yards for 45” width
- 2 Pieces of 4-hole Button Size 24L or ⅝” (1.58cm)
Tools
- Sewing Machine
- Serger
- Fusible Interfacing
- Thread
- Fabric Scissors
- Measuring Tape
- Fabric Chalk
- Straight Pins
- Buttonhole Sewing Foot
- Seam Ripper
Instructions
For this Evie front tie notched collar shirt tutorial, start by assembling the pattern pieces:
2 Pieces of Front Top
1 Piece of Back Top
2 Pieces of Front Facing
2 Pieces of Collar
1 Piece of Back Neck Facing
1 Piece of Interfacing Collar
1 Piece of Left Pocket
How to Sew Patch Pocket
- Use Serger to overlock stitch all around four sides of the Left Pocket sewing pattern piece.
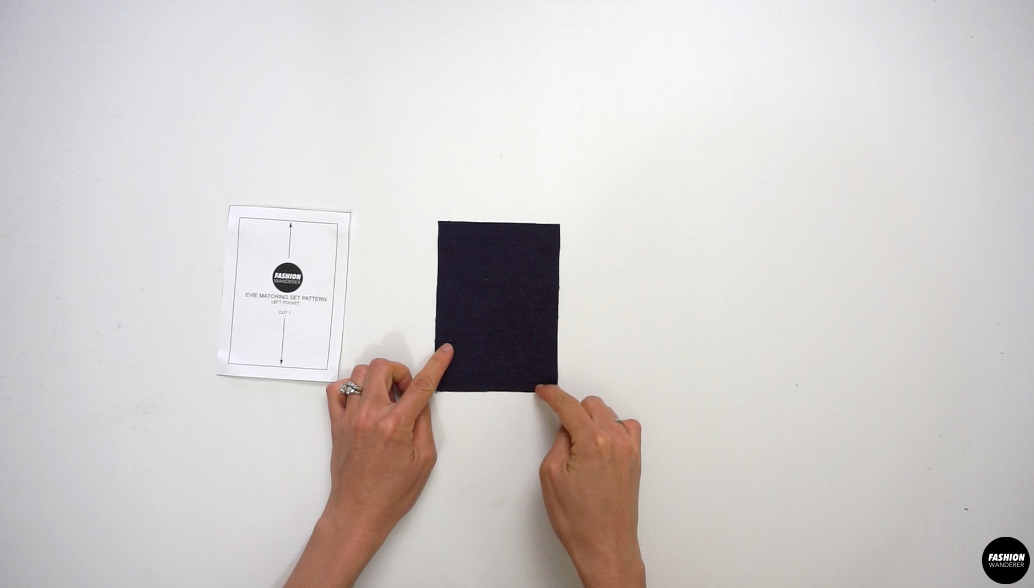
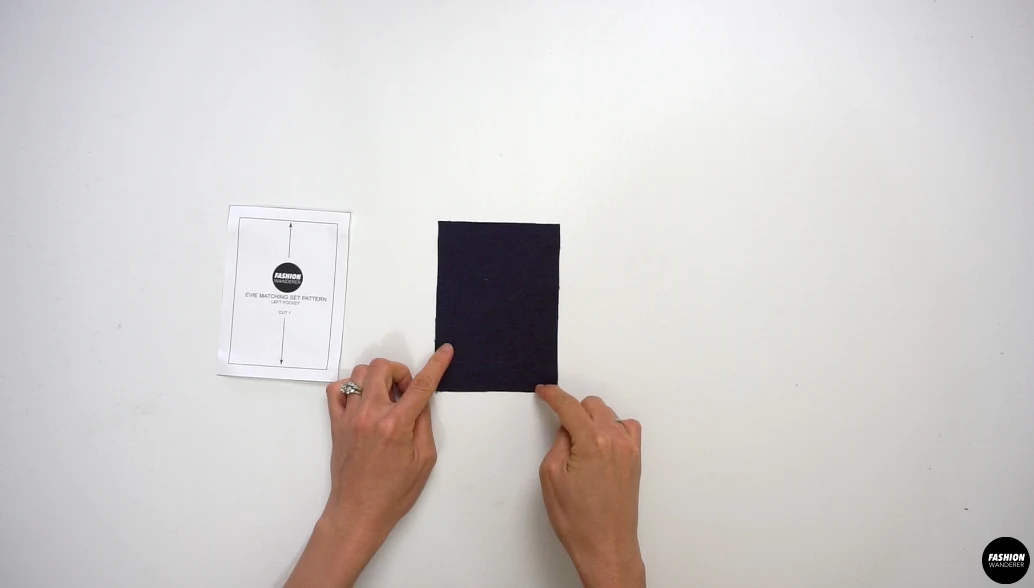
- Fold ¼” width on all three sides toward the wrong side of the pocket and press with iron. On the remaining side of the pocket, fold ¾” width and press with iron.

- Place the Left Front Shirt facing right side up and transfer the pocket placement from the paper sewing pattern, then mark the four corners with fabric chalk. Position the Left Pocket piece and pin. Edge topstitch around 3 sides and leave the pocket opening. Press with iron.

How to Sew Notched Collar Facing
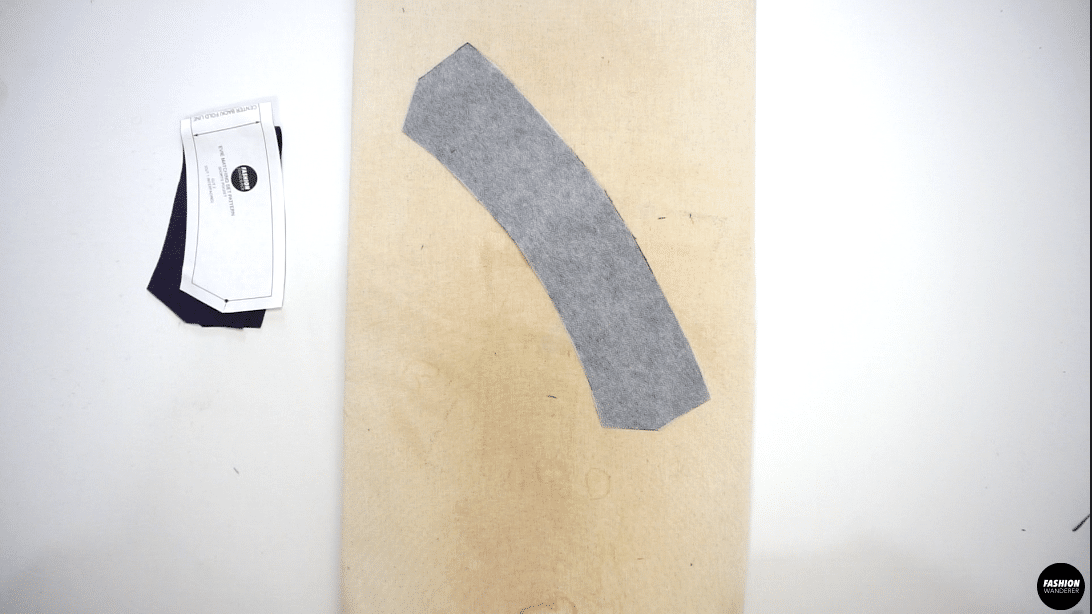
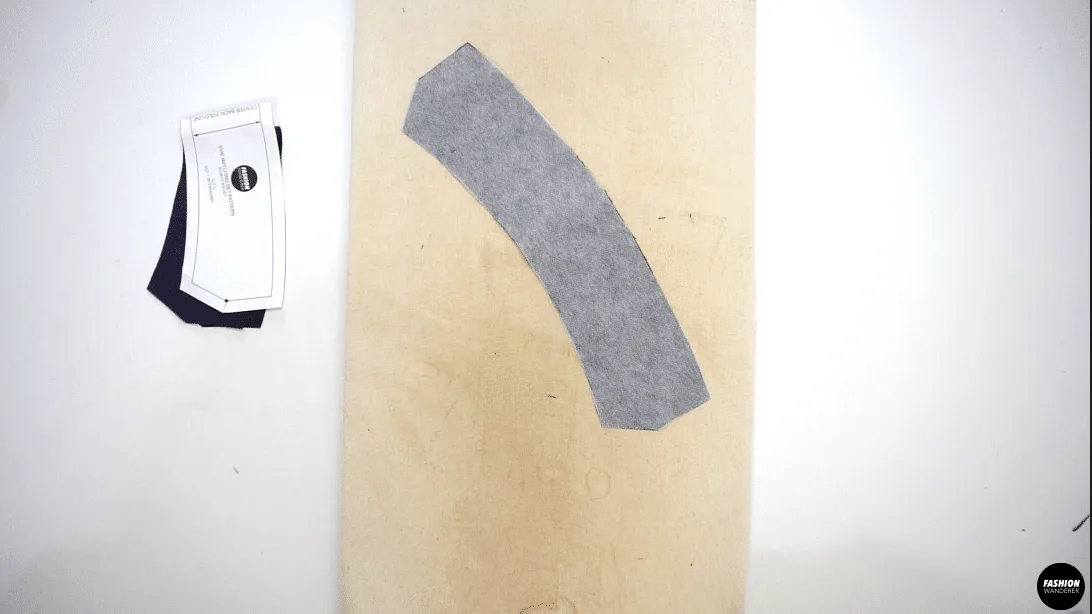
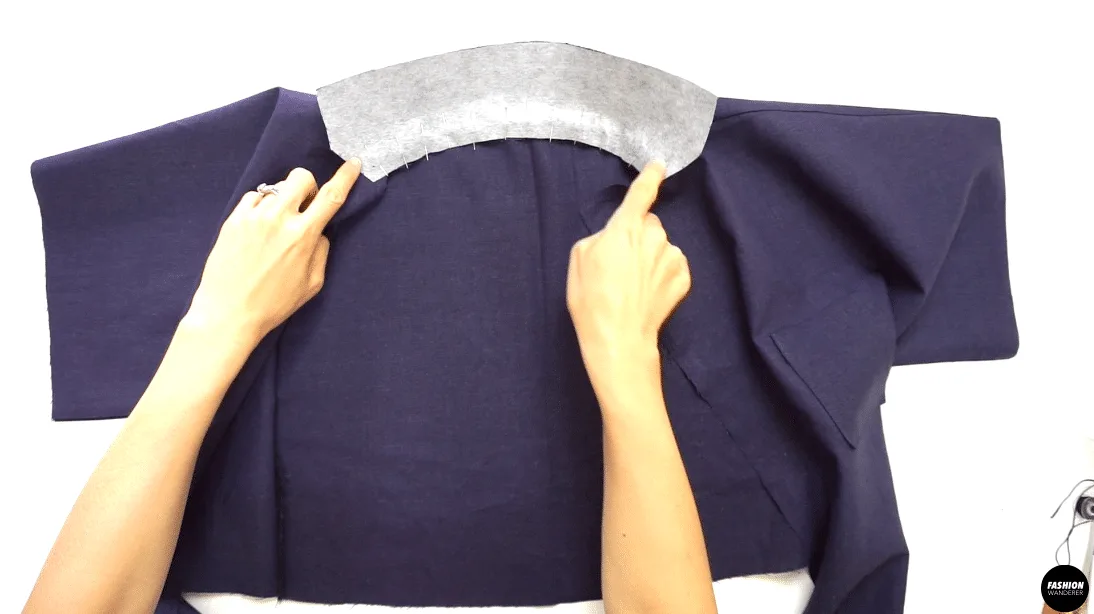
- Place the wrong side up and iron the fusible interfacing on one of the Collar pieces.
- Pin and join the Front Facing pieces to the left and right Front Top at the shoulders with right sides together. Sew ⅝” width seam allowance to join.

- Press the shoulder seams open and finish the outer raw edges of Front and Back Facings with overlock or zigzag stitch to prevent fabric from fraying.

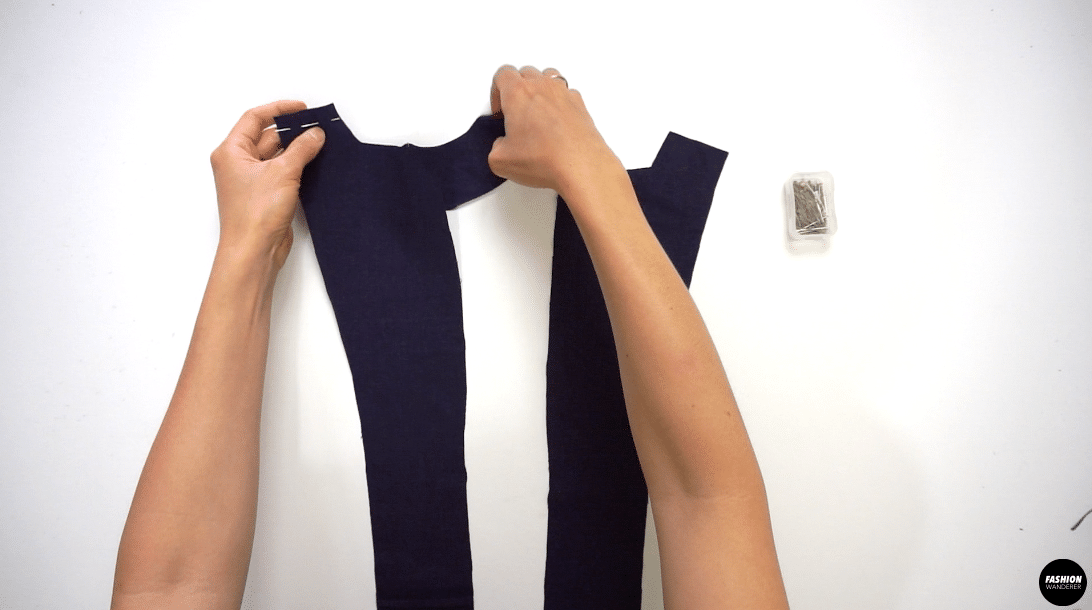
- Attach the Collar to the facing with right sides together and pin. Match the notches where the collar ends and lapel starts.

- Stitch the collar to the facing with ⅜” width seam allowance. Backstitch on both sides to secure the ends. Snip into seam allowance to release tension right to the point where the stitch starts and ends. Pin the short edge where the collar and the lapel are stitched together, up to where they are going to start breaking off. Insert the sewing needle where the stitch ended and sew the pinned edges right sides together to the breakpoint. Trim the seam allowance to ¼” width and also clip the corners and along the curved edges to release the tension. Press the seam open.

How to Sew Notched Collar on Shirt
- Place right side of the Front Top and right side of the Back Top facing together, then sew ⅜” width seam allowance along the shoulder, underarm, and side seam. Overlock stitch the raw edges and press the seam toward the Back.

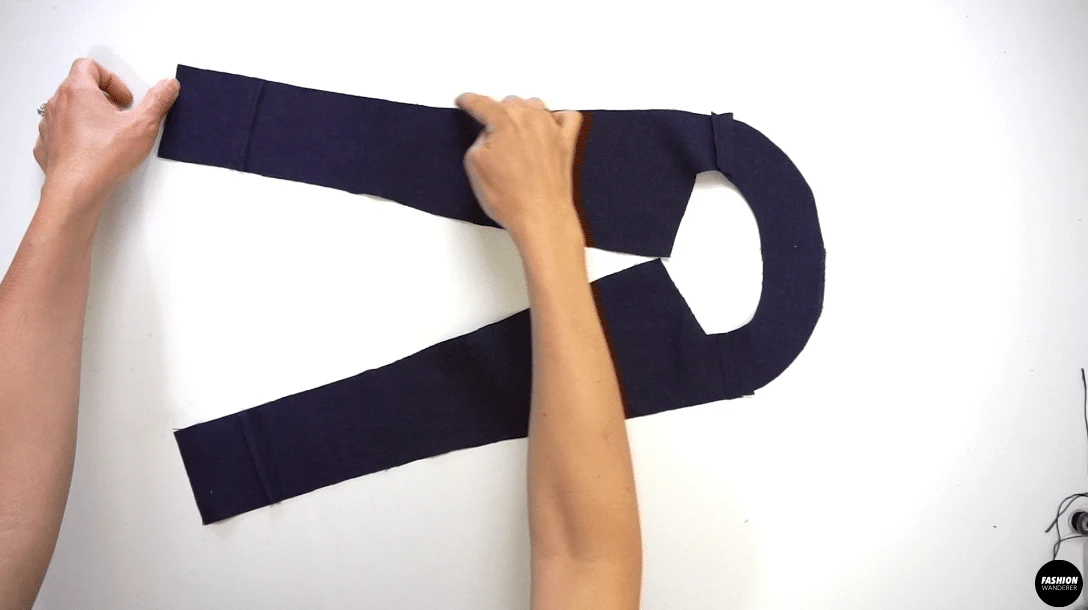
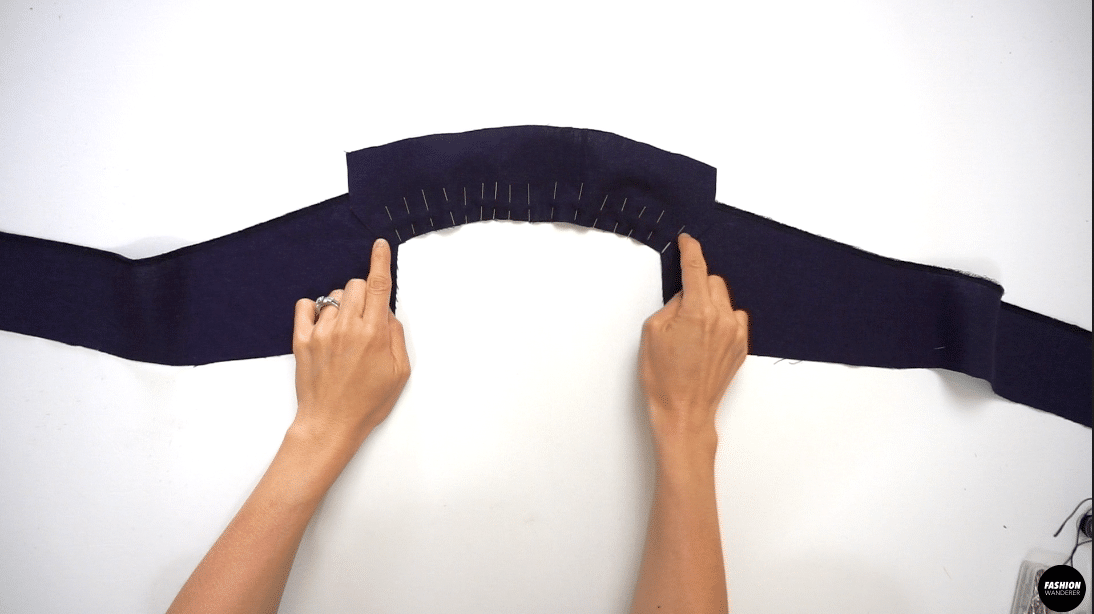
- Attach the Collar to the Top right sides together, and stitch matching the notches along the back neckline. Sew ⅜” width seam allowance and backstitch to secure both the start and finish.

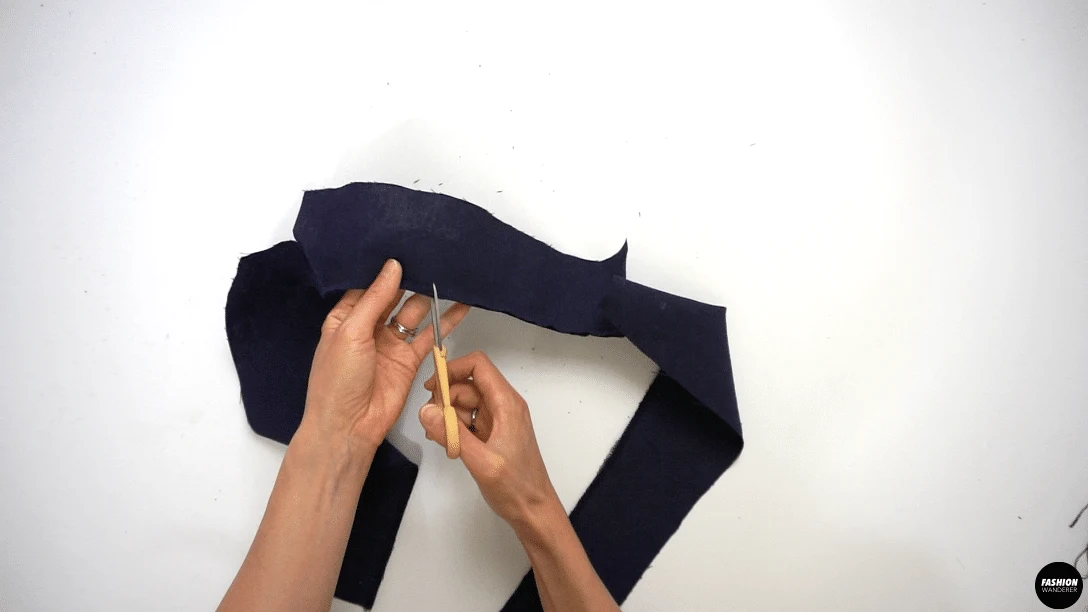
- Trim the seam allowance to ¼” width and slip the curved neckline to smooth out and release tension. Pin the short edge where the collar and the lapel are stitched together, up to where they are going to start breaking off. Insert the sewing needle where the stitch ended and sew the pinned edges right sides together to the breakpoint. Trim the seam allowance to ¼” width, also clip the corners and along the curve edges to release the tension. Press the seam open.

- Place the Facing and the garment right sides together matching up all cut edges and pin. Sew ⅜” width seam allowance starting at center back down to the hem on the Front Top. When you get to the point where the collar and lapel intersect, lower the needle, lift the presser foot and pivot the fabric.
- Trim the seam allowance to ¼” width and clip the corners and notches around the collar. Turn the facing to the inside. Press and shape the point and edges with an iron.

How to Sew Tie Front Notched Collar Shirt
- Overlock stitch the hem including the attached front tie piece and back opening.

- Also, overlock stitch the hem of sleeve opening and press with iron ¼” width toward the right side of the fabric. Then, again fold 1” width and press with iron. Tack the folded cuff sleeve opening with ¾” long straight stitch along the shoulder seam and under sleeve seam to secure the cuff so it does not flip.

- Single fold the hem toward the wrong side of the fabric with ⅛” width seam allowance to finish. Press with iron to release the puckering.

- Place the right side of the Shirt on top of the left side of the Shirt and overlap, this will be your first button position to mark with chalk. Measure from center of the button placement 2” away for your next button and mark with chalk.


- Insert the button on the buttonhole foot and replace this special sewing foot with regular foot on the sewing machine. Change the stitch type to buttonhole setting and match the red mark on the sewing foot to the middle of the chalk mark. Start sewing buttonholes on the garment, then use a seam ripper to open the slits.

- Transfer the buttonhole position to the right side of the Front Top to indicate the middle of the button positions. Hand sew the button in place.

- Lastly, press with iron and give enough steam on the notched collar, folded cuffs, buttonhole opening, and hemline to complete this Evie shirt front tie notched collar shirt to pair with your cute shorts.
Recommended Products
As an Amazon Associate and member of other affiliate programs, I earn from qualifying purchases.


Trendy, Affordable Sewing Patterns for All Sizes


Tie Shoulder Jumpsuit Pattern


Palazzo Pants Sewing Pattern


Pocket Overall Romper Pattern


Wrap Maxi Skirt Sewing Pattern


Tie Back Top Sewing Pattern