
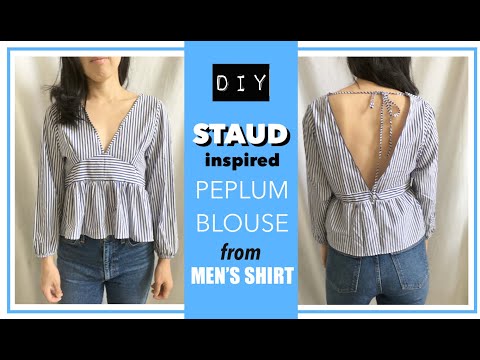
Do you have a pinstriped men’s dress shirt that is waiting for the perfect refashion project? Follow this men’s dress shirt upcycle for a guide to transform the old clothes into a stylish peplum blouse inspired by Staud.
In fact, there are numerous ways to make a women’s blouses from men’s shirt. The deep plunging front and back neckline with gathered peplum silhouette truly accentuates your waistline with a stylish accent.
The balloon silhouette full length sleeve is perfect for the spring and summer seasons. Step up to the challenge with me and learn how to upcycle clothes so that you can make new clothes from old clothes and continue to build a fashionable wardrobe filled with trendy DIY clothing!
If you only have solid colored men’s dress shirt for this project, then you’ll have an easy and stress-free time because there is no need to match the stripe directionals. Feel free to choose any color or stripe width men’s dress shirt you want to transform for this project.


You will love this Staud inspired peplum blouse from men’s dress shirt because…
- Made without a sewing pattern.
- Perfect sewing project for intermediate skill level.
- Learn to make darts on cotton poplin fabric.
- Create gathering by manual loose stitching instead of using elastic thread.men
- Zero waste project that uses every scraps of fabric, notion and element of the original dress shirt.
If fact, there are many ways to change a dress shirt into a cute new wearable style. Transform old clothes into fashionable pieces with new and exciting upcycled men’s dress shirt projects, I promise you won’t regret stepping up to the zero waste $5 fashion challenge!
The dress shirt that I used for this tutorial has ⅛” width bright blue and white stripes. It turns out that the stripes were actually easy to line up and match while sewing the side seams.
Since the original shirt was not oversized, I even used the original hemming and also the yoke to complete the new peplum top.


As always, when you make upcycled clothing, take the time to save any notions, trims or fabric scraps. In this case, you’ll have leftover buttons or embellishments to save for any future projects.
Build your own diy inventory to become a successful Fashion Wanderer!
In this tutorial, I put together step by step instructions with detailed photographs and video footage to help guide you through the project.
I hope that you follow along to create your own beautiful and elegant peplum blouse from an old dress shirt.


How to make peplum blouse from men’s dress shirt?
In order to make a peplum blouse from men’s dress shirt, you need a basic sewing kit and a standard sewing machines to get started with. If this is your first time sewing, cotton material is so easy to work with and won’t pucker as much compared to many other fabrications.
Another important note, review the guide to take body measurements for clothing. This is an important step towards making finished garments that fit you perfectly,
Follow the helpful sewing techniques listed below and you will make a peplum top with a store-bought quality finish. Take time and enjoy every stitch you make along the way. Let’s get started!
DIY Peplum Blouse Materials:


- Men’s Dress Shirt
- ¼” width elastic band
- Sewing machine
- Fabric chalk
- Measuring tape
- Seam ripper
- Scissors
- Straight pins
- Ruler
Start this refashion dress shirt project by deconstructing the original top.
Detach the collar and neckband.
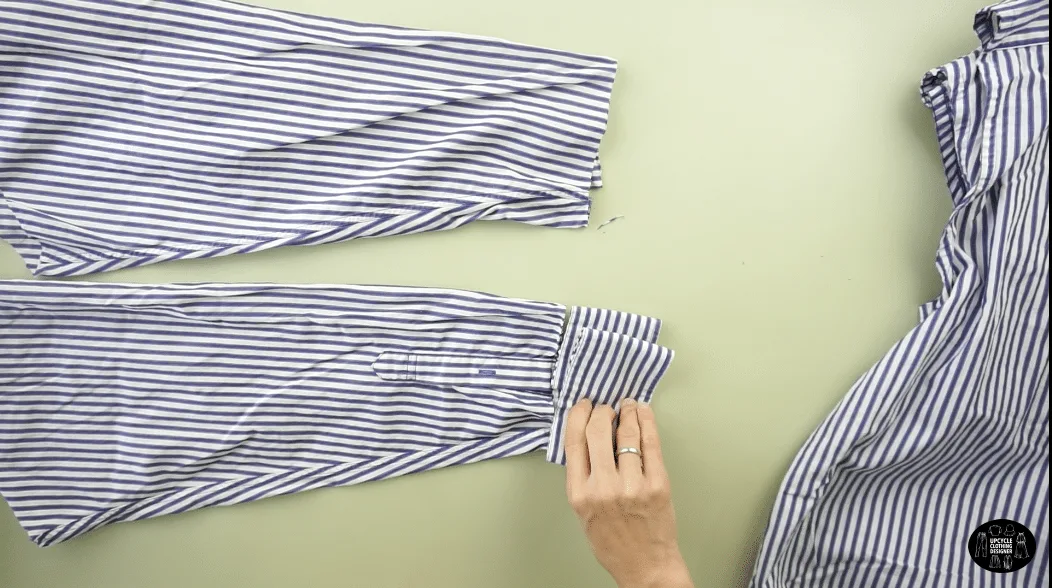
Cut off both sleeves and the cuffs.
Remove the pocket square, buttons and buttonhole placket.
Cut open the shoulder seams, side seams and also remove the back yoke.
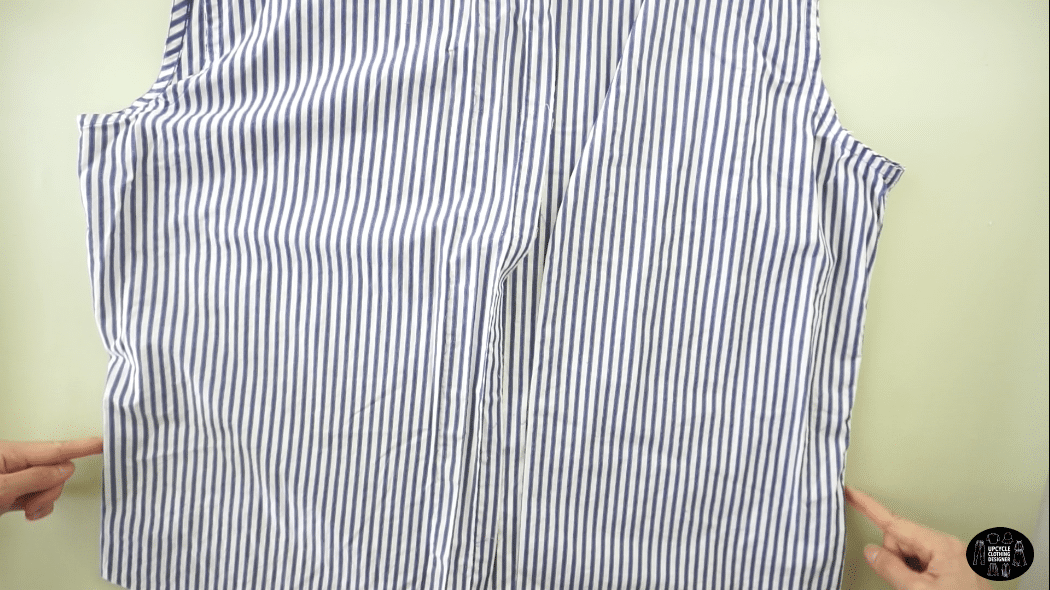
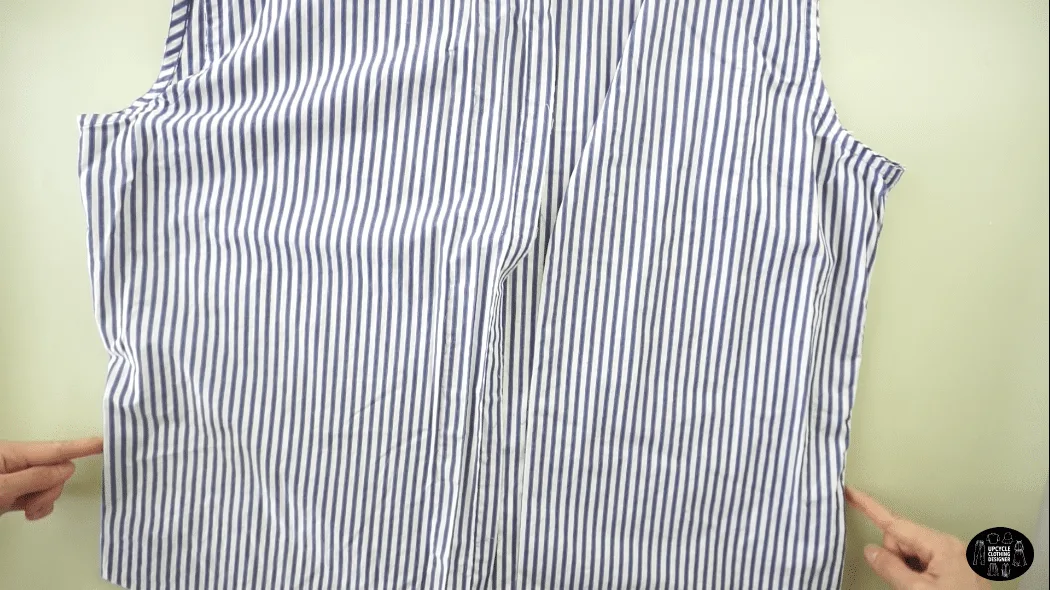
Use the chest piece from the dress shirt to make the front bodice piece of the peplum blouse. Copy the front bodice piece to make the matching chest piece.
Use the back of the dress shirt to make the back bodice piece with a deep plunging V-shape.
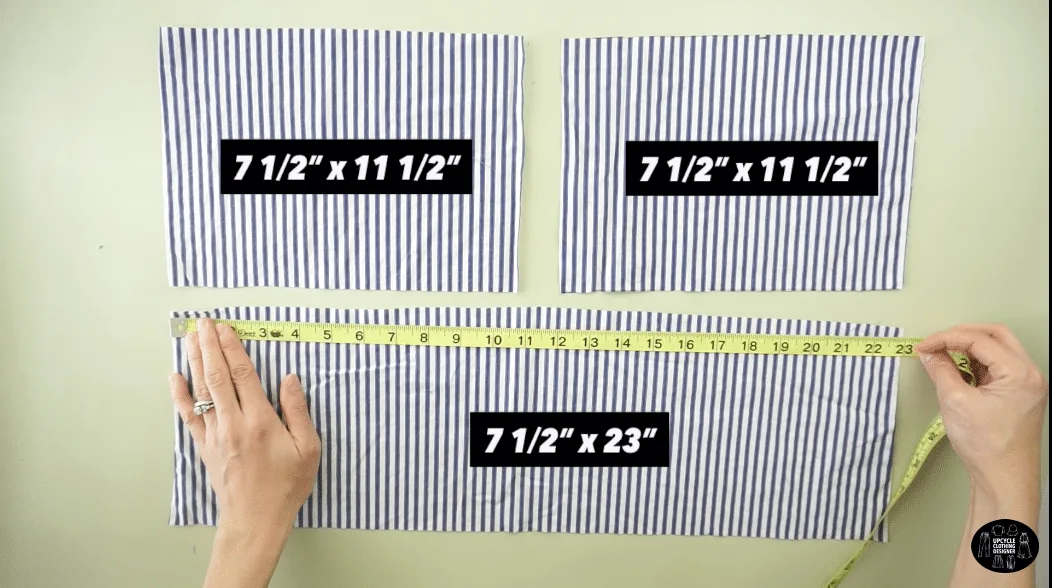
Use the bottom pieces of the dress shirt to make the peplum part. In total, you’ll need 46” x 7½” to complete the peplum around the waistline.
Use the bottom piece from the front of the dress shirt to make two more 7½” x 11½” rectangles.
To complete the front bodice, close the ¾” bust dart, hem the V-neckline with a 1” wide strap and attach the high-low under bust waistband with topstitch.
To complete the back bodice, hem the back piece V-neckline with a 1” wide strap and attach the backside waistband.
To complete the top bodice, topstitch the front piece to the back piece along the side seams and shoulder seams.
To complete the peplum part, attach the peplum pieces together and use a wide stitch width to create shirring.
Attach the bodice piece to the peplum part, and hem the bottom and backside opening.
Use the original sleeves to make the new sleeves. Slide an elastic loop over the sleeve opening. Then, attach the sleeves to the bodice..
Use the hem cut from the original dress shirt To make the backside bow tie.
Attach a buttonhole closure and button to the backside of top to complete this peplum blouse from dress shirt upcycle.


DIY Peplum Blouse Sewing Tips:
Poplin dress shirts are easy to sew and care for. Because poplin is a durable and lightweight cotton, it truly makes a sewing beginner much happier to work with.
I’ve put together sewing tips and tricks below in order to list a few basics that will help you make this DIY project easy, breezy, and overall enjoyable process. Prepare these basic tools and understand the essential sewing techniques before you get started.
- Needle: Medium needle such as universal 12/80 or 14/90 is recommended. A regular needle point is best for working with poplin material.
- Thread: Any regular thread works, I used Coats & Clark Dual Duty XP Fine for this project. Also, Mettler silk finish cotton 60 or Guetermann natural cotton works well too.
- Tension: Cotton poplin is a medium-weight fabric that needs a moderate tension setting. For the perfect stitch, the upper and lower tension settings must be evenly balanced.
- Iron: Use medium heat when ironing poplin. If you are using a steam iron, make sure to put it on a warm setting. Avoid any hot water because the cotton material might shrink.
- Pre-wash: Always pre-wash the garment before you start the project. I always do and hope you do too! Poplin shirts are machine washable at 60 degree and tumble dry to prevent major shrinkage setting into the cotton.
More men’s dress shirt sewing project for your next DIY fashion:


How To Make Peplum Blouse From Men’s Dress Shirt
Create a timeless silhouette that never goes out of trend by matching gathering around the waist and a slight puff around the wrist. Learn how to make a Staud inspired peplum blouse from an upcycled dress shirt.
Wear this fashionable style anytime and anywhere. The back cutout with tie detail gives you confidence to have your hair up or leave it in a messy bun. Pair with jeans or a cute skirt for a casual day to night look.
Materials
- Men’s Dress Shirt
- ¼” width elastic band
Tools
- Sewing machine
- Fabric chalk
- Measuring tape
- Seam ripper
- Scissors
- Straight pins
- Ruler
Instructions
- For this peplum blouse from dress shirt tutorial, start by deconstructing the original dress shirt.
- Use a seam ripper to detach the collar and neckband.
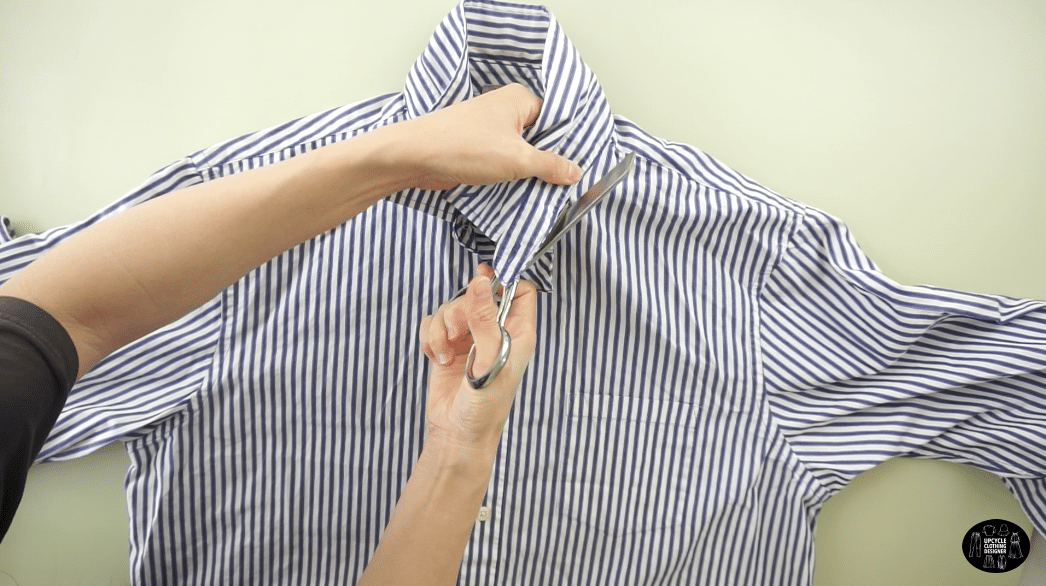

- Use scissors to cut along the arm seam to detach both sleeves;
also cut off both cuffs.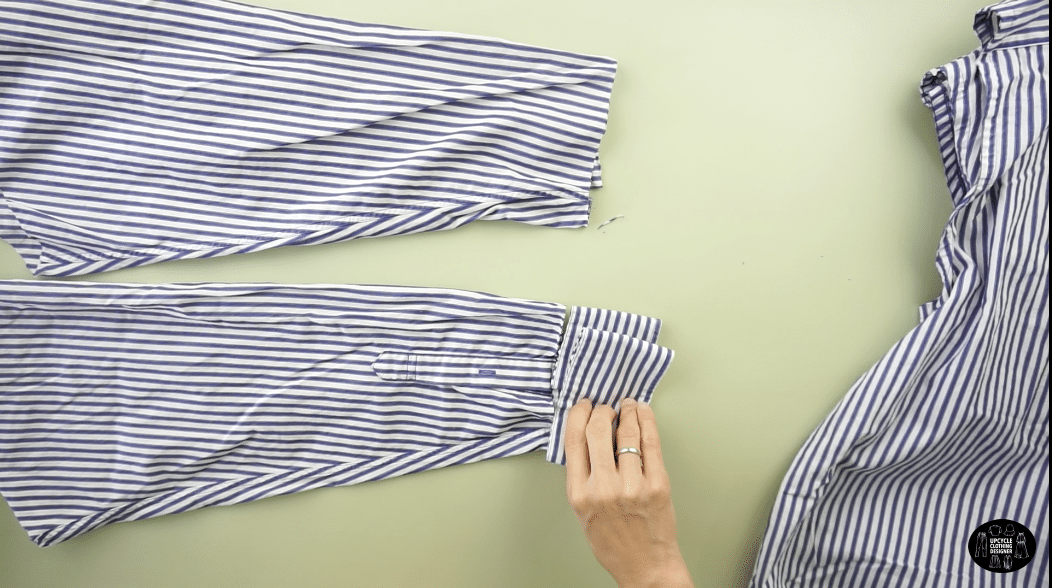
- Remove the pocket square.
- Take off the buttons from the button placket.
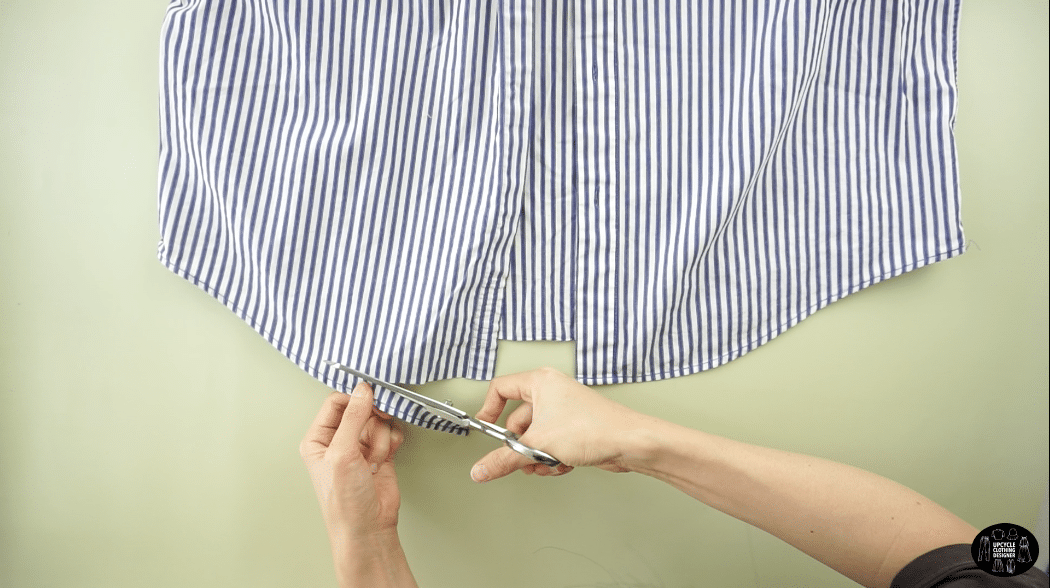
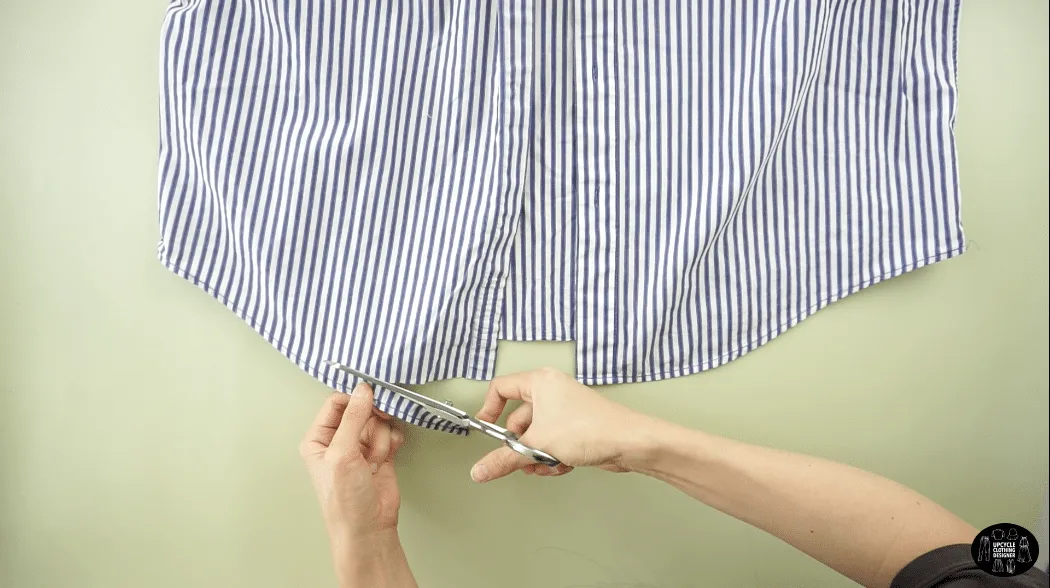
- Cut the hem off the bottom of the dress shirt.
- Cut off the buttonhole placket;
and use a seam ripper to open up the button placket.
- Cut the shoulder seams,
and also along the back yoke.
- Lastly, cut open both side seams.
- To make the front bodice piece pattern, use the chest piece of the original dress shirt.
Measure 4½” away from the edge just underneath the neckline.
From that point, mark 11” and also 17” down from the shoulder seam.
Draw a straight line across the bottom at the 17” mark.
Draw a diagonal line from the 11” mark to the spot marked on the shoulder seam.
Measure a new shoulder that is 3” wide.
And also measure 7½” across from the 11” mark.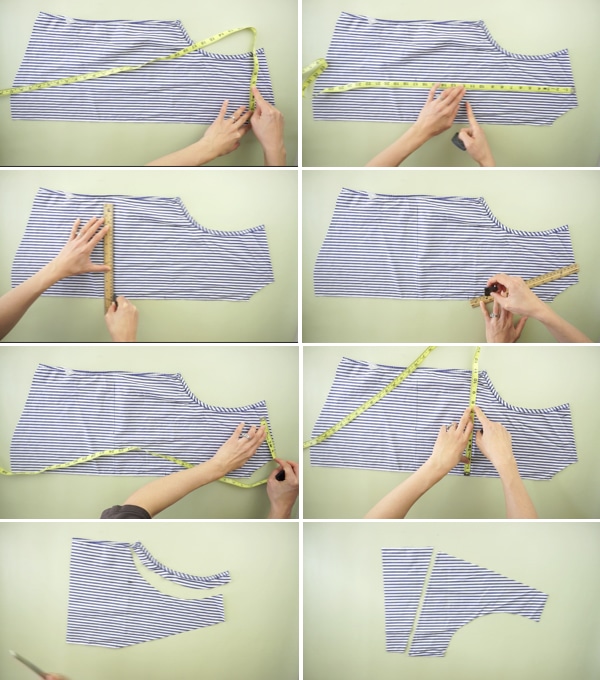

- To make the new armhole, follow the armhole of the original dress shirt and connect the new shoulder with the new underarm seam.
- To make the side seam of the front bodice, connect the underarm with the bottom opening.
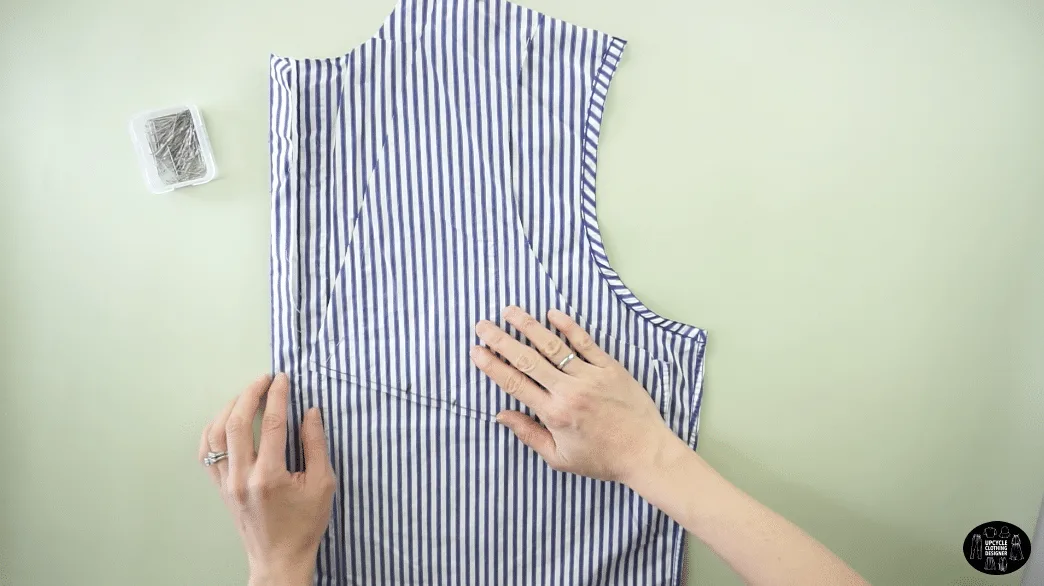
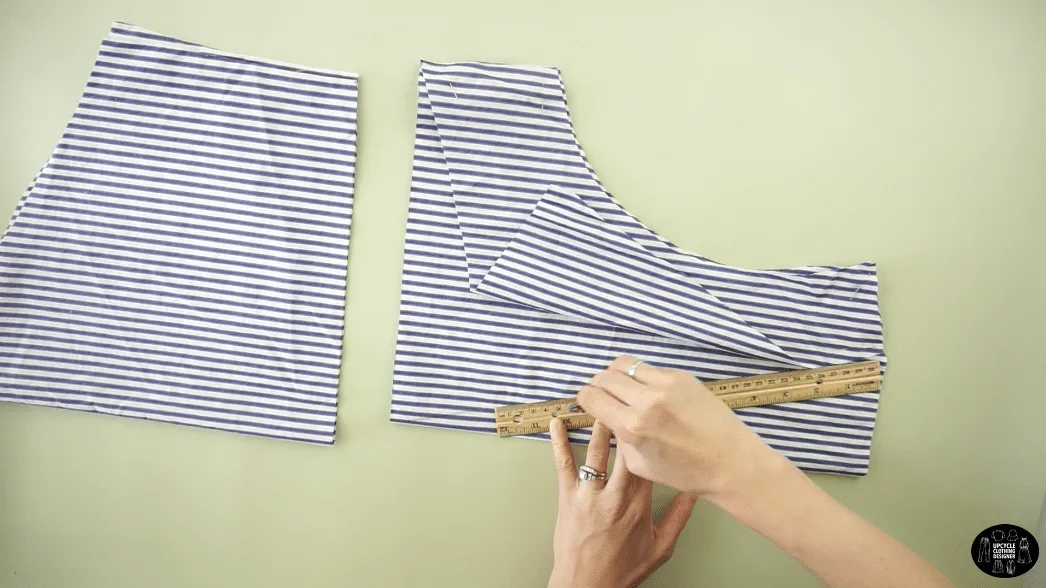
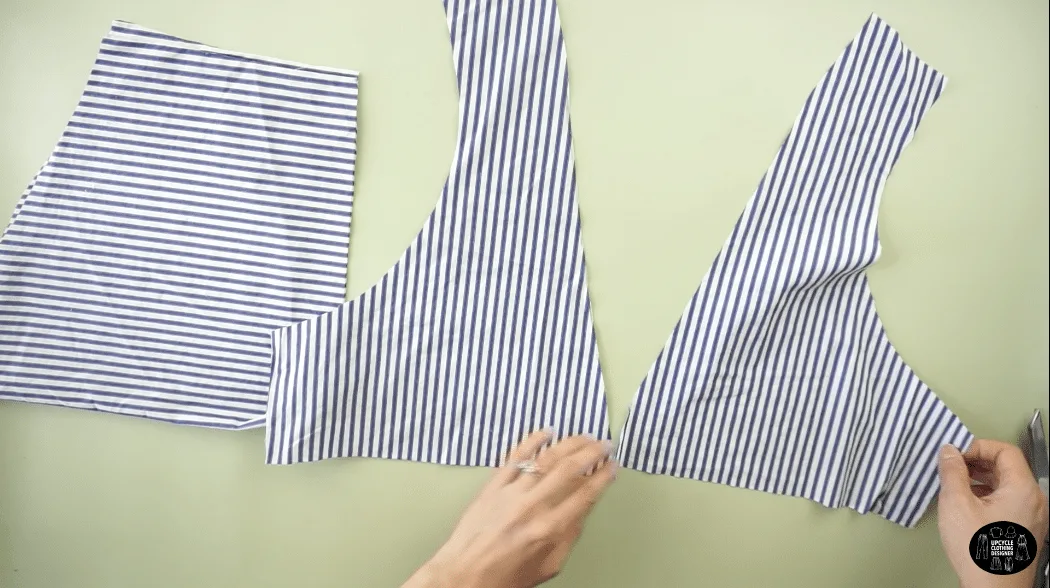
Cut along the lines to get one front bodice piece. - For the high-low under bust waistband, mark 2” up from the bottom opening under the armhole.
Draw a diagonal line to the bottom of the V-neckline. - To complete the front bodice pattern, copy the front bodice piece onto the other chest piece of the original dress shirt.

Pin to ensure that the fabric remains taut and cut to copy.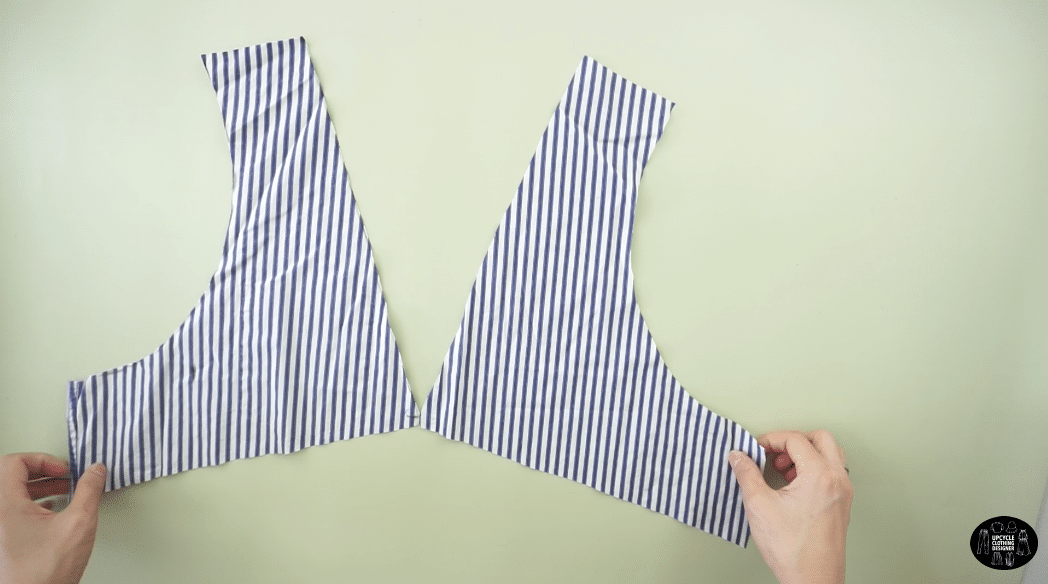
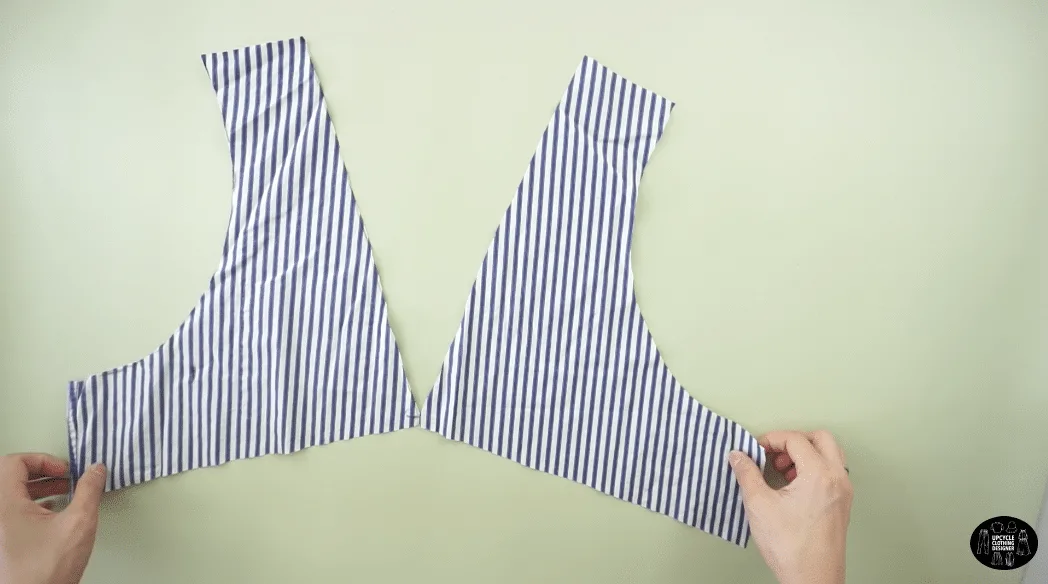
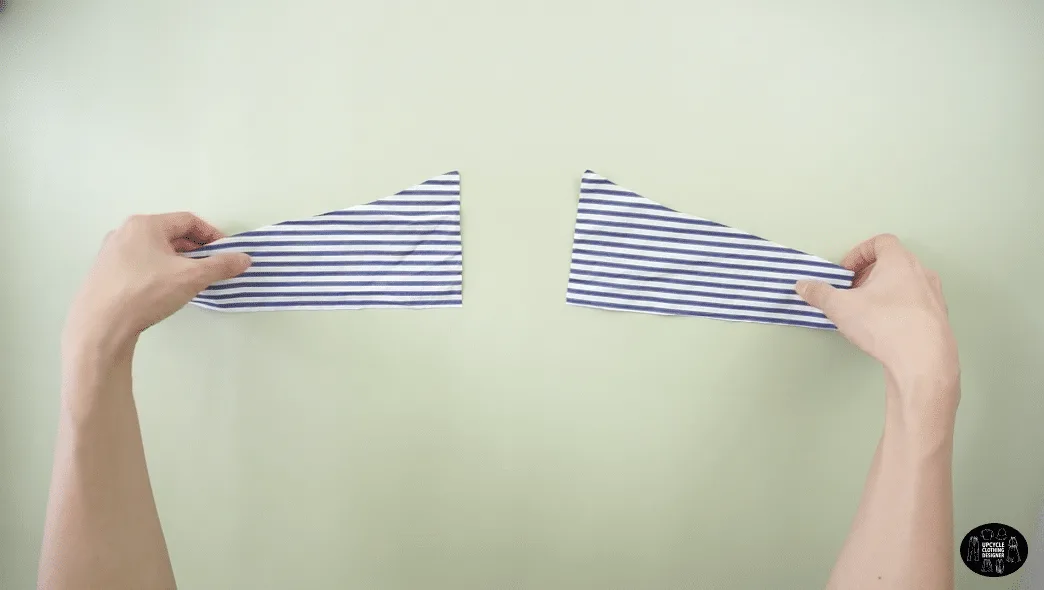
- To make the back bodice piece pattern, use the back of the original dress shirt.
Fold the fabric in half lengthwise.
Use the front bodice piece as a guide.
Draw a straight line across the bottom opening and cut.
Trace the shoulder seam, underarm and side seam;
and cut.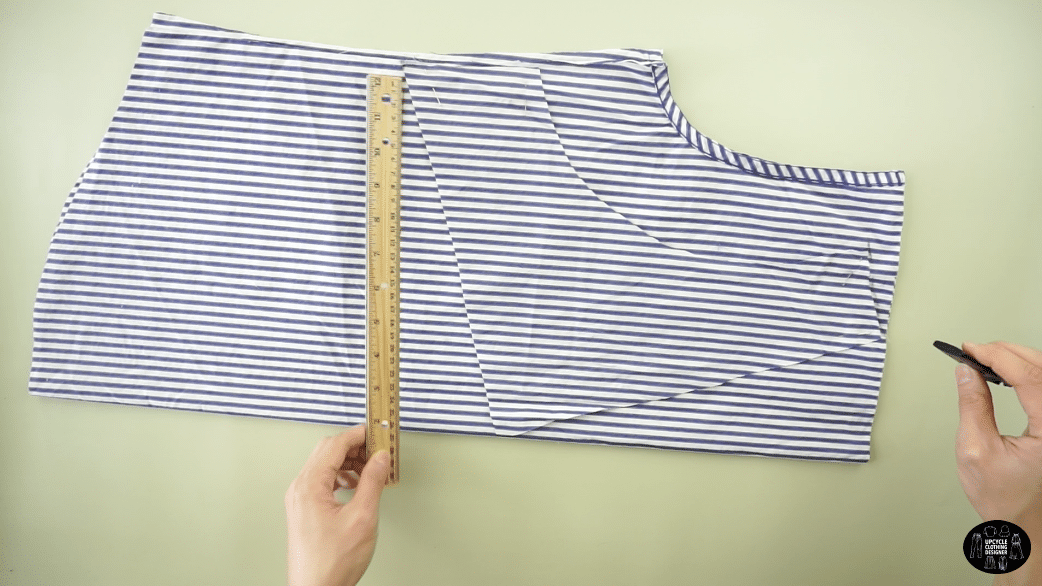

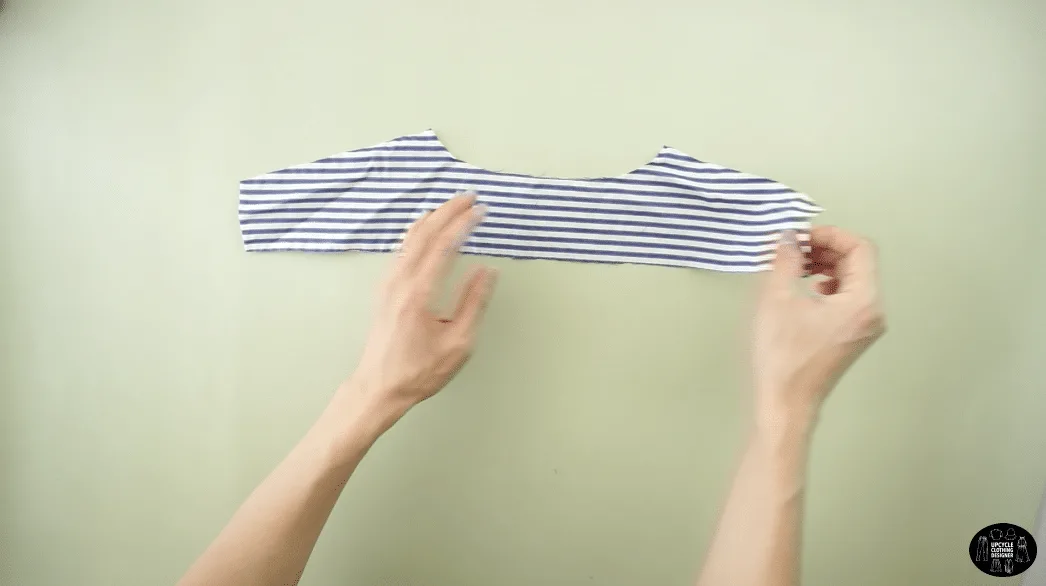
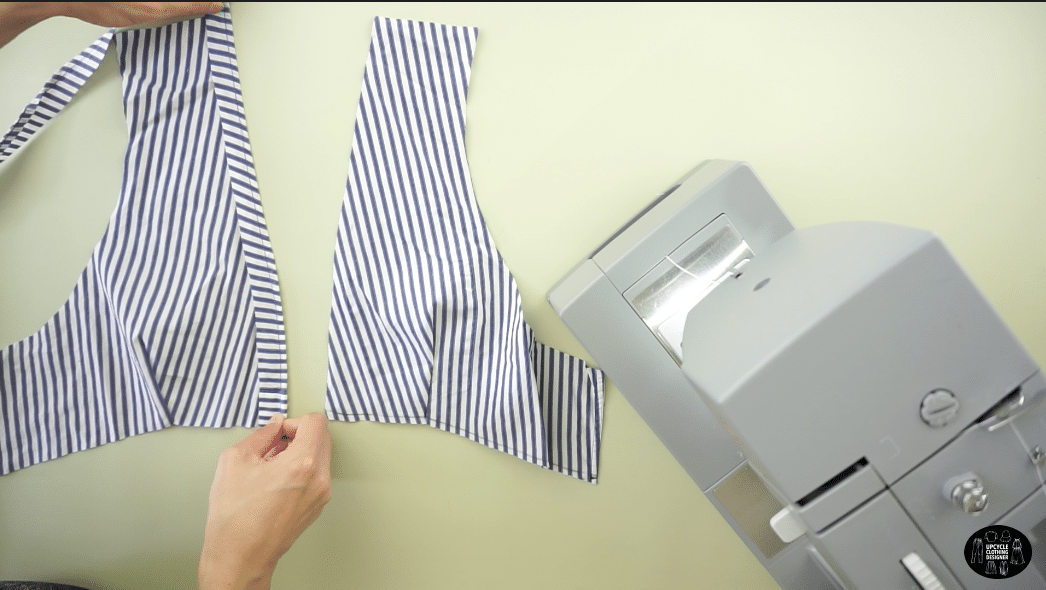
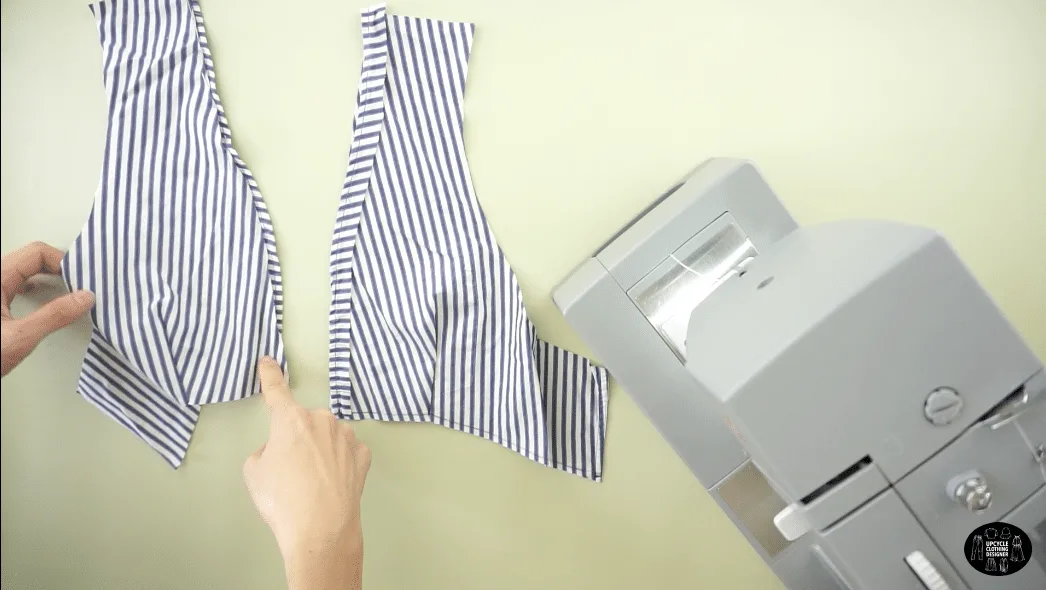
- For the back bodice opening, draw a straight line from the shoulder to the bottom corner.

Cut to make a deep plunging V-shape.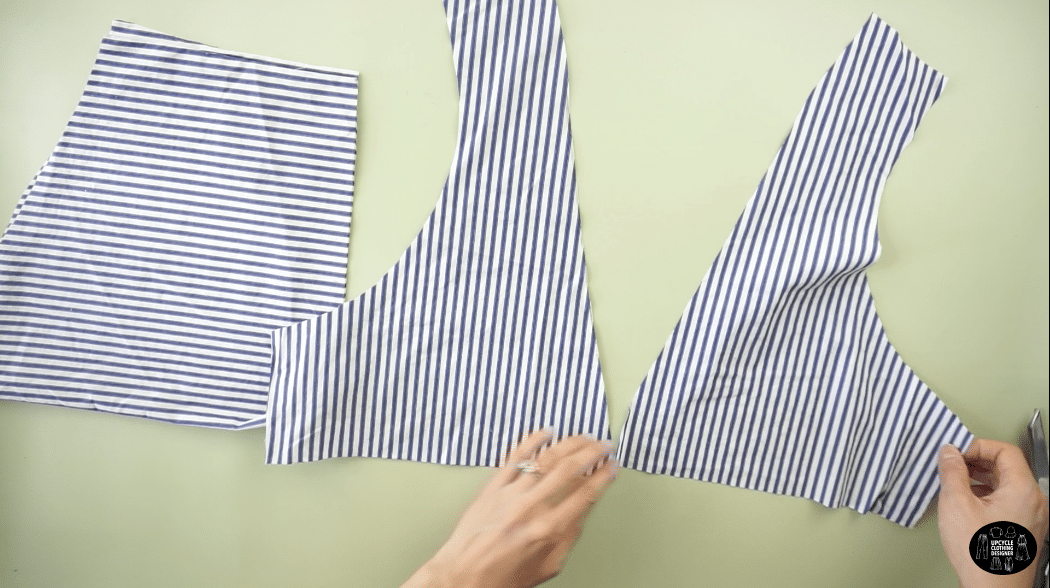
- To make the peplum part, use the remaining bottom pieces of the original dress shirt.

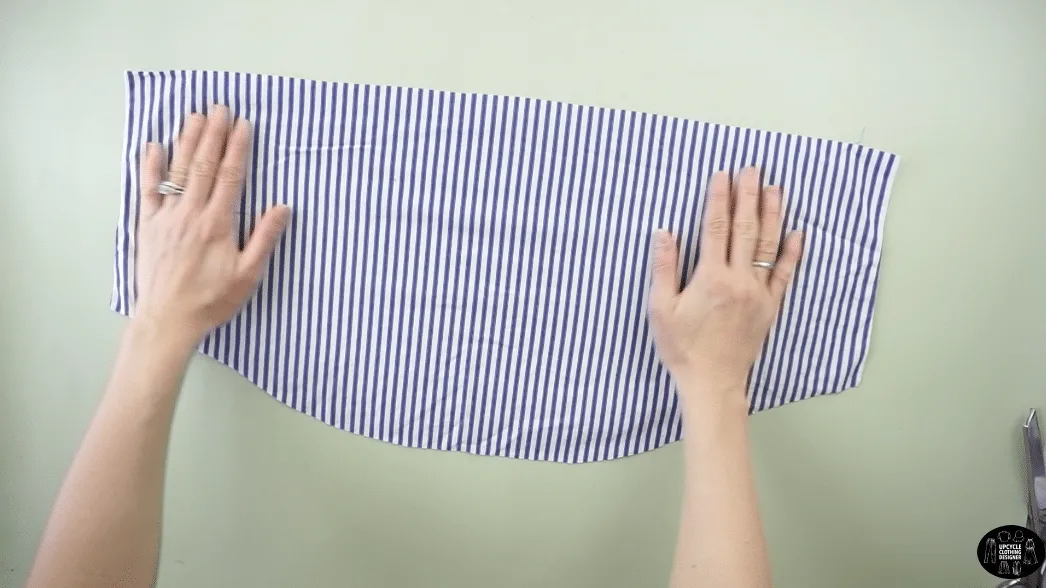
Fold the back bottom piece of the dress shirt in half.
Measure a rectangle that is 7½” x 11½” from the folded line.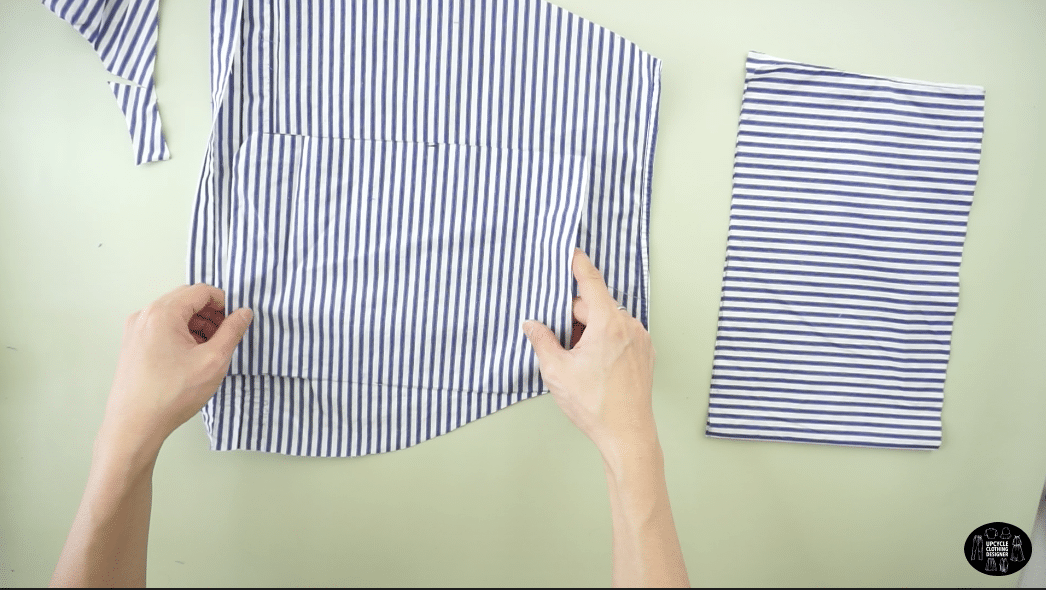
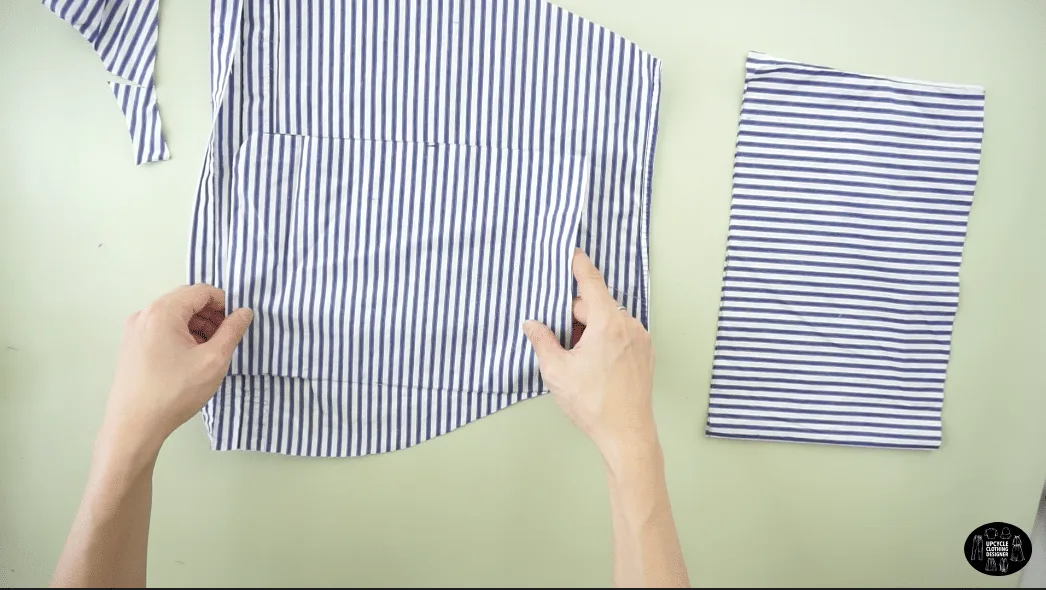
Use the bottom piece from the front of the dress shirt to make two more 7½” x 11½” rectangles.
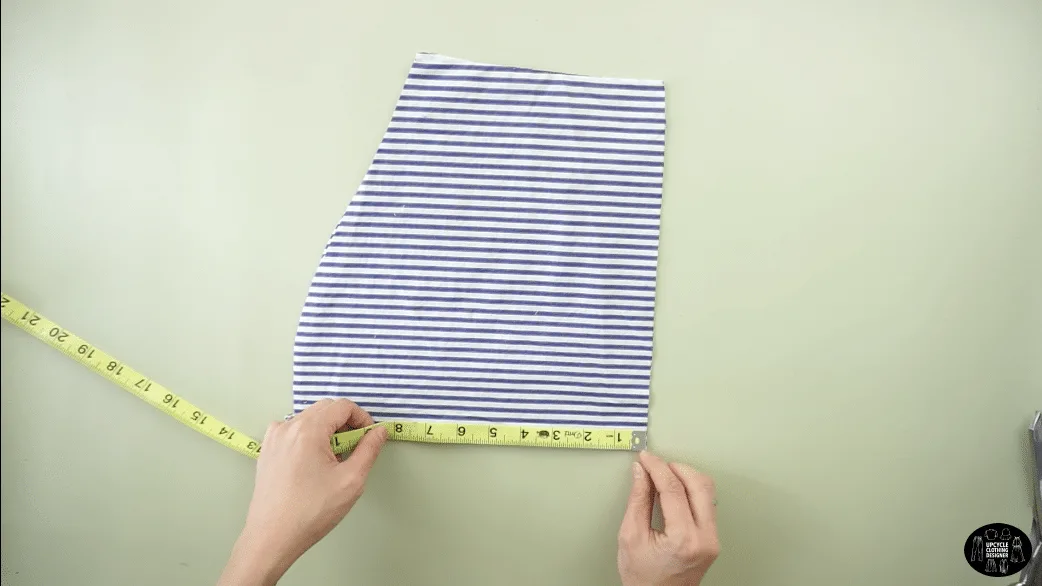
- To make the high-low under bust waistband, use the V-shaped piece cut from the back bodice pattern.
Fold in half lengthwise.
Measure 9” from the side edge and 2” from the folded edge.
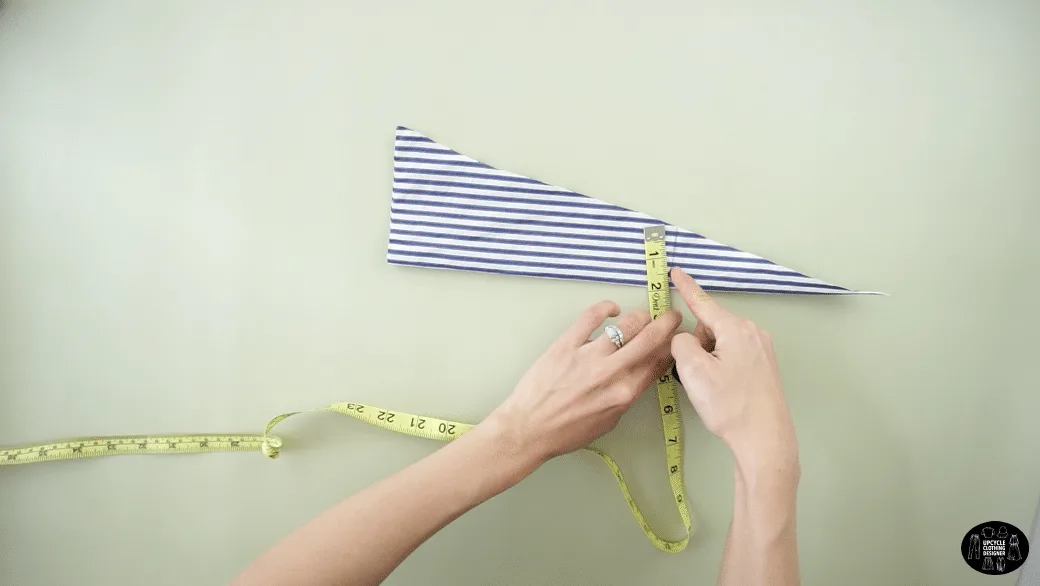
Cut along the line.
Cut the folded edge resulting in two separate high-low under bust waistband pieces.
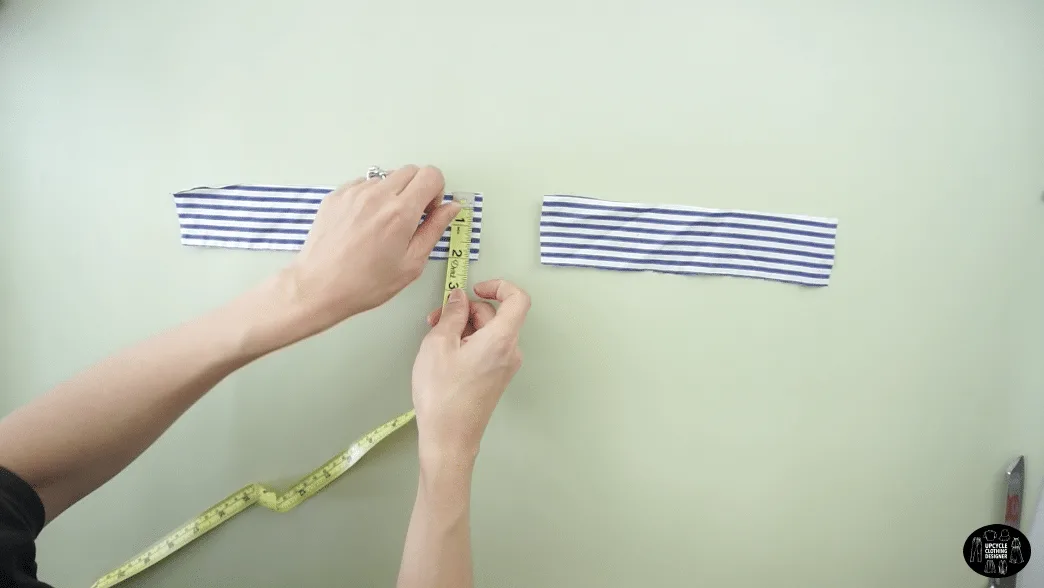
- To make the backside waistband, use the original yoke piece.
Fold the piece in half and cut along the folded edge.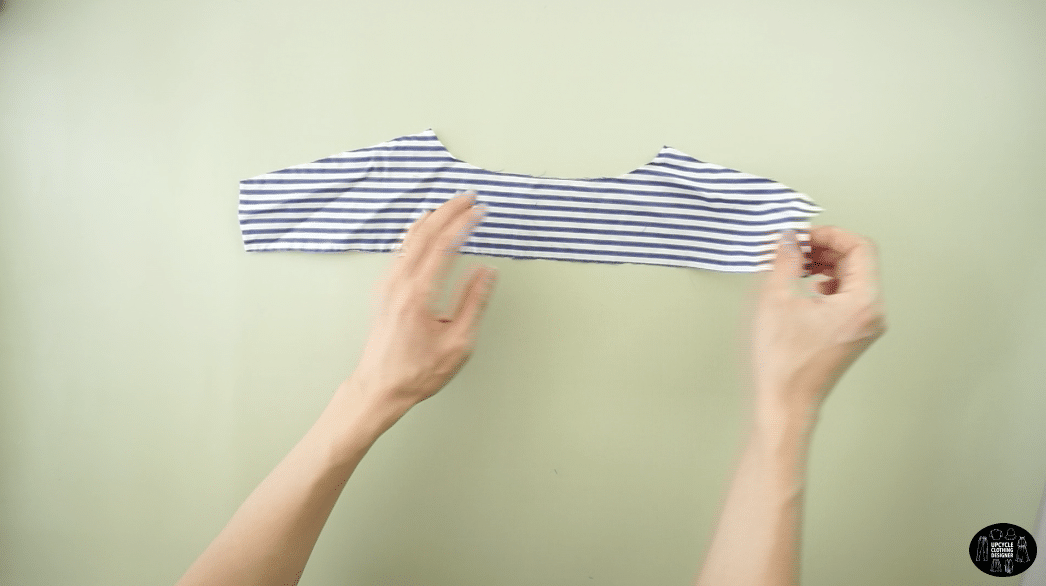
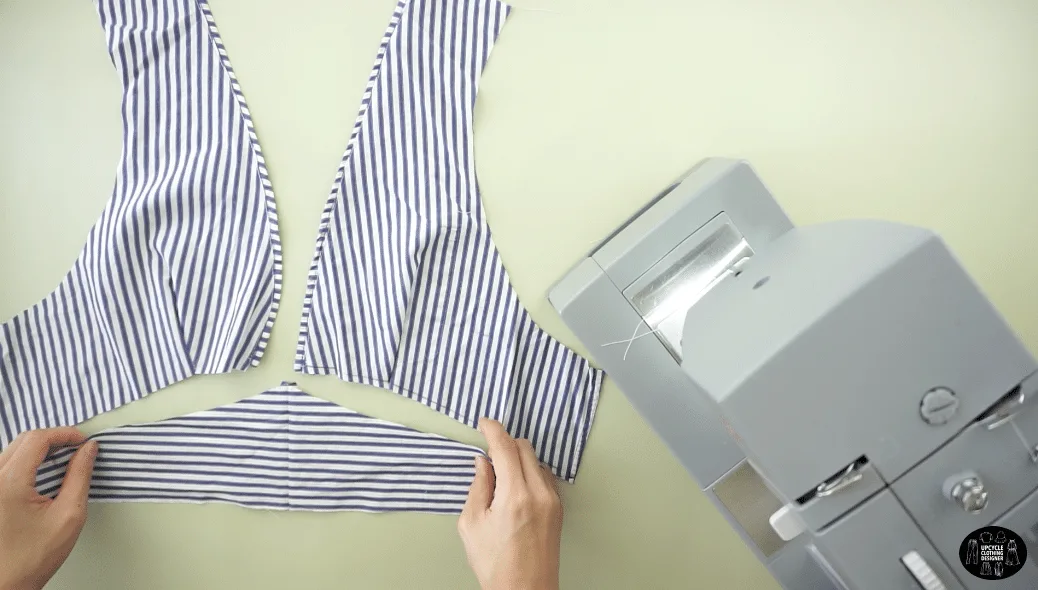
Measure two separate rectangles that are 9” x 2”. - To complete the front bodice, measure half way along the bottom edge of the front piece.

Close the ¾” bust dart.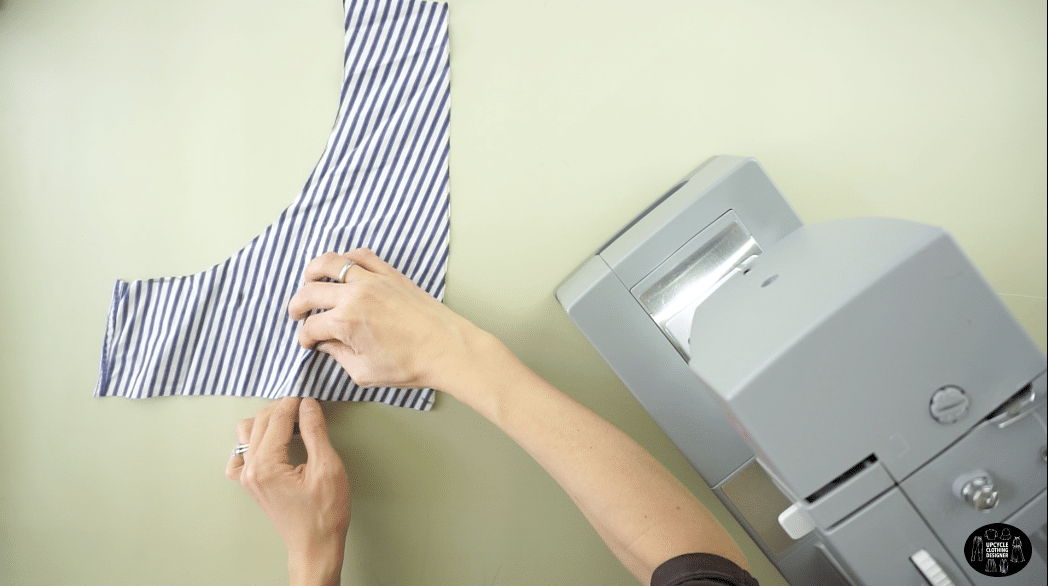

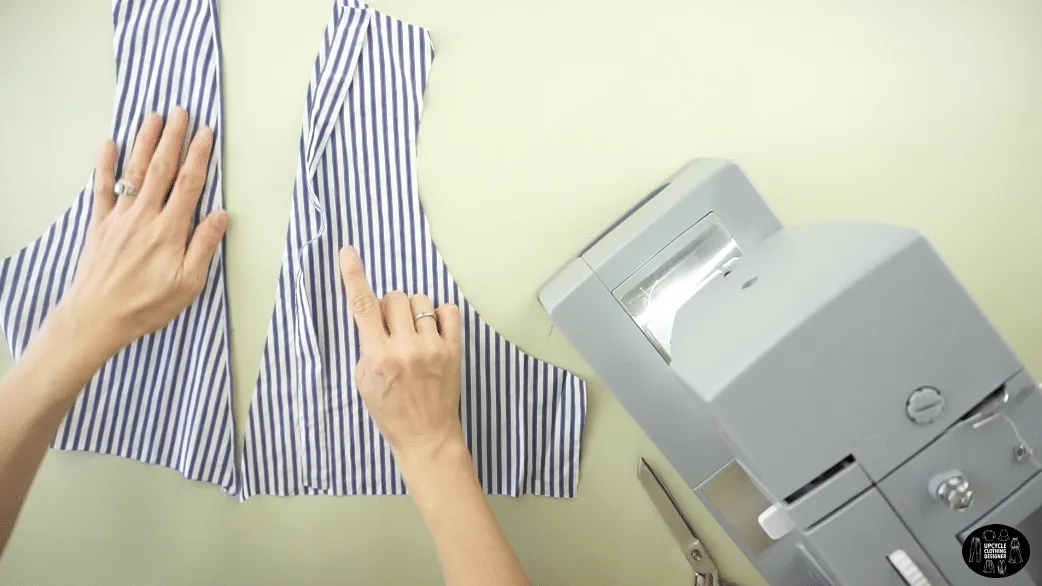
- To complete the plunging V-neckline of the front bodice, use a piece of excess fabric to make a 1” wide strap. If the fabric has vertical stripes, then it will create unique diagonal lines on the front of the blouse.

Double fold the strap and pin to secure.
Topstitch along the edge to hem the V-neckline.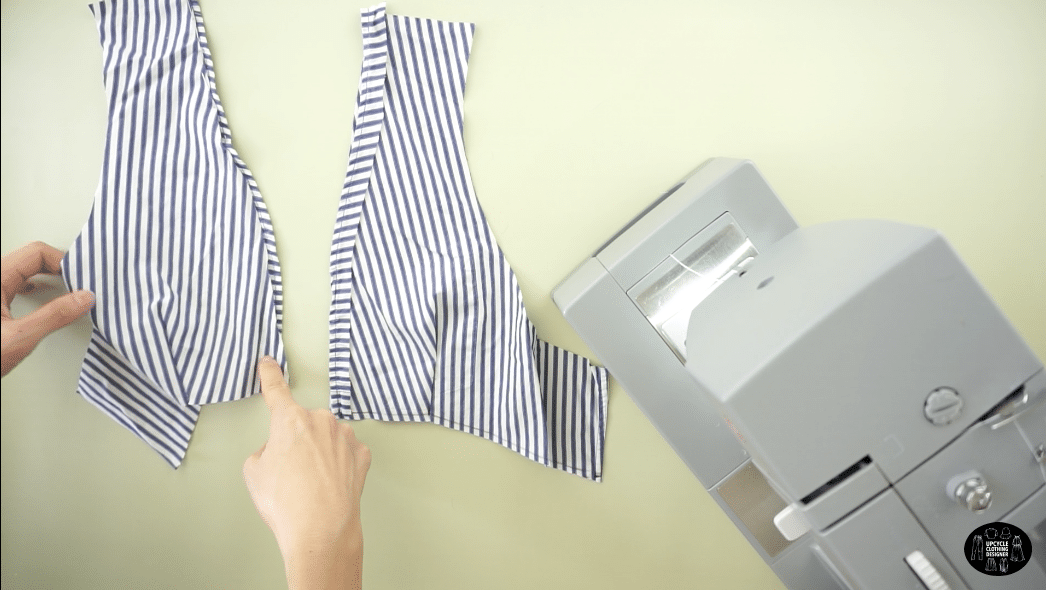
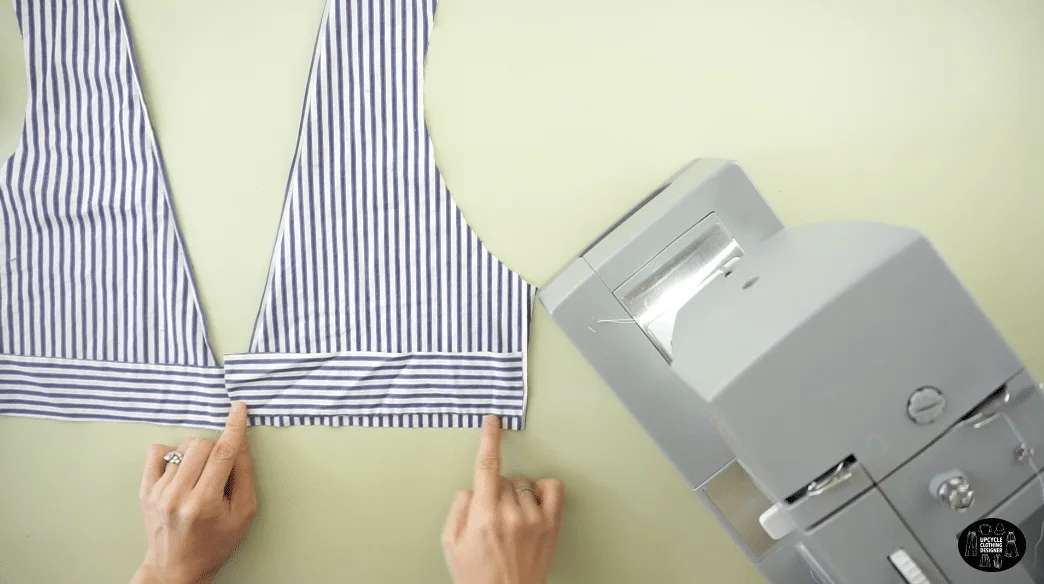
- To complete the high-low under bust waistband, lay the two pieces with the right sides facing each other. Topstitch along the center seam.
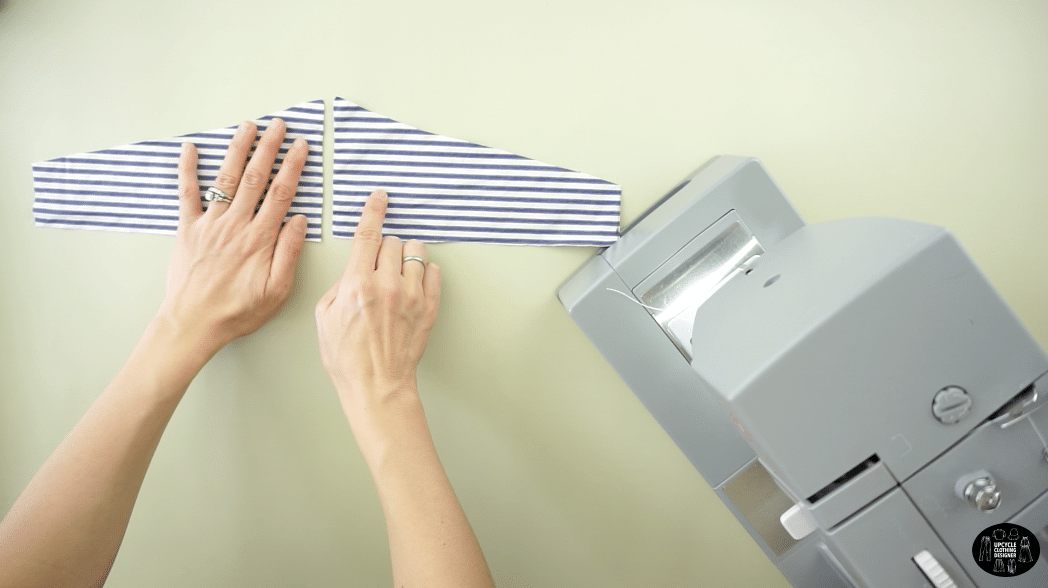

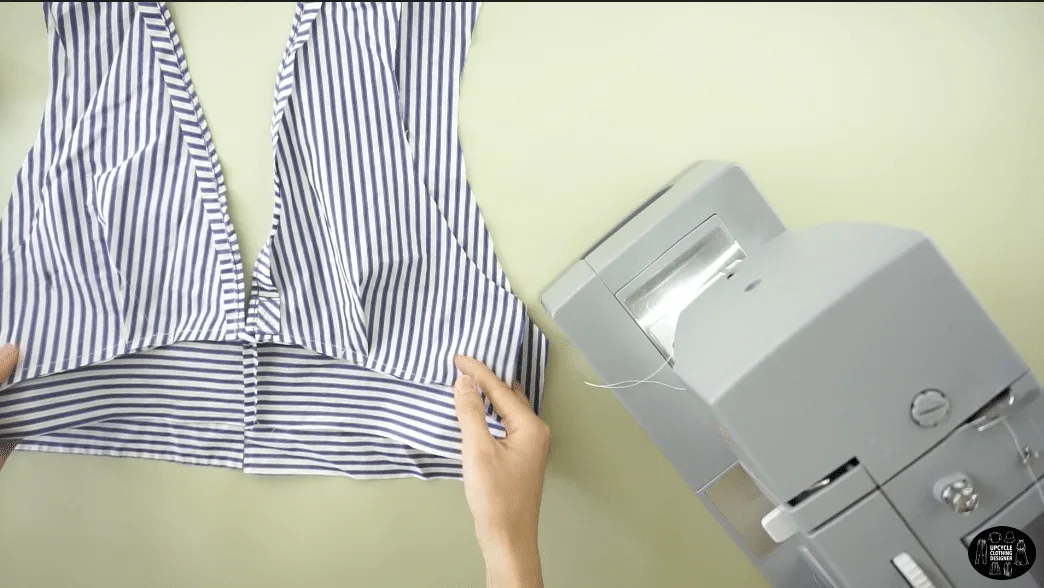
- To attach the front bodice to the high-low under bust waistband, place the pieces with the right sides facing each other.
Pin to secure and edge topstitch.
- To complete the back bodice, use a piece of excess fabric to make a 1” wide strap.
Double fold the strap and pin to secure.
Topstitch along the edge to hem the back piece V-neckline.
- To attach the back bodice to the backside waistband, place the pieces with the right sides facing each other.
Pin to secure and edge topstitch.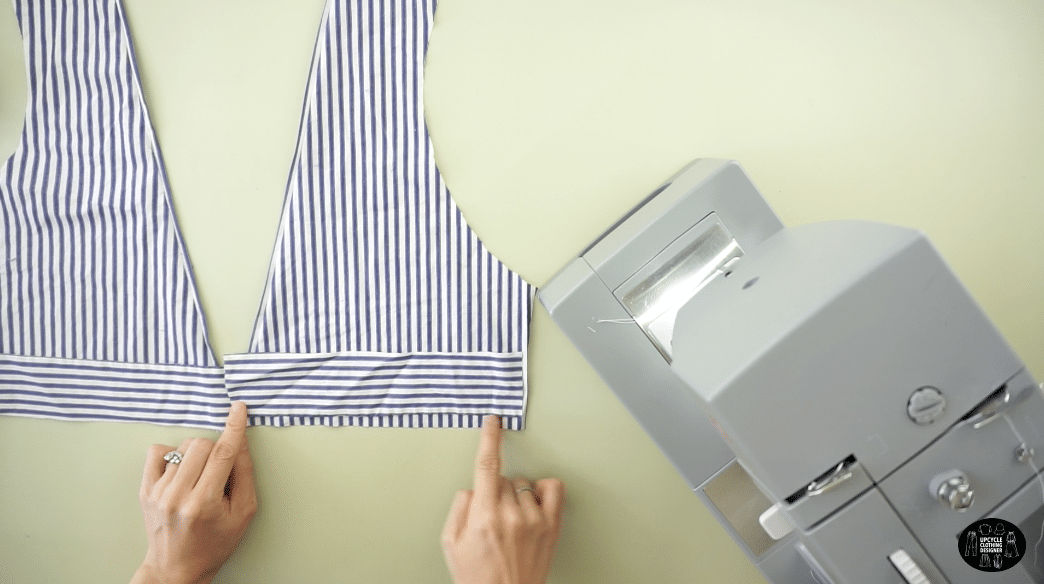
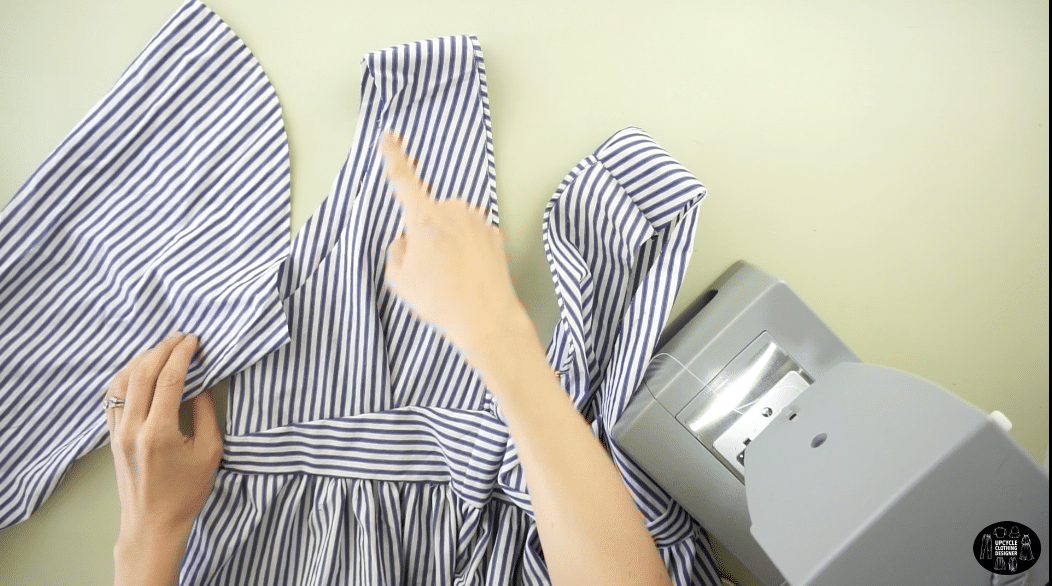
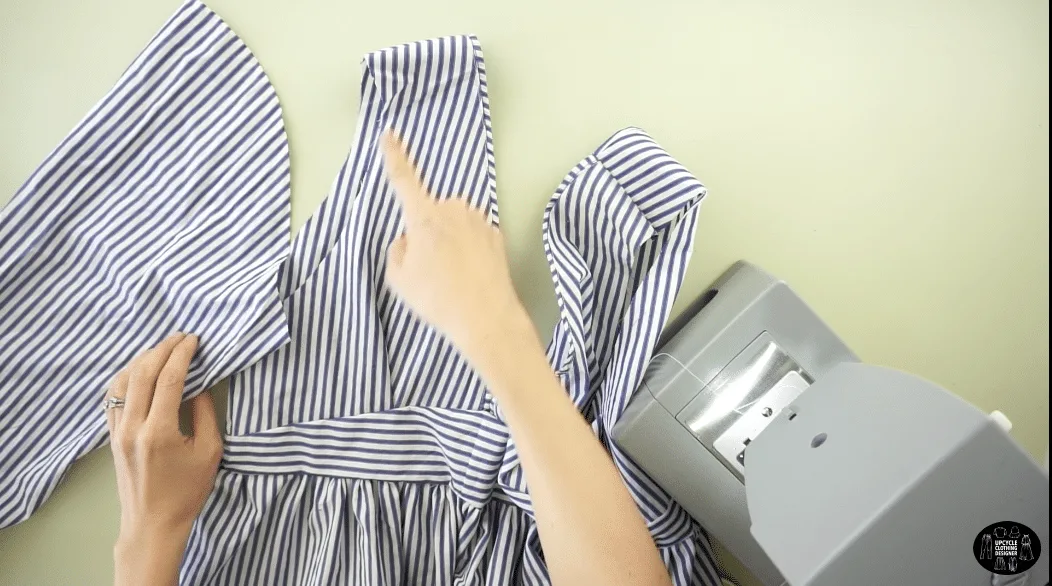
- To complete the top bodice, lay the front piece on top of the back piece with the right sides facing each other.
Topstitch both side seams;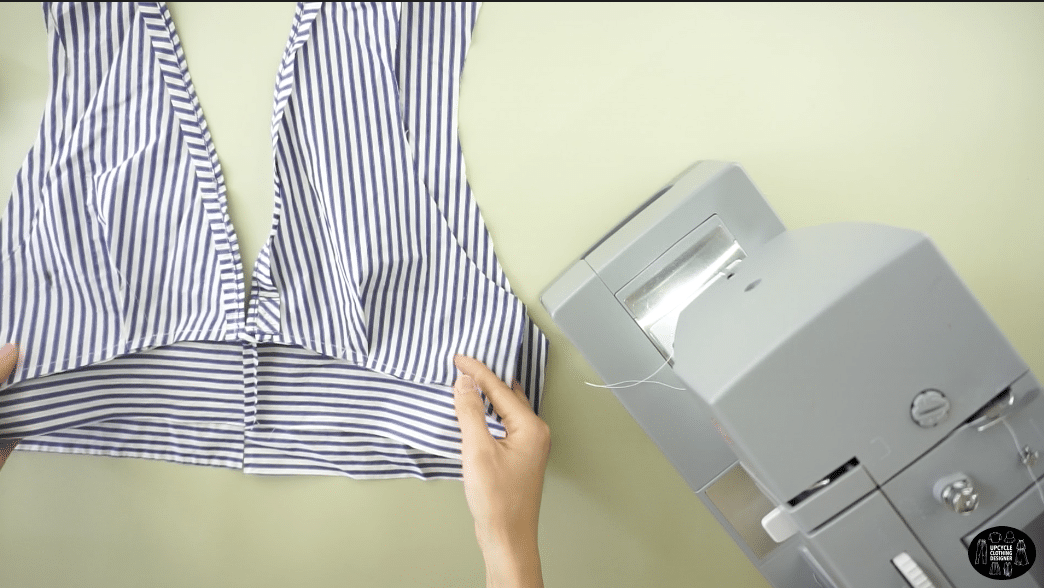
and also topstitch both shoulder seams.
- To complete the peplum part, lay one piece on top of the other with the right sides facing inwards.
Edge topstitch to attach the pieces together.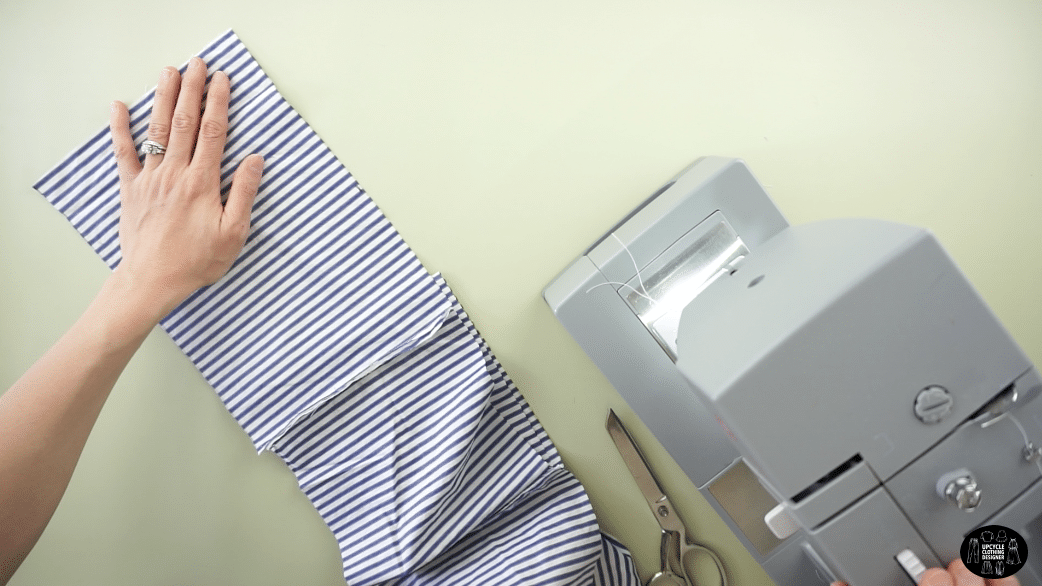
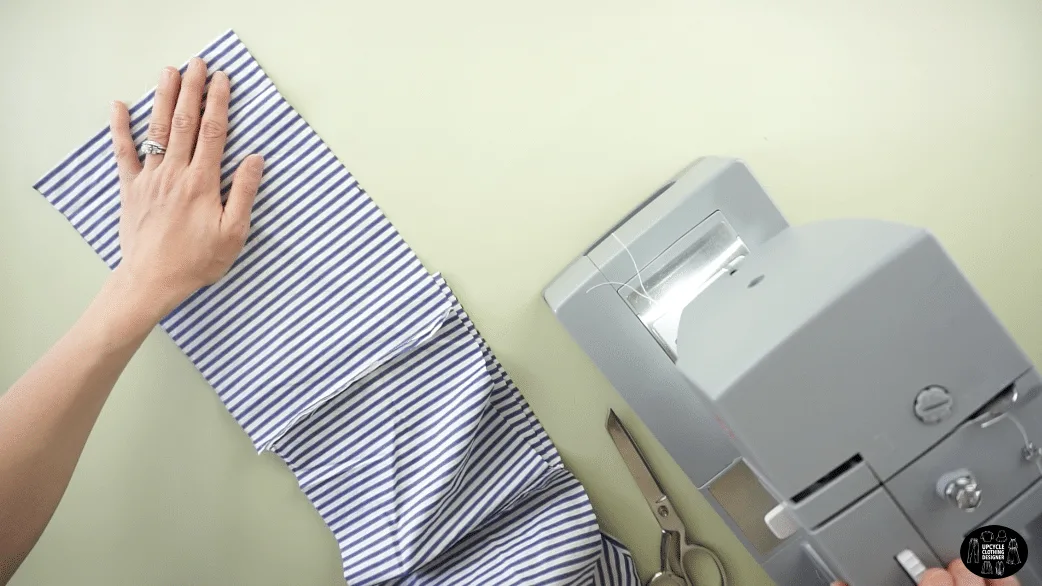
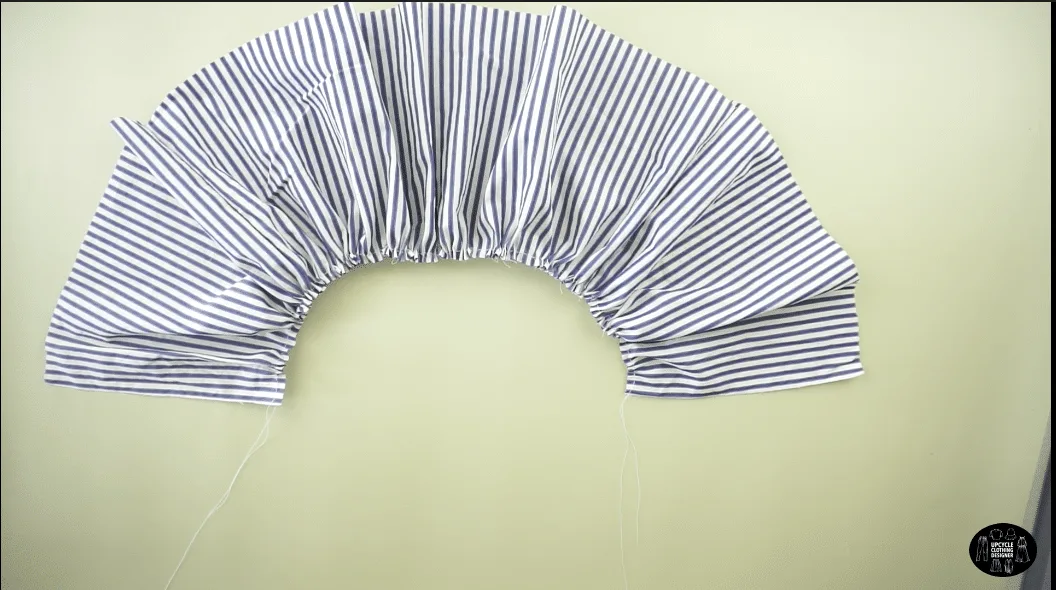
- To create shirring on the peplum part, use a wide stitch width.
Gently pull on the back thread to gather the fabric and create bunching along the edge.
- To attach the bodice piece to the peplum part, lay the bodice on top of the peplum with the right sides facing together.
Measure the width of the top bodice so that you can evenly match the peplum part.
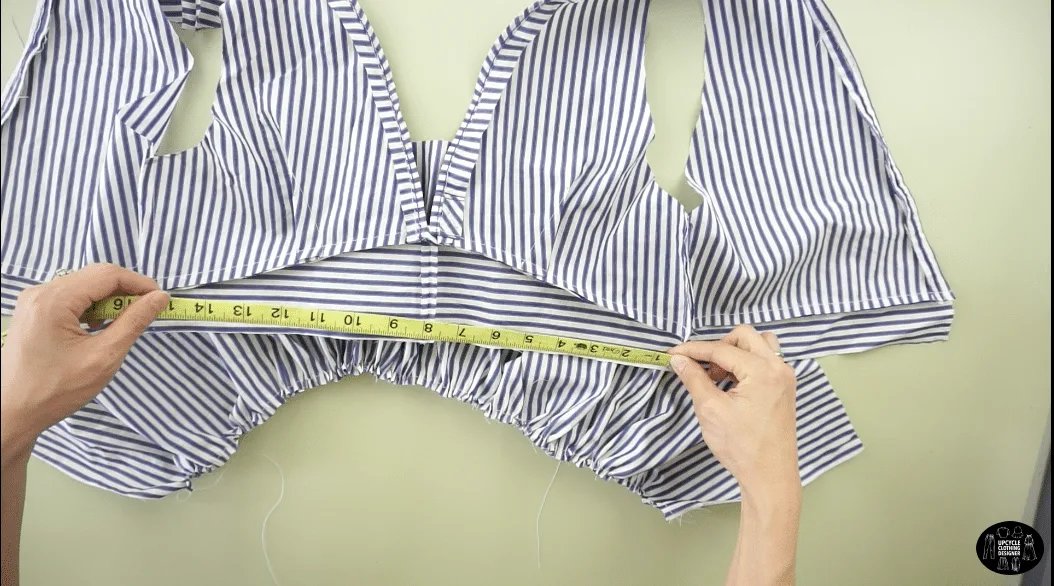
Pin to secure and topstitch.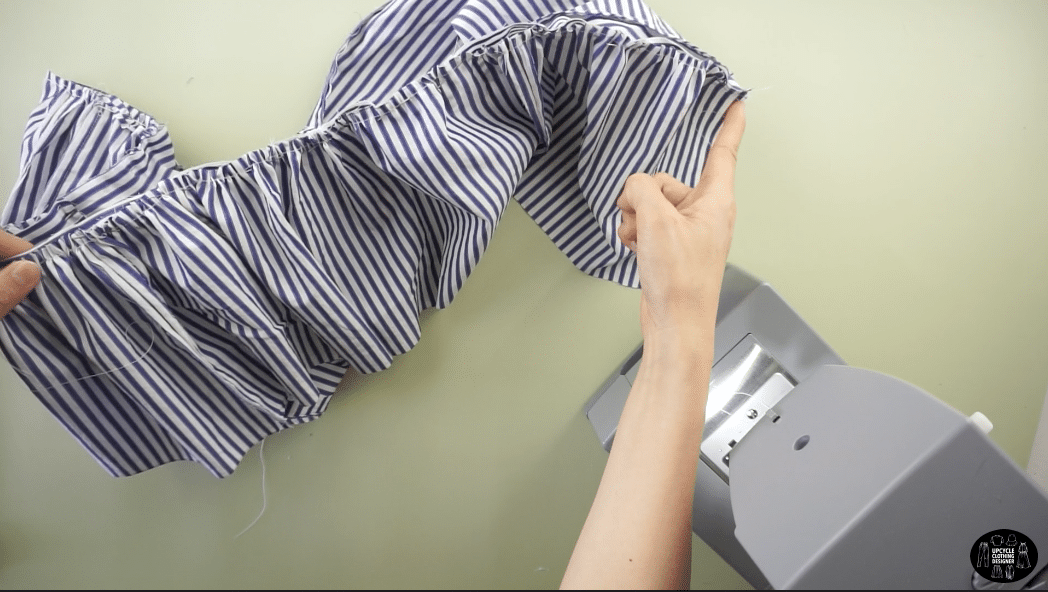

- To hem the peplum piece, ¼” topstitch the bottom;
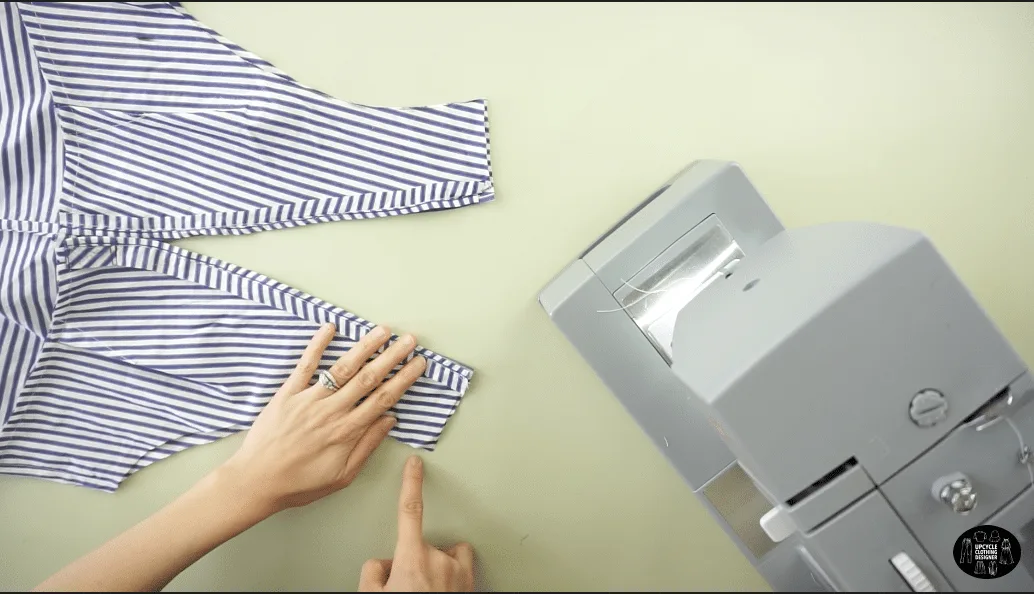
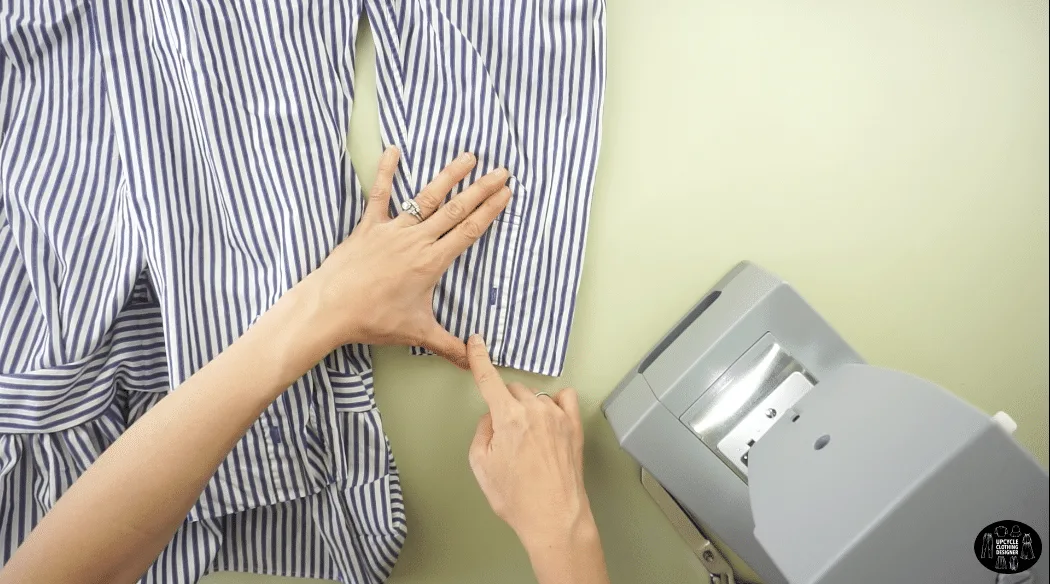
also hem the side opening. - To make the new sleeves, use the sleeves from the original dress shirt.
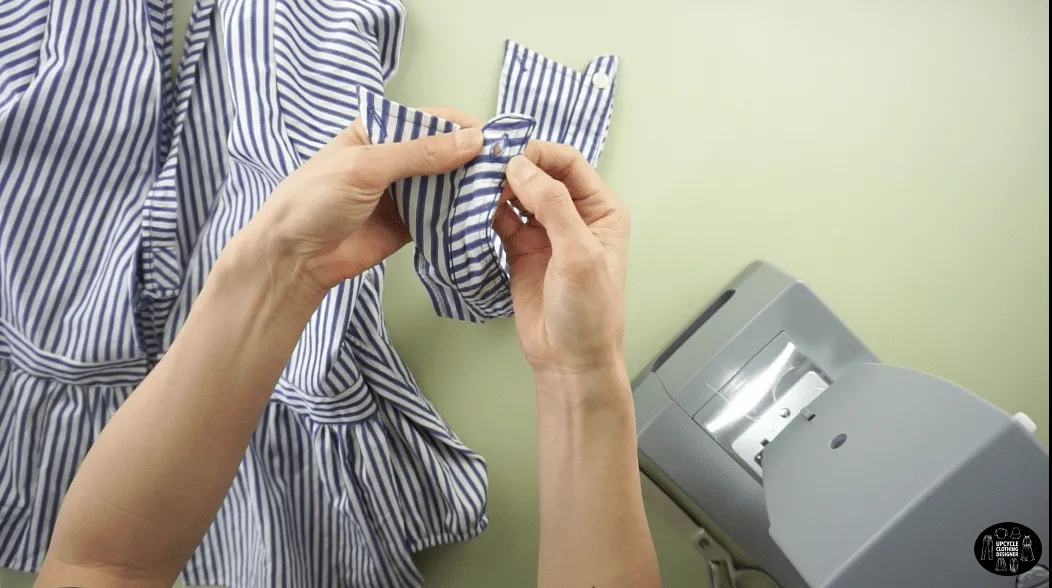
Remove the button on the cuff,
then close the opening with topstitch.
Cut a 7” long piece of ¼” elastic band.
Topstitch to attach both ends together and create a loop.
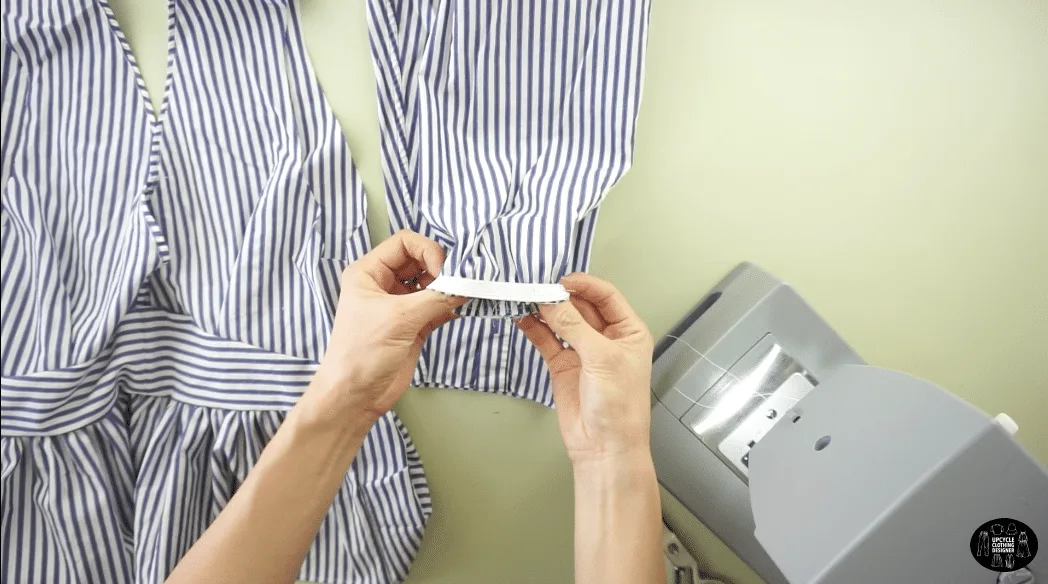
Slide the elastic loop over the sleeve opening.
Pin to secure and edge topstitch.
Fold over the sleeve opening so the fabric covers the elastic band and topstitch once more to finish the sleeve.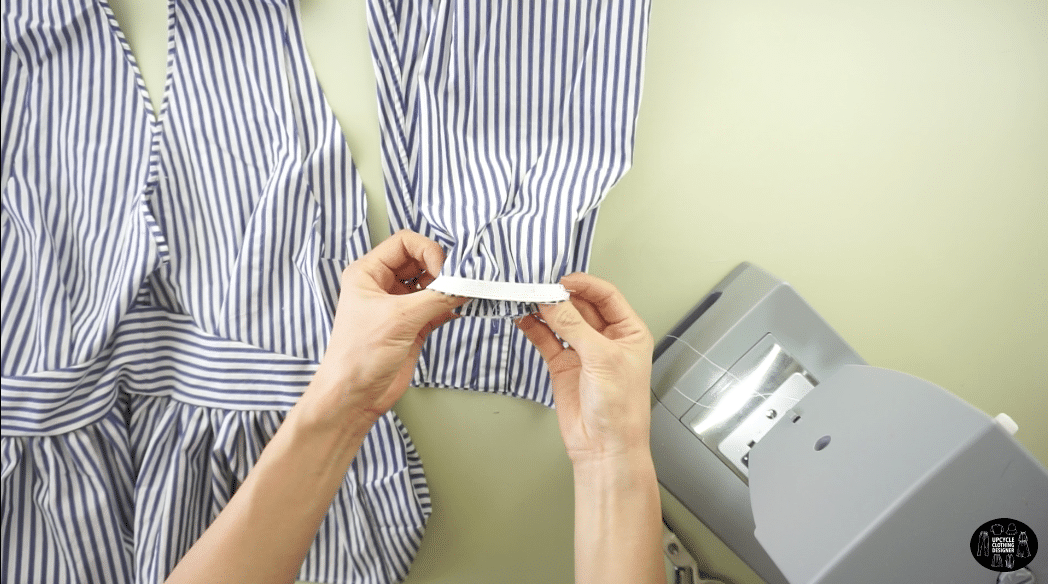
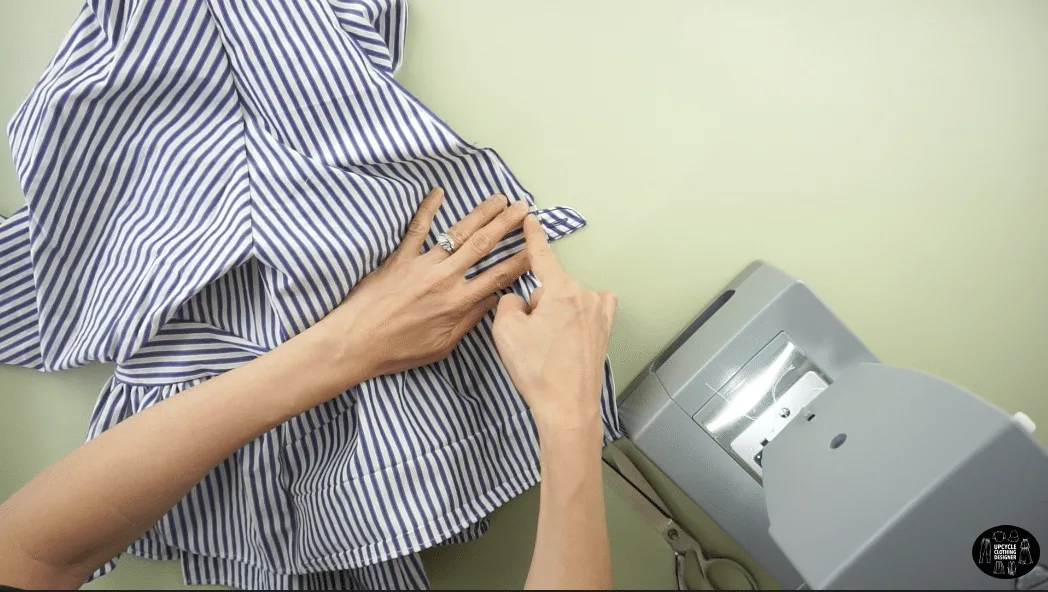
- To attach the sleeves to the bodice, pin the sleeve around the armhole with the right sides facing together.
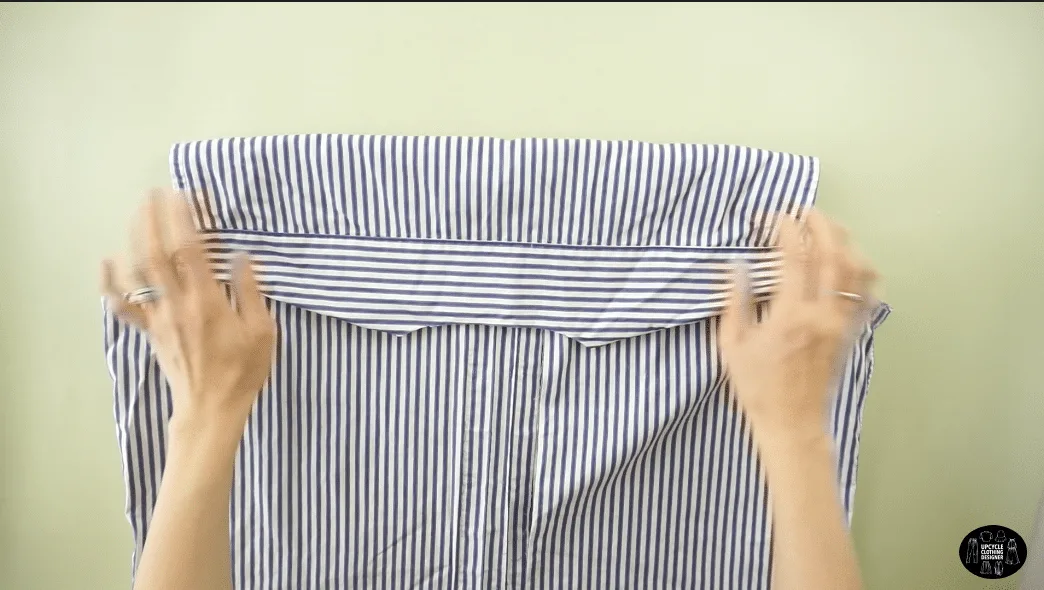
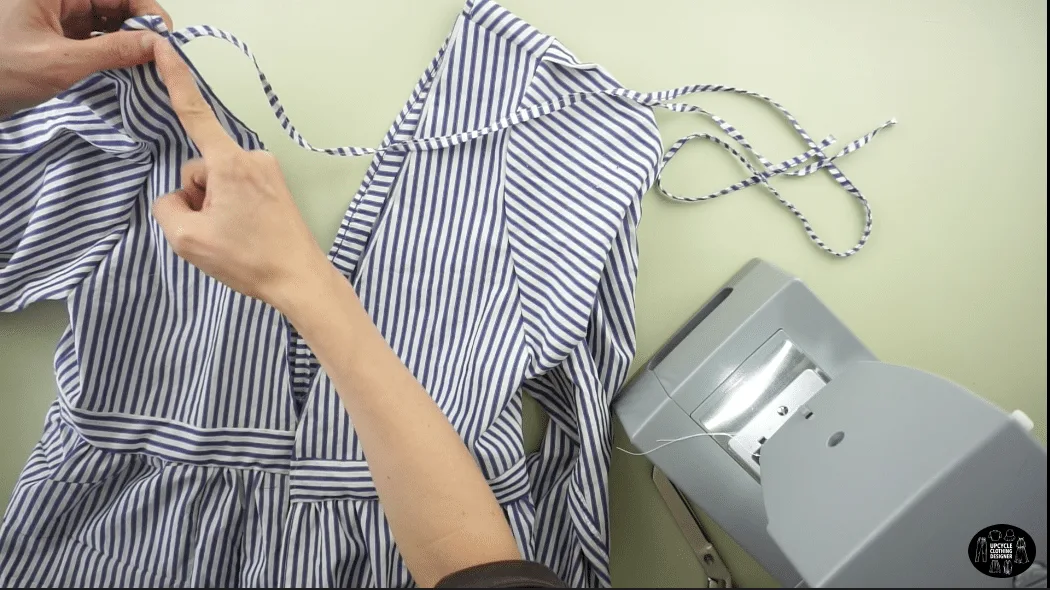
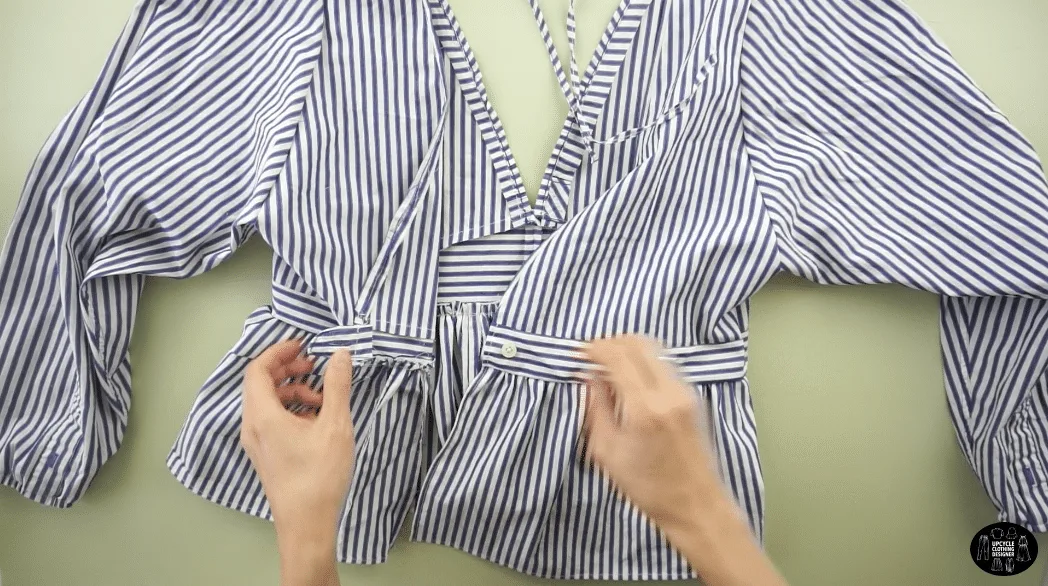
- To make the backside bow tie, use the hem that was cut off the bottom of the original dress shirt.
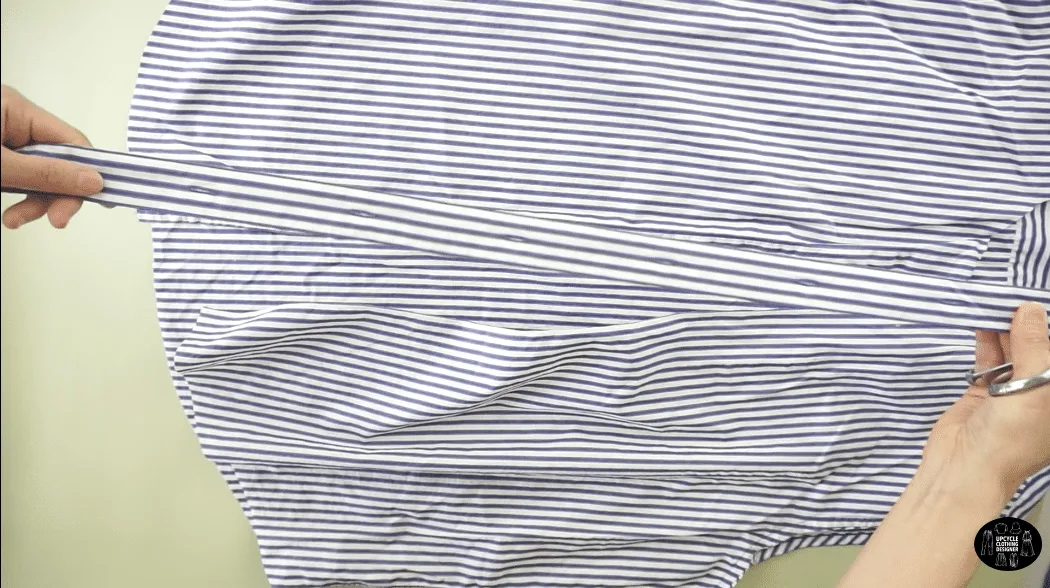
Trim the edges and use the drawstrings as they are.
Attach one strap to the inside of each shoulder seam.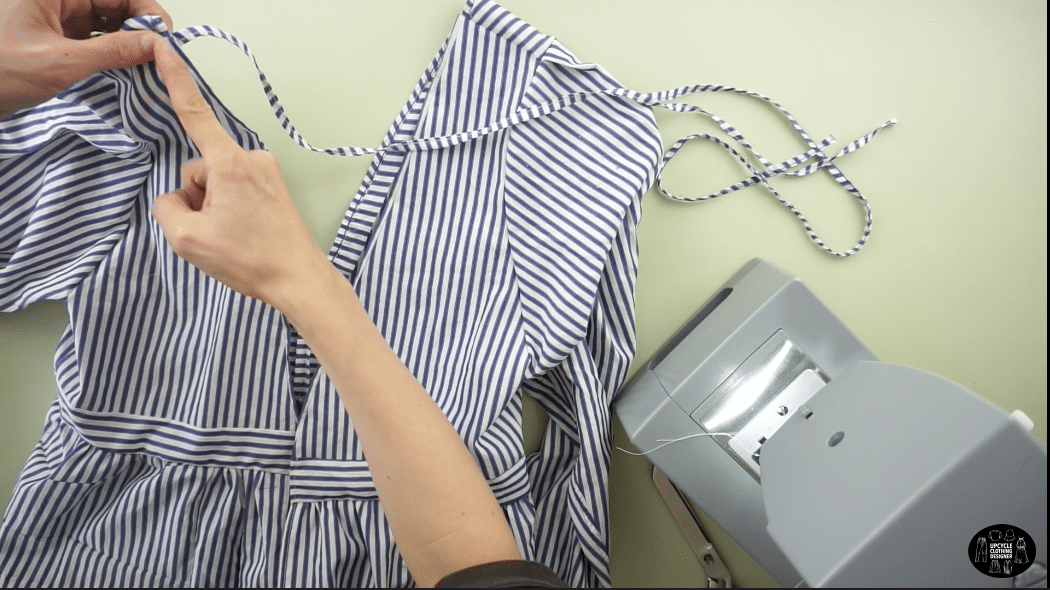
- To make the backside button closure, use the button and buttonhole from the original neckband.
Cut off the buttonhole to make a small tab.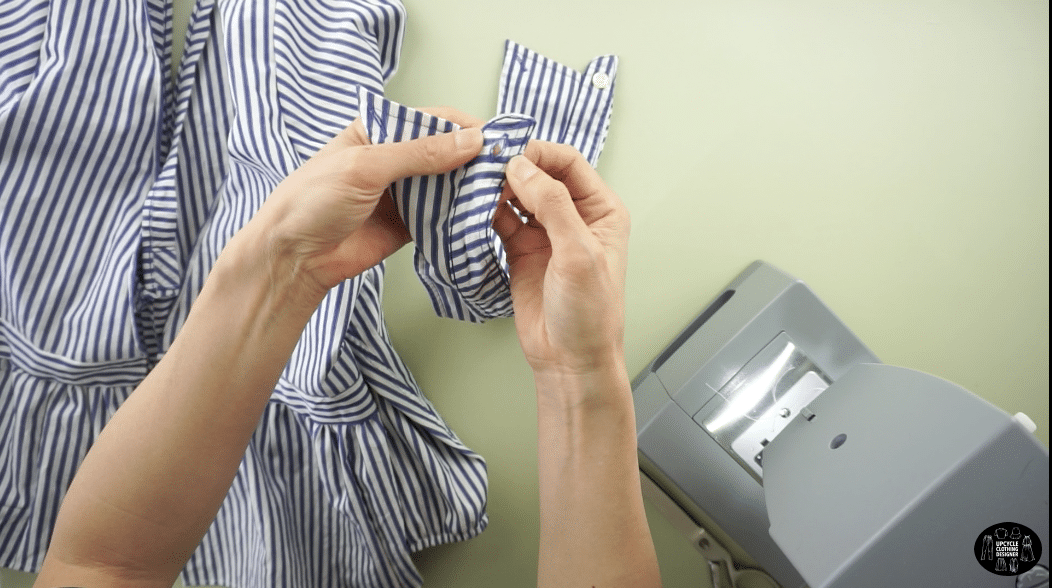
Attach the buttonhole tab to the backside waistband with topstitch.
Mark the placement of the button with fabric chalk and sew the button in place to complete this upcycled dress shirt into peplum blouse.
Recommended Products
As an Amazon Associate and member of other affiliate programs, I earn from qualifying purchases.


Trendy, Affordable Sewing Patterns for All Sizes


Tie Shoulder Jumpsuit Pattern


Palazzo Pants Sewing Pattern


Pocket Overall Romper Pattern


Wrap Maxi Skirt Sewing Pattern


Tie Back Top Sewing Pattern
vivian fernandez
Friday 18th of December 2020
very interesting, its a big help to us not to keep the old dress shirt, its re usable, thank you ms Soon Joo for showing us how wll make the old to new dress
Soonjoo
Tuesday 22nd of December 2020
Thank you Vivian, This is one of my favorite designs, I wear the peplum blouse all the time. Warmly, SoonJoo